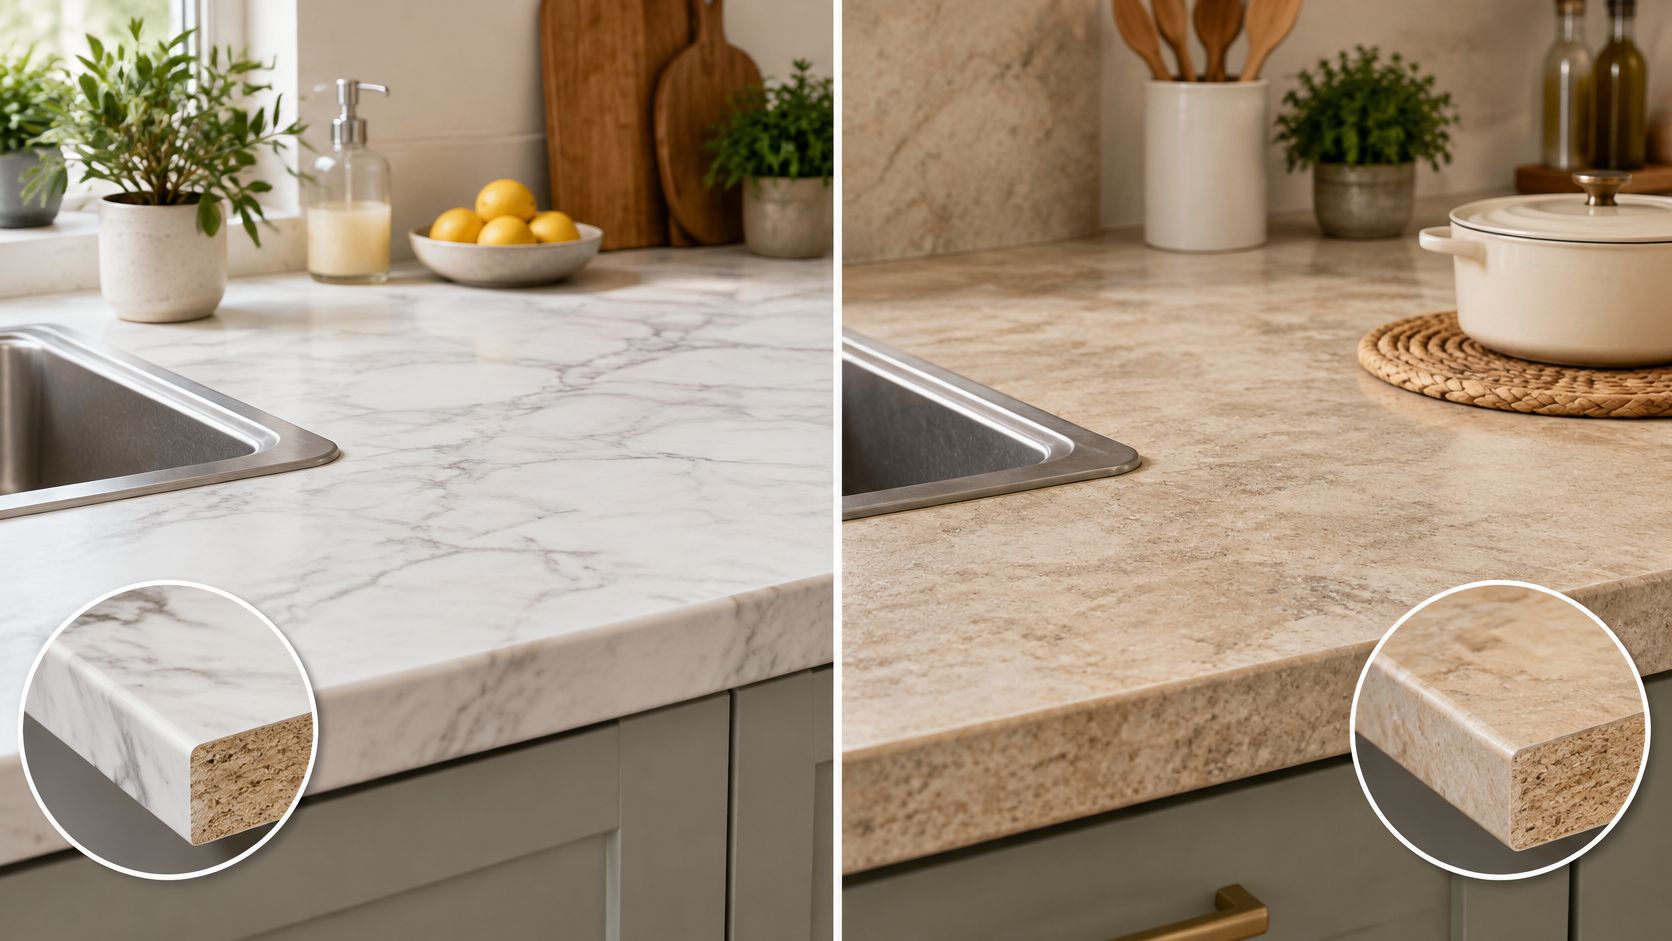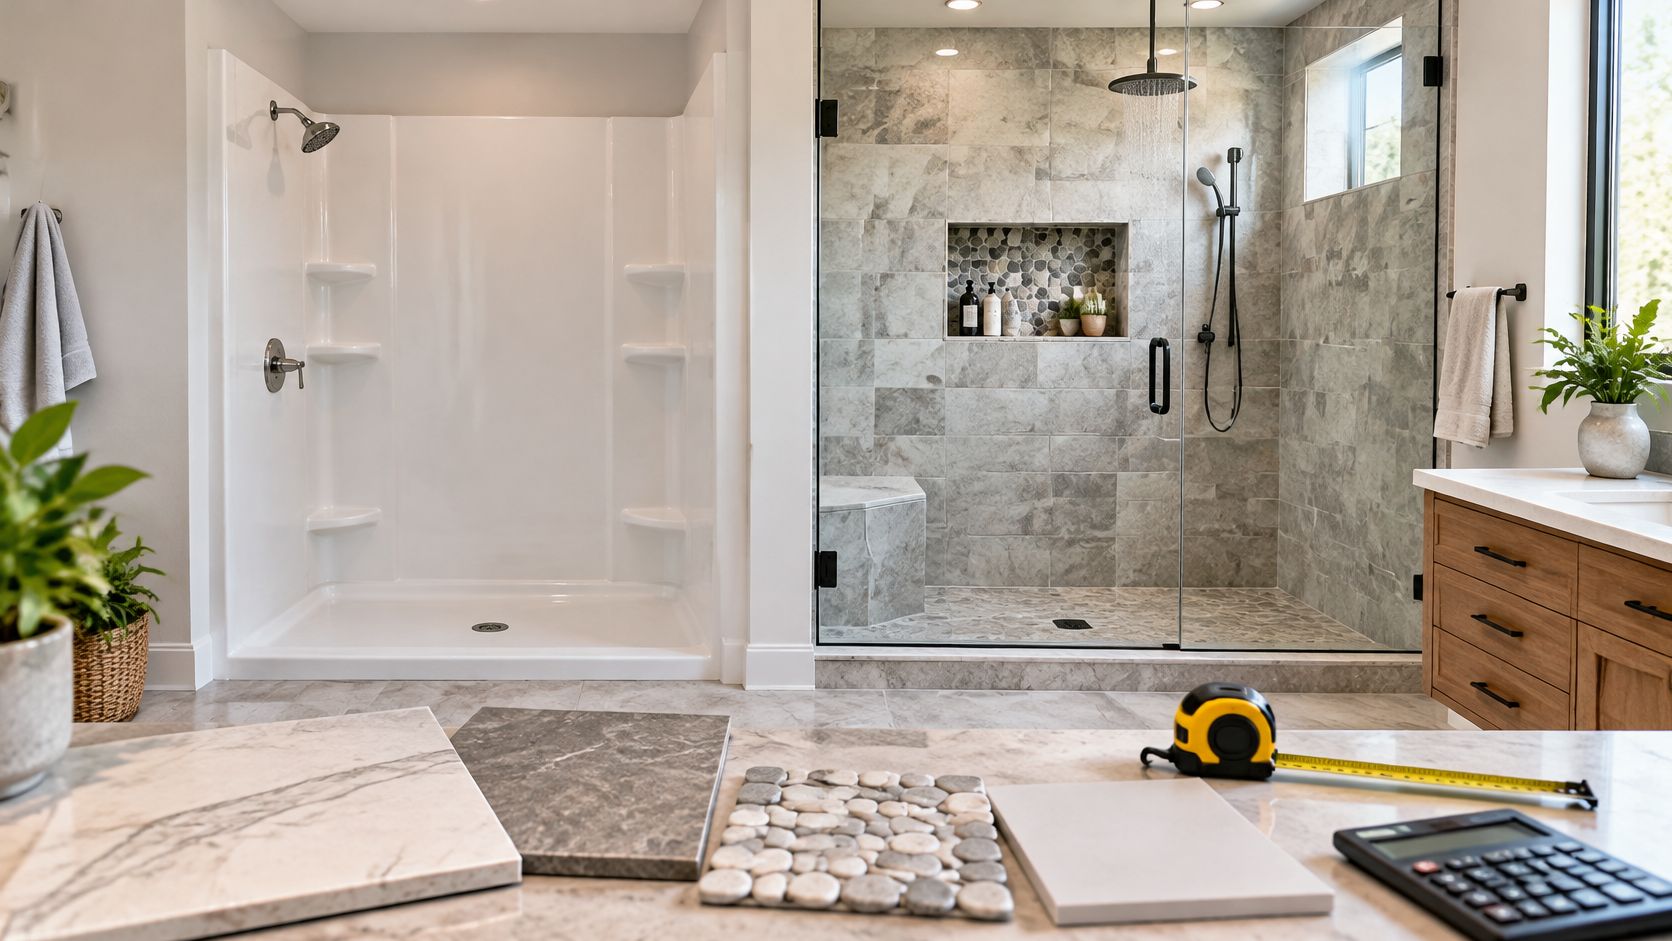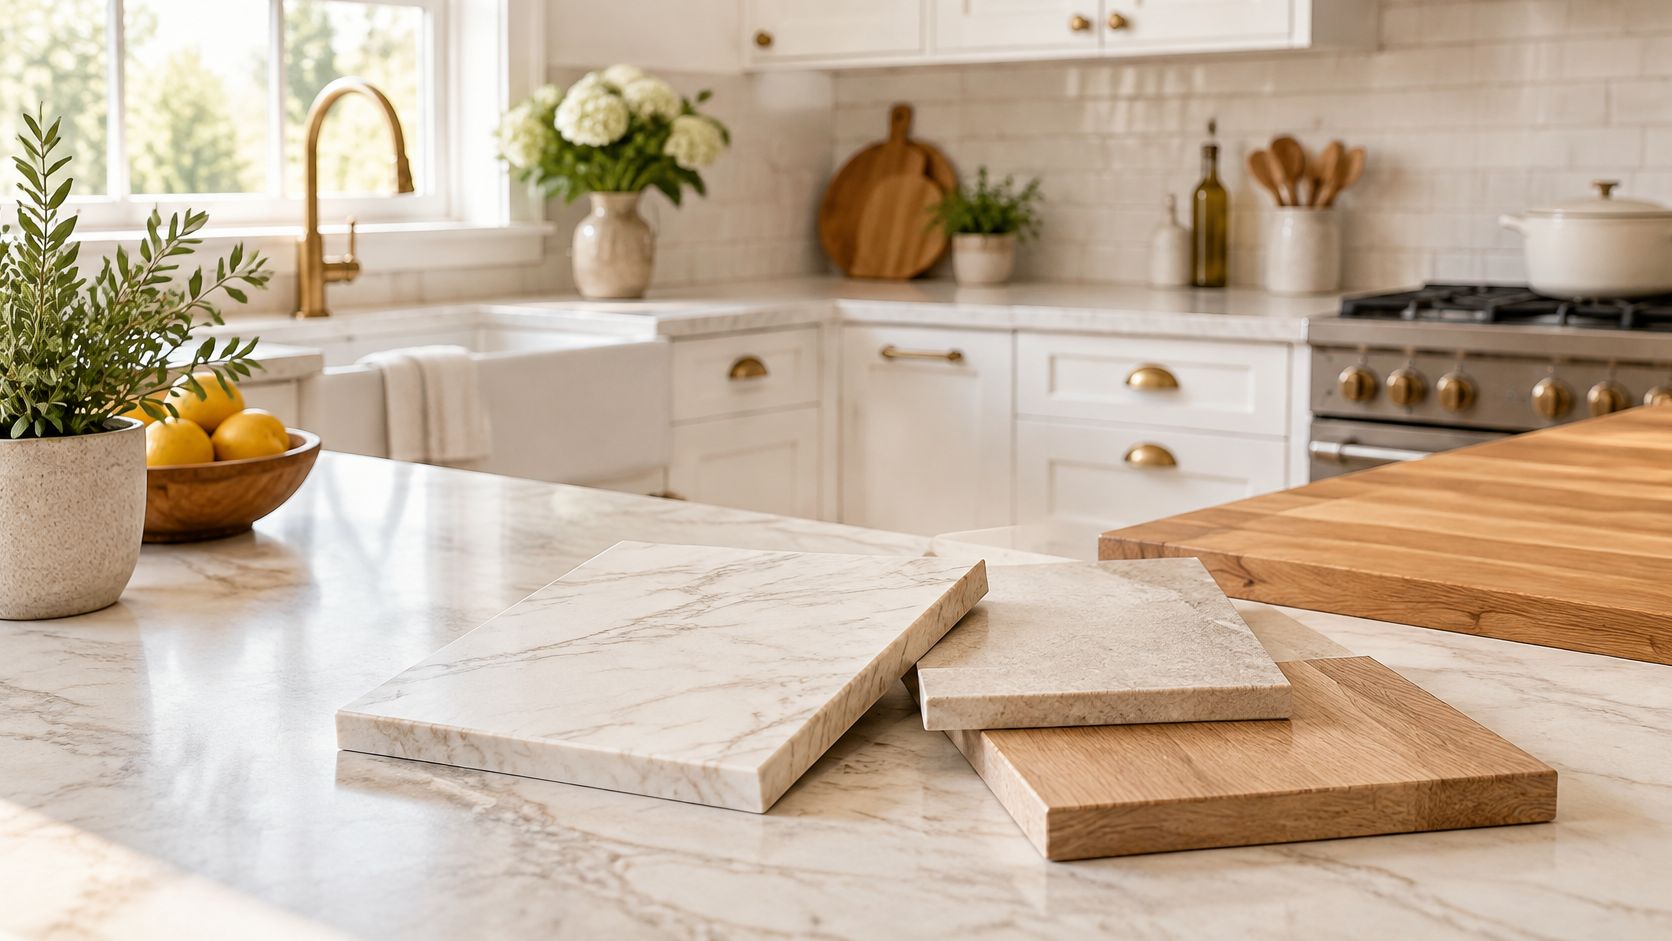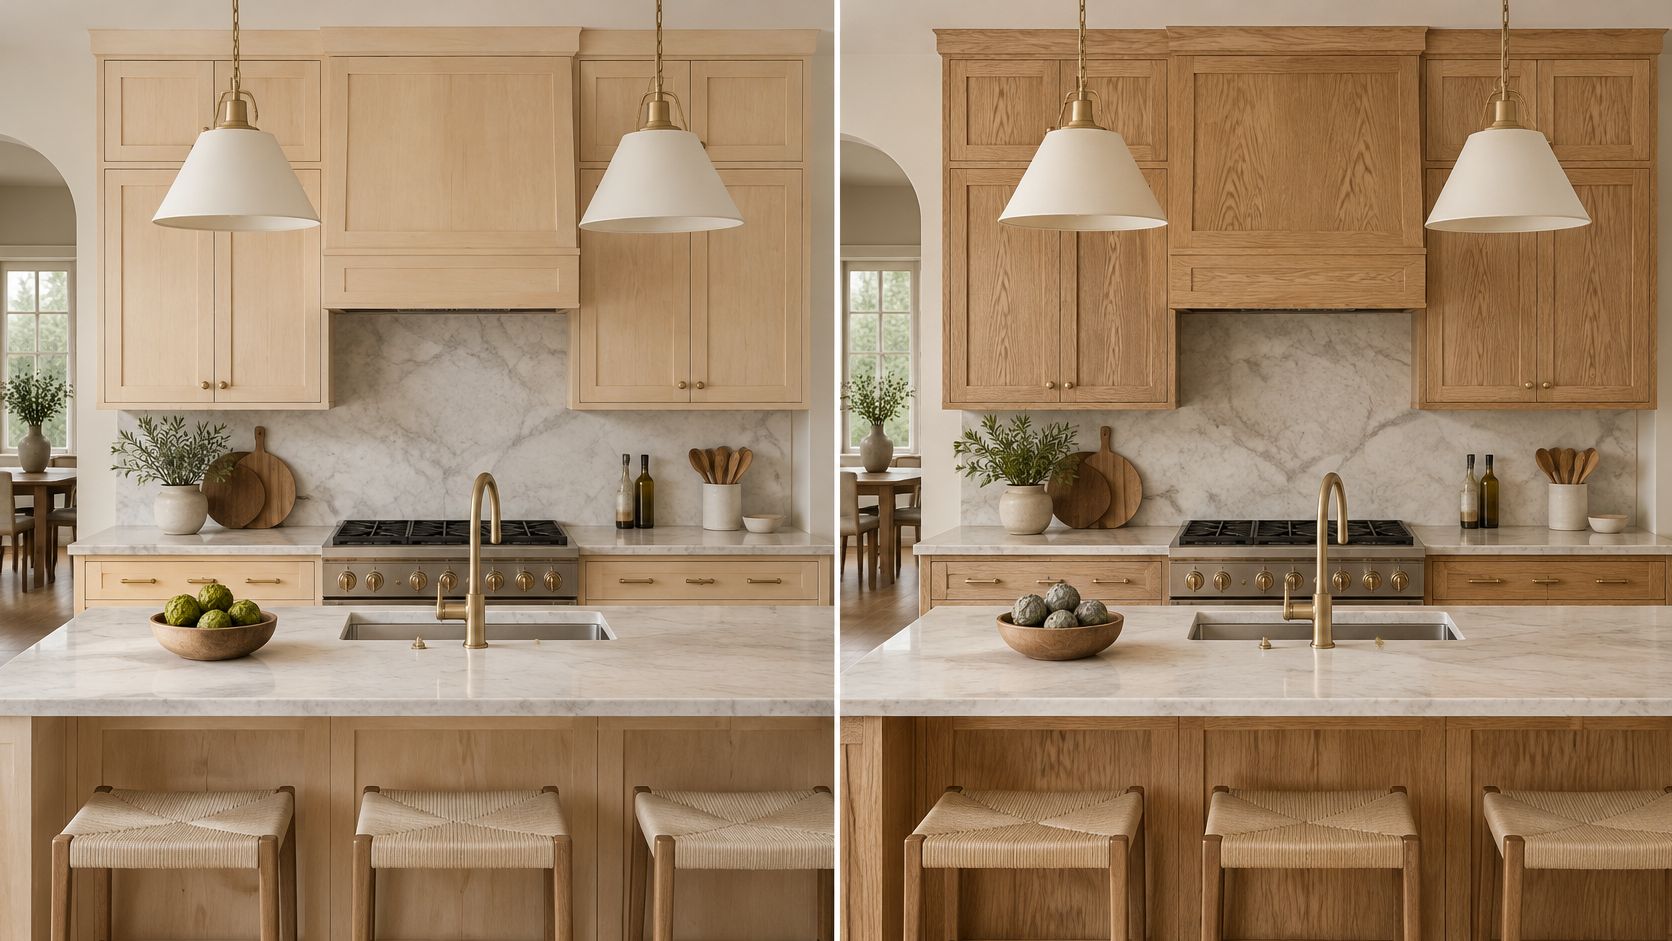
The U.S. countertops market was valued at $7.2 billion in 2024, according to the Freedonia Group. Very little of that money goes toward the decision that determines whether you still like the surface in five years. Most of it goes toward a slab chosen for color under showroom lighting.
A custom bathroom vanity countertop isn't a slab. It's a system: the surface, the sink cutout, the edge profile, the seam at the wall, the backsplash joint, the sealant, and the shop that fabricates all of it. Get one of those wrong and a two thousand dollar piece of stone performs like a two hundred dollar one. The order matters, because each decision narrows the next.
Table of Contents
- Vanity Countertop Materials, Upkeep and Daily Cleaning
- How to Measure and Size a Custom Vanity Top
- Edge Profiles That Change Looks and Cleaning
- Sink Types and Cutouts That Affect the Top
- Matching the Top to Cabinets and Hardware
- Fabrication Questions Before You Order the Slab
- Confirm the Top Before the Slab Is Cut
Vanity Countertop Materials, Upkeep and Daily Cleaning
Start with what buyers choose. In the 2025 U.S. Houzz Bathroom Trends Study, engineered quartz was the leading vanity countertop material at 45% of renovating homeowners, ahead of quartzite at 20%, granite at 14% and marble at 13%, with porcelain at 3% and ceramic at 2% (2025 U.S. Houzz Bathroom Trends Study). The same study found 55% of renovating homeowners chose a fully custom vanity (33%) or a semicustom one (22%), so the countertop decision now travels with cabinet customization instead of sitting beside it.
A share tells you what a survey group bought. It can't tell you what belongs in your room. Four people sharing one sink with hard water have a different requirement from a guest bath used eight nights a year, and the surface that wins on looks under four thousand kelvin of showroom light isn't always the one that survives a teenager with a box of hair dye.
Vanity countertop materials by share, upkeep and repair
| Material | Share of renovating homeowners (2025) | Maintenance | Repairability |
|---|---|---|---|
| Engineered quartz | 45% | Low, no regular sealing | Limited; fabricator repairs chips and seams |
| Quartzite | 20% | Moderate, periodic sealing | Good; natural stone can be polished or refinished |
| Granite | 14% | Moderate, periodic sealing | Good; can be refinished |
| Marble | 13% | High, sealing and etch care | Good; prone to etching from acidic cleaners |
| Porcelain | 3% | Low; grout lines need care | Limited; damaged slabs often replaced |
| Ceramic | 2% | Low to moderate; grout lines need care | Limited; tile replacement |
Those percentages hide two useful things. Engineered quartz is now mainstream rather than premium, so the material name signals less than the fabrication does. And easy cleaning is the requirement buyers rank first: 76% of professionals surveyed in the National Kitchen & Bath Association's 2025 Bath Trends Report named it the top priority for countertops (Floor Covering Weekly). Put those together and the shopping question shifts from which surface photographs best to which complete assembly is easiest to keep clean.
Read the table for what happens after the installers leave. Quartz needs no regular sealing. Granite and quartzite want periodic sealing. Marble punishes a lazy habit, because an acidic cleaner left to sit etches the face and no polish fully brings it back. Repair splits the same way: natural stone can be honed, polished or refinished, while a chipped engineered surface usually needs the fabricator who supplied it. Every material resists water on its face. Cut edges, sink openings and wall seams are where water gets in.
A residue routine tied to the surface you chose
- Toothpaste, soap and cosmetics. Wipe with mild soap and warm water before the film dries. On marble, skip anything labeled limescale remover or extra strength.
- Hair dye. Lift it the moment you see it. Dye stains sealed and unsealed stone alike, so no sealer schedule makes a dark spill safe overnight.
- Hard-water film at the faucet base and sink rim. Use a stone-safe cleaner and a soft cloth. Acid is the one thing that never goes on marble, and vinegar counts as acid.
- Standing water. Dry the seam where the top meets the wall and the joint behind the backsplash. Water that sits there attacks the sealant, not the stone.
Cleaners formulated for bathroom film are usually pH-neutral or mildly alkaline, which is the right profile for quartz and for sealed stone. The products professional cleaners use on bathrooms are worth reading for the method rather than the brand, because dwell time and a soft cloth do most of the work.
Sealing check: put a few drops of water on the stone and leave them for five minutes. If the area darkens, the surface is absorbing and it's time to reseal.
In South Jersey, hard water, heavy family use and rental turnover all shorten the interval between real cleanings. A rental with a marble top and a tenant who reaches for a vinegar spray is a repair bill on a calendar. Choose the material by how the bathroom is used, then write the cleaning routine and the reseal interval into the order before installation. If quartz is already the plan, this quartz countertop maintenance routine covers the daily version.
How to Measure and Size a Custom Vanity Top
The sizing answer first. A standard vanity top is 22 in. deep with about 1 in. of front overhang, and widths run from 24 in. to 72 in. Nearly every sizing failure traces back to measuring the wrong surface, so the tape goes on the cabinet box, never on the door faces.
Standard vanity widths, top depth and sink layout
| Vanity width | Typical top depth | Common sink layout | Typical front overhang |
|---|---|---|---|
| 24 in. | 22 in. | Single bowl | About 1 in. |
| 30 in. | 22 in. | Single bowl | About 1 in. |
| 36 in. | 22 in. | Single or double bowl | About 1 in. |
| 48 in. | 22 in. | Double bowl | About 1 in. |
| 60 in. | 22 in. | Double bowl | About 1 in. |
| 72 in. | 22 in. | Double bowl or bowl plus makeup area | About 1 in. |
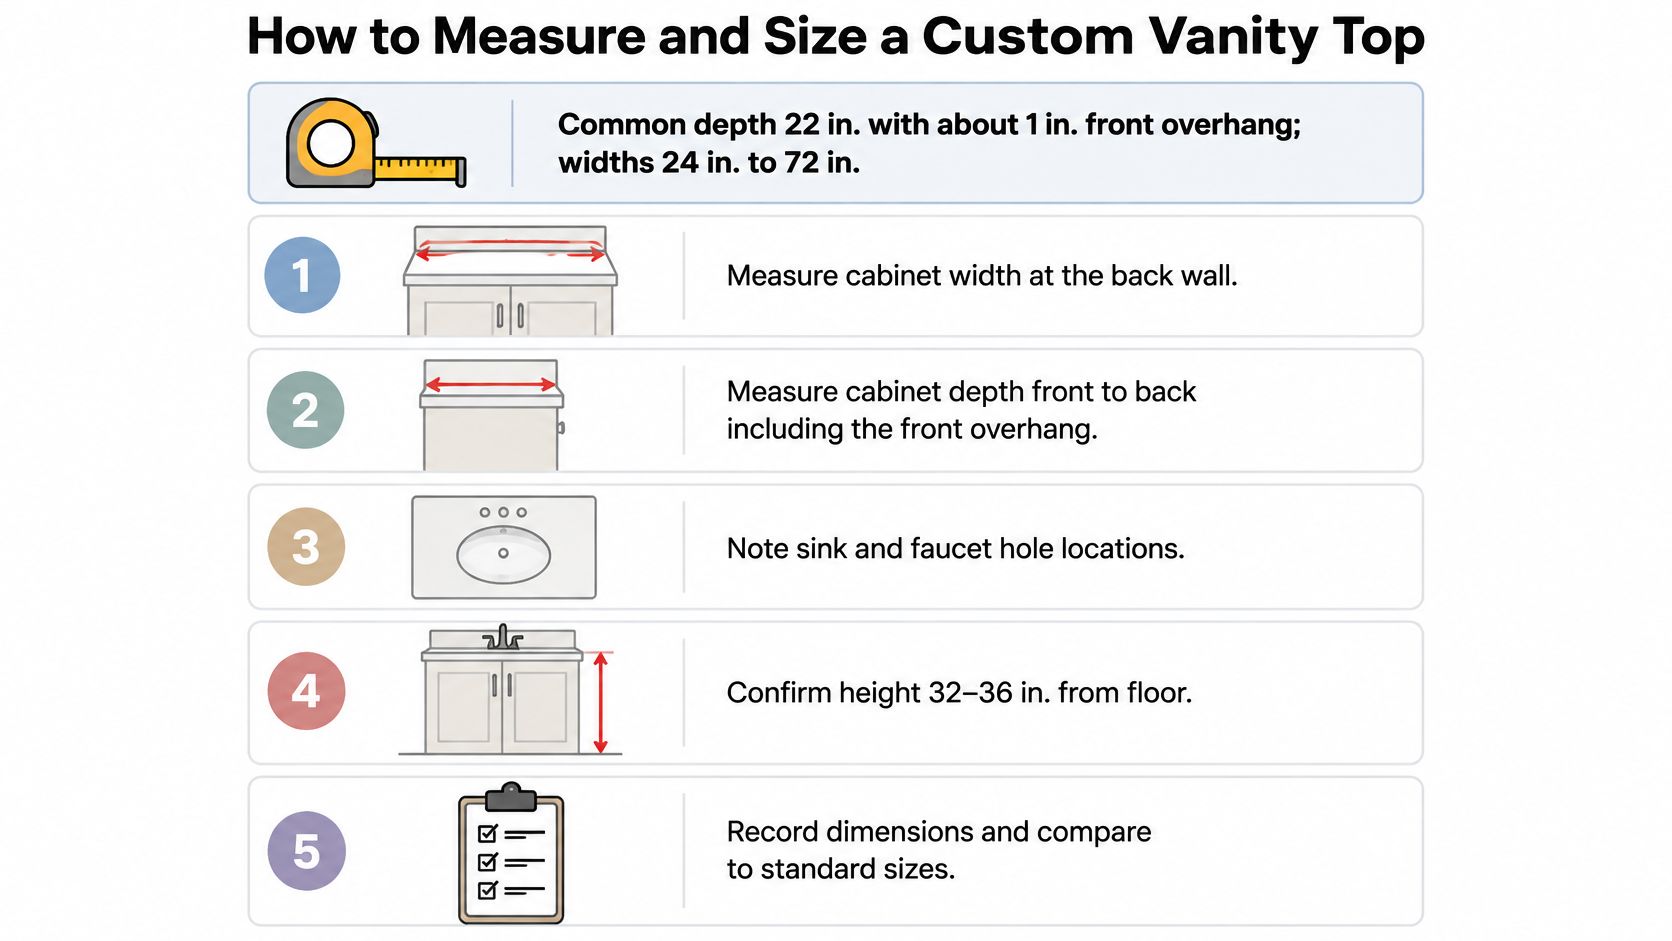
- Measure the box width at the back wall and at the front rail. Doors and pulls add to the apparent size, and measuring to them costs you either your overhang or an extra filler strip you didn't budget for.
- Check that the cabinet run is level and square. A run that's out of level by a quarter inch sits the top on two corners, and the gap shows up at the splash line where nobody can hide it.
- Mark the out-of-plumb walls and record the largest gap at the back. That gap decides whether a standard backsplash covers it or the top needs scribing to the drywall.
- Note the centerline of every bowl and every faucet hole, from the wall and from a side. For a double vanity, the layout math changes with the cabinet run, and this double vanity size guide is the reference I'd use before finalizing bowl spacing.
- Record the backsplash height and the clearance you want at each wall. Splash height is a design choice; clearance is a performance requirement.
- Send the template, dimensions and photos to the fabricator before anyone cuts. A template taken on site catches what a tape measure misses, and a photo of the wall condition settles arguments later.
Leave that small perimeter clearance rather than locking the top tight to three walls. The Tile Council of North America explains movement joints as relief for the stress that builds when adjoining materials expand and contract at different rates, and the same logic applies where stone, tile, wood-based cabinetry and plumbing penetrations meet. Use flexible sealant instead of a rigid filler, and don't let the backsplash mechanically pin the top to the wall.
Fit check: even overhang across the front, a narrow consistent clearance at the wall, each bowl centered over its cabinet section, and no gap where the splash meets the wall.
Edge Profiles That Change Looks and Cleaning
The edge is the part of the top you touch every day, and it's the part most often chosen by default because it appears on the fabricator's standard list. It also determines how much residue collects and how hard you have to work to remove it.
Vanity countertop edge profiles compared
| Edge profile | Look | Cleaning and upkeep | Typical use |
|---|---|---|---|
| Eased | Clean and modern | Easiest to wipe | Family and high-use bathrooms |
| Bullnose | Soft and rounded | Rounded top is easy; underside can collect grime | Traditional and transitional baths |
| Ogee | Decorative, curved profile | More curves to wipe | Traditional style with ornate doors |
| Beveled | Angled and crisp | Moderate | Transitional and contemporary baths |
| Waterfall | Continuous drop at the sides | Seam where the drop meets the front needs care | Statement vanities |
An eased edge is a small chamfer with softened corners. In a hall bath shared by two kids, it's the profile I'd specify without hesitation, because a damp cloth travels the length of it in one pass and there's no underside lip to catch toothpaste.
Bullnose rounds the top and the bottom. It suits a shaker door and a traditional white bathroom, and the rounded face wipes cleanly. The underside is the weak point, because a half-round profile creates a shelf where grime collects out of sight. Wipe it deliberately, not by habit.
An ogee profile is the decorative S-curve that pairs with raised-panel doors and ornate furniture styling. It looks deliberate and costs more, since the shaping takes longer at the bench. It also gives you two curves to clean instead of one flat face.
Beveled edges read crisp and architectural, and they sit well against flat-panel doors and a squared-off faucet. Waterfall edges run the slab down the sides to the floor, which is a strong look on a freestanding vanity and a poor fit in a tight alcove where the drop meets a wall.
Remember that you're choosing three edges, not one: the front edge, any exposed side edge, and the edge where the top meets the splash. Homeowners routinely approve one profile for all three without asking what the side edge will look like against a side wall.
Practical rule: match the front edge to the door profile, keep it simple in a high-use bath, and ask the fabricator to show the profile on a physical sample before you sign the drawing. Photos flatter edges. The countertop edge options comparison is a good second read once you've narrowed to two.
Sink Types and Cutouts That Affect the Top
The sink you choose rewrites the countertop drawing. It changes the cutout, the support method, the polished edge you're paying for and sometimes the thickness of the slab. Decide the sink before the slab is priced, not after.
- Undermount. The bowl hangs below the top, so the cutout edge has to be polished and the bowl needs clips or a support rail rated for its weight. Bowl depth belongs in the countertop spec, because a deep basin plus a low-set faucet puts the spout too close to the water line.
- Integrated. The basin is cast in the same material as the top, which removes one rim seam to clean and one place for water to sit. It also removes your ability to swap the bowl later, and a chip in the basin can mean a much larger repair than a chip on the deck. For a vessel sink setup, this vessel sink vanity guide covers the height and faucet reach planning.
- Vessel. The bowl sits above the top, so you lose counter-to-mirror clearance and the faucet has to clear the rim comfortably. Drill the holes to the bowl base, not to the faucet you liked online.
- Drop-in. Easiest to replace and the most forgiving of a slightly rough cutout, but the rim traps water and toothpaste against the surface. The bead of sealant under that rim has to be tooled smooth, not smeared.
Faucet drilling follows the same rule. A single-hole faucet, a 4-in. centerset and an 8-in. widespread layout each need their holes positioned before fabrication, and each has to be checked against the faucet's own spec sheet. Guessing at spread is how a beautiful top ends up with an ugly extra hole.
The NSF/ANSI 51 food equipment standard isn't a residential bathroom countertop code, but its criteria are a useful benchmark: cleanability, corrosion resistance, impact, abrasion, heat resistance and coating adhesion. In practice that means a continuous sealed finish, no exposed porous edges, and every cut edge polished or otherwise finished before installation.
Sealant has to be compatible with both the top and the cabinet, and joints should be tooled so water can't pool in a hollow. Water creeping into an unfinished edge or a badly sealed opening swells moisture-sensitive cabinet substrates, loosens bonded parts and creates mold-prone conditions behind the surface, even when the top itself is water resistant. A low-maintenance, documented-cleanable surface beats a high-porosity stone that depends on resealing in any family bath or rental. Put the maintenance interval, approved cleaners, edge profile, overhang, sink support method and warranty exclusions in the scope, because the material name alone doesn't specify any of them.
Matching the Top to Cabinets and Hardware
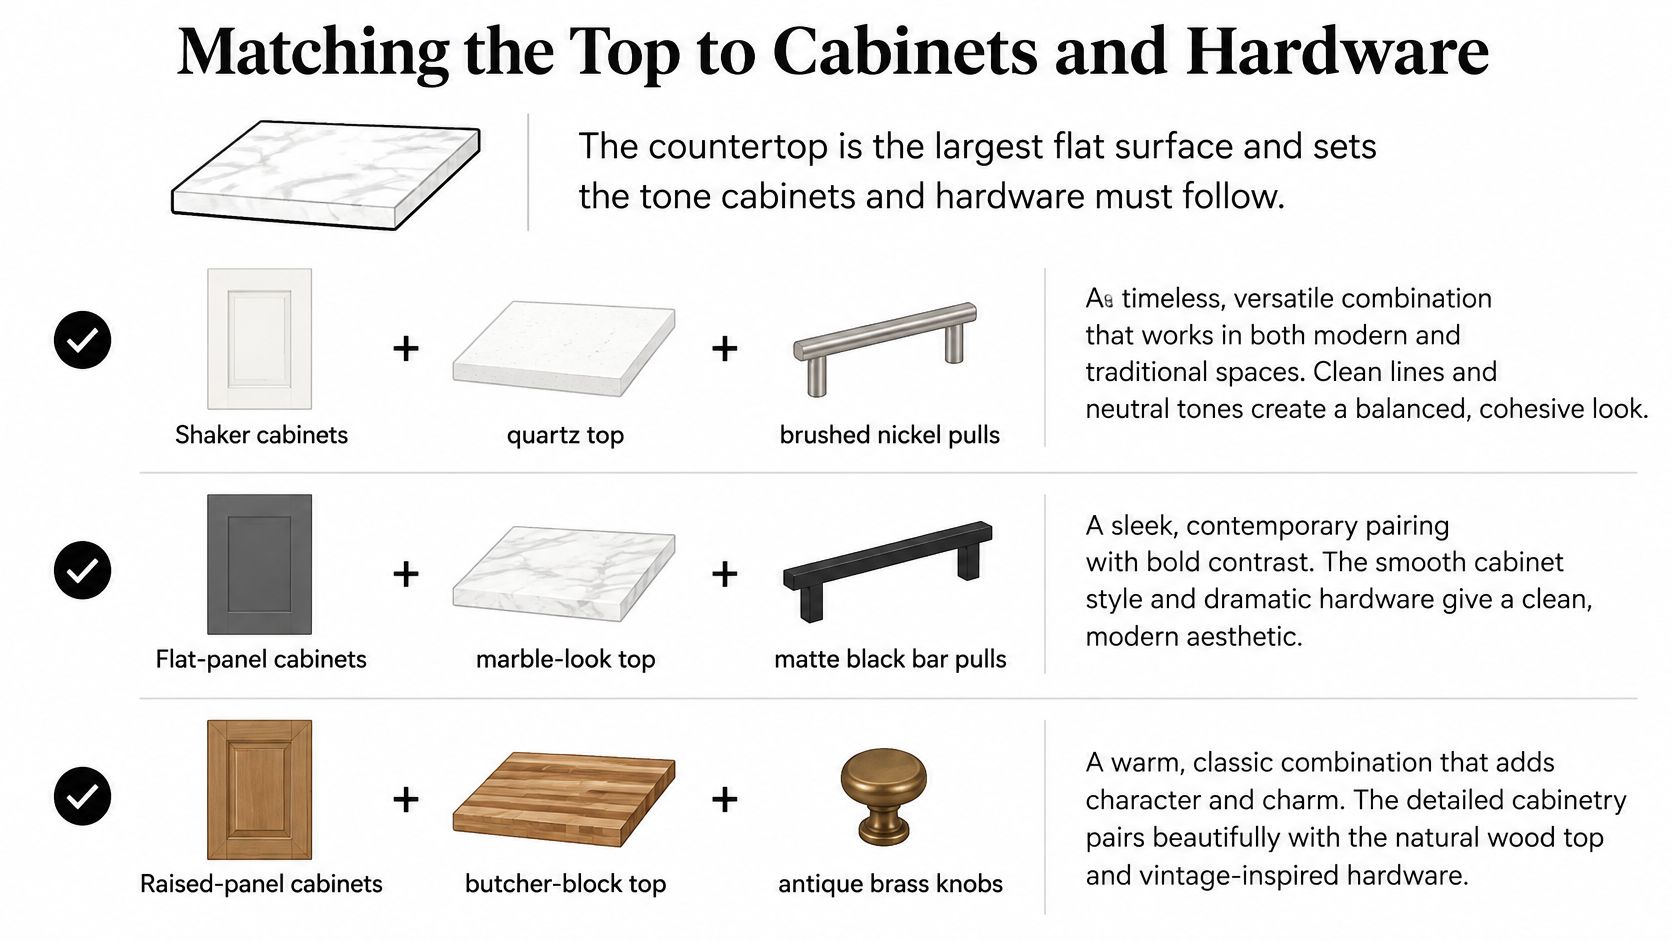
The countertop is the largest flat surface in the room, so it sets the tone that the cabinets, the hardware and the tile have to answer. Most mismatches start with the top being chosen in isolation and the doors chosen two weeks later.
Start with door style. Shaker and transitional doors want light quartz or quartzite with soft, low-contrast veining, because a dramatic diagonal vein and a recessed panel fight for the same attention. Contemporary flat-panel doors suit solid or finely speckled surfaces and a crisp edge, where pattern would look busy against a smooth front. Traditional and ornate cabinetry carries a marble-look surface with a rounded edge comfortably, and it's the one pairing where a decorative profile reads as intentional rather than fussy.
Hardware changes how the stone reads more than expected. Brushed nickel cools a warm cream surface and softens gray veining. Matte black pulls make a white top look sharper and pull the room toward contrast. Brass warms everything it sits near, which can rescue a slab that looked flat in the warehouse and can also push a beige top toward yellow. Bring the actual pull finish to the slab, not a photo.
Then run the lighting test. View the sample under the bathroom's real fixtures and near a window, because LED color temperature shifts how white and gray surfaces appear, and a top that looks clean and cool at noon can look dingy at seven in the morning. Tile tie-in follows the same logic: check the joint where the top meets the backsplash tile, and confirm whether the splash is the same slab, a different stone, or tile with a trim edge.
Four confirmations close this out before you commit. Door style and finish are locked. Hardware finish and pull length are locked. A full-size sample has been viewed on site, under the room's own light, at the height it will sit. The backsplash joint detail is drawn, not described. If you want a head start on pairings, this countertop and cabinet combinations guide is worth an evening.
Fabrication Questions Before You Order the Slab
The material choice isn't only about looks. That assumption is the one I'd challenge hardest, because it hides a stage of the project the homeowner never sees and rarely asks about.

Georgia Tech researchers reported in 2025 that engineered-stone slabs can contain more than 90% silica, and that cutting and shaping them can generate respirable crystalline-silica dust associated with lung inflammation and acute silicosis (Georgia Tech). That finding concerns the shop, not your finished vanity. An installed engineered-stone top isn't dangerous to the people brushing their teeth at it. What it does mean is that the fabrication stage deserves the same scrutiny as the color choice, and almost no consumer guide asks about it.
Ask these before the slab is ordered:
- Who fabricates the top, and where? A local shop you can visit answers differently than a broker who forwards the order.
- Is wet cutting used throughout? Water suppression at the blade is the basic control, and "mostly" is a different answer from "yes".
- What dust control and ventilation are in place? Ask about extraction at the tool and air handling in the room.
- Are workers given respiratory protection? A shop that fits and maintains respirators takes the hazard seriously.
- What is the seam and repair policy? Where will the seam land, who pays if it opens, and how is a chip repaired on site?
- What does the warranty exclude? Heat damage, chemical damage and chips from impact are commonly carved out, and you want that in writing.
Alternatives deserve a fair hearing without a marketing gloss. Solid surface is repairable but scratches; porcelain is dense and heat-tolerant but often replaced rather than repaired when damaged; recycled-content surfaces vary enormously by product; responsibly sourced natural stone carries quarrying and transport impacts. None of these is universally greener or safer than the others. Weigh durability and upkeep against worker exposure, repairability, replacement waste and freight.
If the vanity serves a rental, plumbing layout constrains the cabinet footprint before the top is even templated, and the plumbing planning for vacation rental bathrooms decisions determine where supply lines and the drain can land. A careful fabricator can walk you through the wet saw in person:
Get clear answers to those six questions before the slab is cut, not after the template is taken. It's the difference between choosing a material and choosing a process.
Confirm the Top Before the Slab Is Cut
Confirm material, size, edge, sink, sealing and fabrication terms in writing before anyone cuts. After that point, every change is a new slab or a visible patch.
- Material matches the room and the routine. Family bath, guest bath or rental, with the reseal interval named and the cleaner type approved.
- Size comes from a template taken at the cabinet, with the perimeter clearance and the largest back-wall gap recorded.
- Edge profile is approved on a physical sample and matches the door style at the front, the side and the splash line.
- Sink type, cutout drawing and faucet hole layout are on the order, checked against the faucet and basin spec sheets.
- Sealant type and warranty exclusions are written down, including heat, chemical and impact limits.
- The fabricator has answered the dust-control, seam and repair questions from the previous stage of the conversation.
One practical next step. We build custom vanity cabinets for master bathrooms, so we can check the top against the cabinet it will sit on rather than against a nominal dimension. Our design software shows how the vanity, the storage and the countertop footprint will fit and function before anything is ordered, and we bring full-size samples of cabinetry, countertops, hardware and tile to your home for comparison with an experienced guide alongside.
The Cabinet Coach brings full-size samples of cabinetry, countertops, hardware and tile into your home, so you can compare the surface, the edge profile and the door style under your own bathroom lighting before a slab is ordered. If you're planning a vanity in Cherry Hill or anywhere nearby in South Jersey, start with a complimentary video consultation and we'll work through the measurements, the sink plan and the fabrication questions together. Visit The Cabinet Coach to schedule it.