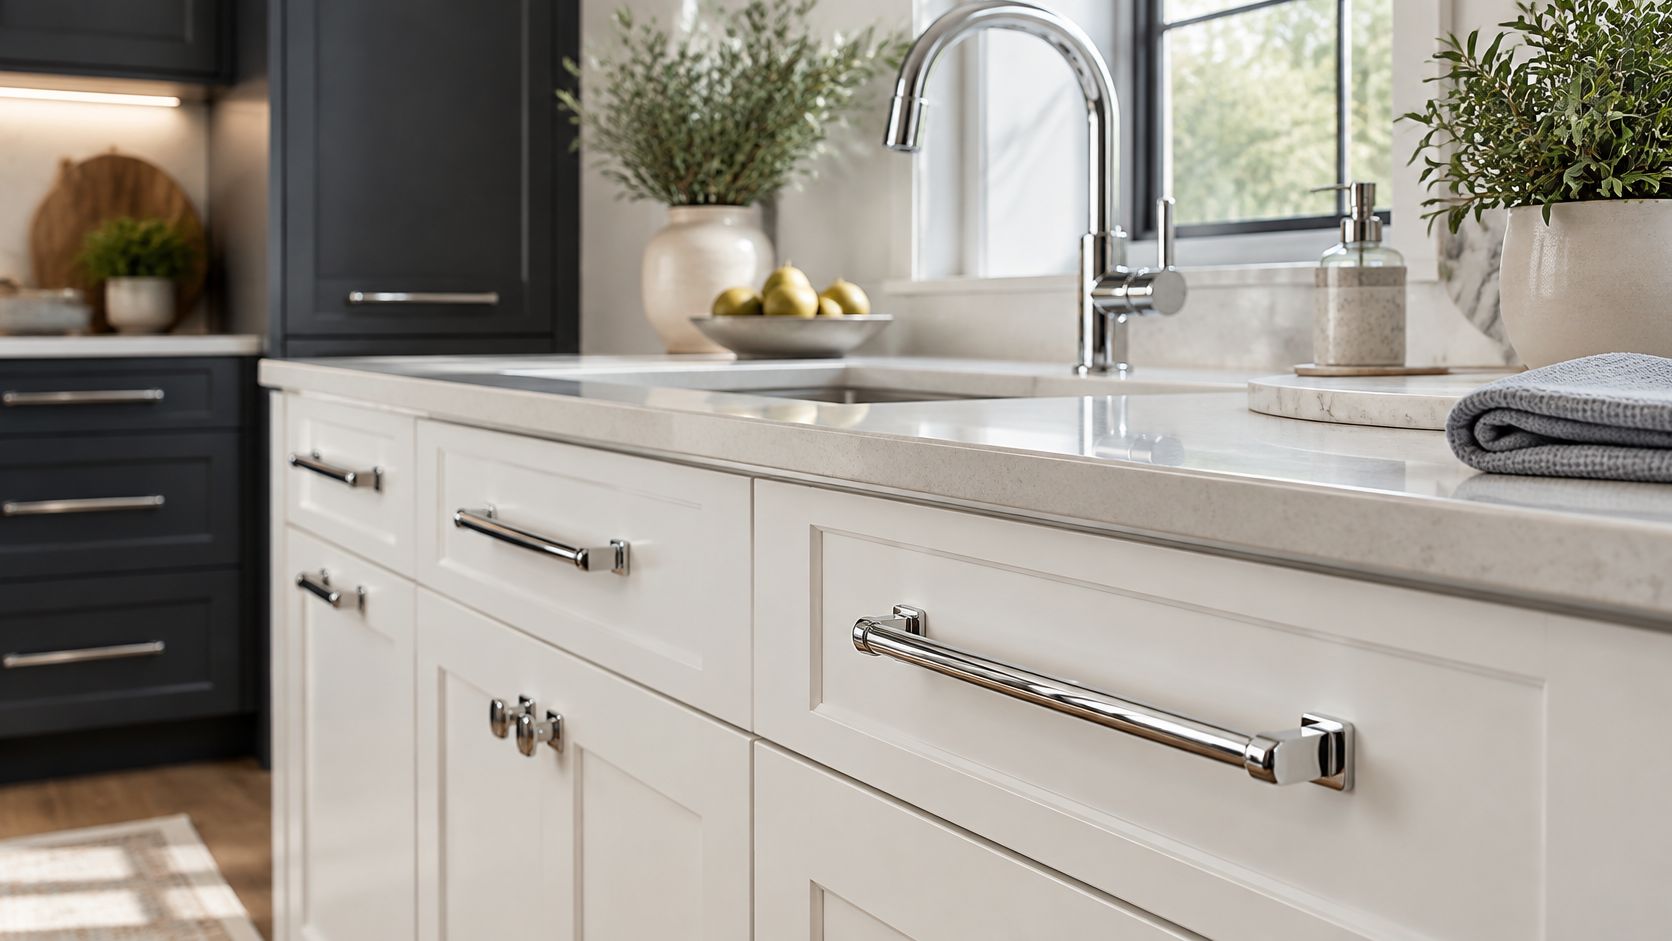
Most advice on cabinet hardware chrome starts with whether chrome is in or out. That's the wrong first question. A finish can look right in a photo and still be wrong for your sink base, your cleaning habits, or a supplier who can't document what's under the shine. Judge chrome by its plating structure, how you'll verify it, and whether you'll wipe it. Style comes after those three checks.
Table of Contents
- Chrome Hardware Compared With Other Finishes
- How Chrome Is Built and How to Verify It
- Matching Chrome to Your Cabinets and Fixtures
- Sourcing and Installing Chrome Hardware Locally
- Keeping Chrome Bright Room by Room
- Lock Your Finish Plan Before Ordering
Chrome Hardware Compared With Other Finishes
| Finish | Look | Daily Upkeep | Best Fit |
|---|---|---|---|
| Chrome | Bright, reflective, cool-toned | High, wipe often to clear fingerprints and water spots | Modern, small or dark rooms with cool palettes |
| Polished nickel | Warmer, softer shine than chrome | Moderate | Transitional kitchens and mixed-metal schemes |
| Brushed nickel | Satin, understated | Low, hides fingerprints well | Busy family kitchens and high-traffic baths |
| Brushed brass or gold | Warm, glowing | Low to moderate | Traditional rooms and warm wood tones |
| Matte black | Dark, contemporary | Moderate | Contemporary slab doors and graphic contrast |
| Satin stainless | Neutral, industrial | Low | Contemporary kitchens with stainless appliances |
The short answer is simple. Chrome suits modern, cool-toned or dark kitchens and baths, and it rewards owners who'll wipe hardware regularly. Its mirror-like surface shows fingerprints and water spots faster than satin finishes do, so the shine you love on day one becomes a chore if you won't maintain it.
Chrome also names both a look and a thin plated top layer. That means two chrome pulls from different makers can perform very differently beside a sink, even if they look identical in the box. If you're weighing a warm alternative, compare the upkeep and tone in this guide to brass cabinet hardware options before you commit to a full set.
Choose chrome when one bright metal will repeat across the room and the space is small, dark or cool-toned. Choose brushed, warm or satin metals when the room carries heavy traffic or a wood-heavy palette.
Before you go further, note three inputs. Write down your room type, your honest cleaning habits, and the finish of the faucet you've already chosen. Those three facts will settle most decisions faster than any trend list.
How Chrome Is Built and How to Verify It
Think of chrome hardware as a thin mirror film over a protective base, not a solid bar of metal. That single idea explains why one pull lasts beside a dishwasher and another pits at the screw post. You're buying a layered system, and the top layer is the thinnest part of it.
Here's how those layers stack, from the inside out.
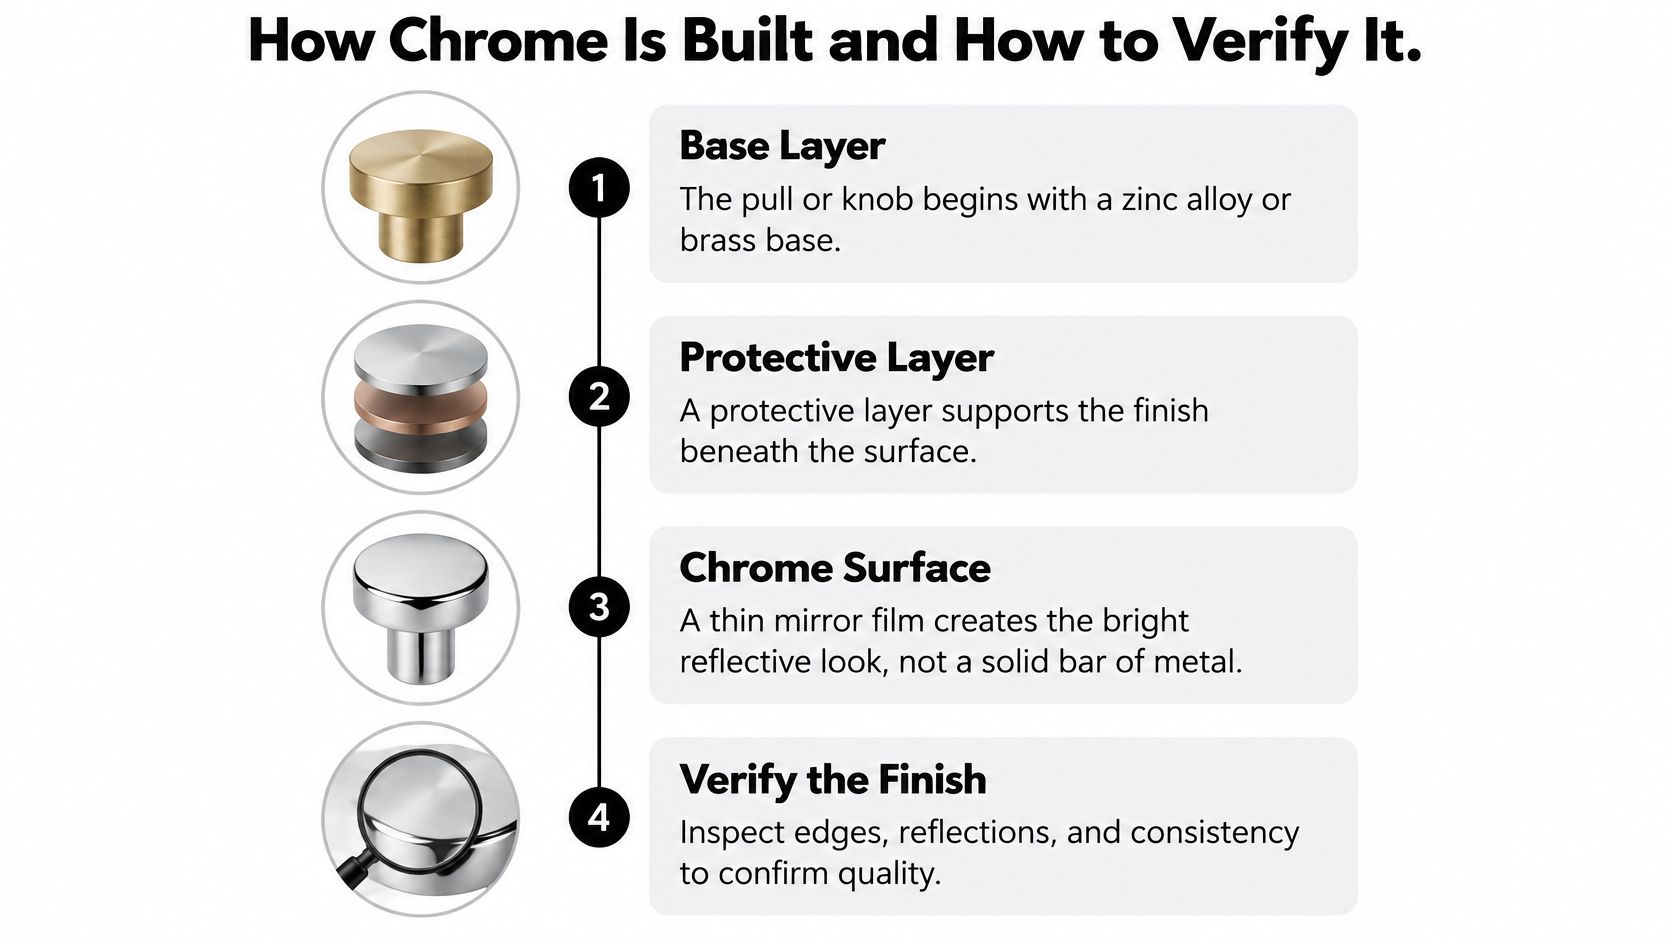
The Layers From Base to Surface
The pull or knob starts with a base, often a zinc alloy or brass. Over that sits a nickel or copper-nickel underlayer. On top goes a decorative chromium flash. A technical reference on finishes, coatings and plating places decorative chromium at approximately 0.05 to 0.5 µm in common applications, while the overall decorative system may be measured at up to about 1.25 µm.
Each layer has a different job. Chromium supplies brightness, tarnish resistance and surface hardness. The nickel undercoat provides much of the barrier protection against corrosion. So when a seller talks only about shine, they're describing the layer that does the least to stop rust.
Don't confuse this with hard chrome. Hard chrome is substantially thicker and more wear-resistant, but without a suitable underlayer it offers comparatively limited corrosion protection. Thickness alone isn't the win. The sequence underneath matters more.
Where Chrome Actually Fails
A deep scratch through the chromium exposes the nickel below. Once moisture reaches that break, corrosion has a starting point. Exposed edges, screw holes and damaged plating are the likely initiation points, not the broad flat face you inspect in a showroom.
That's why a pull can look flawless under store lighting yet fail years later at a thin threaded post. Say a vanity pull gets splashed daily, and water sits where the screw meets the post. The face still shines while the post corrodes. Inspect edges and mounting points, not just reflections.
If you'd rather avoid that failure mode in a wet zone, a satin alternative from this overview of brushed nickel hardware hides wear better and doesn't depend on a mirror finish staying perfect. Chrome can still work there, but only with a documented plating system behind it.
The Buyer Checklist Before You Order
Ask for these six items, in writing, before you pay.
- Substrate and undercoat sequence: You need to know what's under the chrome, because the underlayer carries the corrosion protection.
- Chromium thickness in micrometres and total system thickness: A number lets you compare two products that both just say chrome.
- Documented ASTM B117 neutral salt-spray result: Ask for hours to white rust and hours to red rust, not a vague pass.
- Bathroom benchmarks: For moisture-prone installs, look for roughly 72 to 96 hours to white rust and more than 100 hours to red rust.
- Verification method: X-ray fluorescence or cross-section analysis shows a supplier measures thickness instead of eyeballing it.
- Warranty exclusions: Check what's excluded for edges, screw holes, abrasive cleaning and scratches, because those are the common failure points.
On that salt-spray point, a guide to zinc alloy chrome plating and ASTM B117 testing identifies roughly 72 to 96 hours to white rust and more than 100 hours to red rust as meaningful minimum expectations for decorative hardware in moisture-prone bathroom installations. Treat those hours as comparative, not a prediction of service life. A lab number ranks products against each other. It doesn't promise a set number of years in your shower-adjacent vanity.
Comparing Two Pulls That Both Say Chrome
Put two spec sheets side by side. Pull A lists a brass substrate, a copper-nickel underlayer, chromium thickness, an ASTM B117 result with white and red rust hours, and X-ray fluorescence verification. Pull B lists a finish name and a photo. They aren't the same product, even at the same price.
Practical rule: If a supplier reports only appearance, treat the finish as a visual claim. Beside sinks or dishwashers, choose a different metal or a supplier who'll document the system.
For dry, low-touch cabinets, a visual claim may be an acceptable risk. For a sink base in a busy South Jersey kitchen, it isn't. Match the proof to the exposure, and you'll avoid most chrome disappointments before installation day.
Matching Chrome to Your Cabinets and Fixtures
Chrome reads cool, so start there. It suits cool whites, soft grays, slab doors and modern lighting. Warm wood tones usually pair better with warm metals, because chrome's blue-leaning shine can make honey oak or warm walnut look slightly off. The photo below shows how strongly cabinet color changes the read.
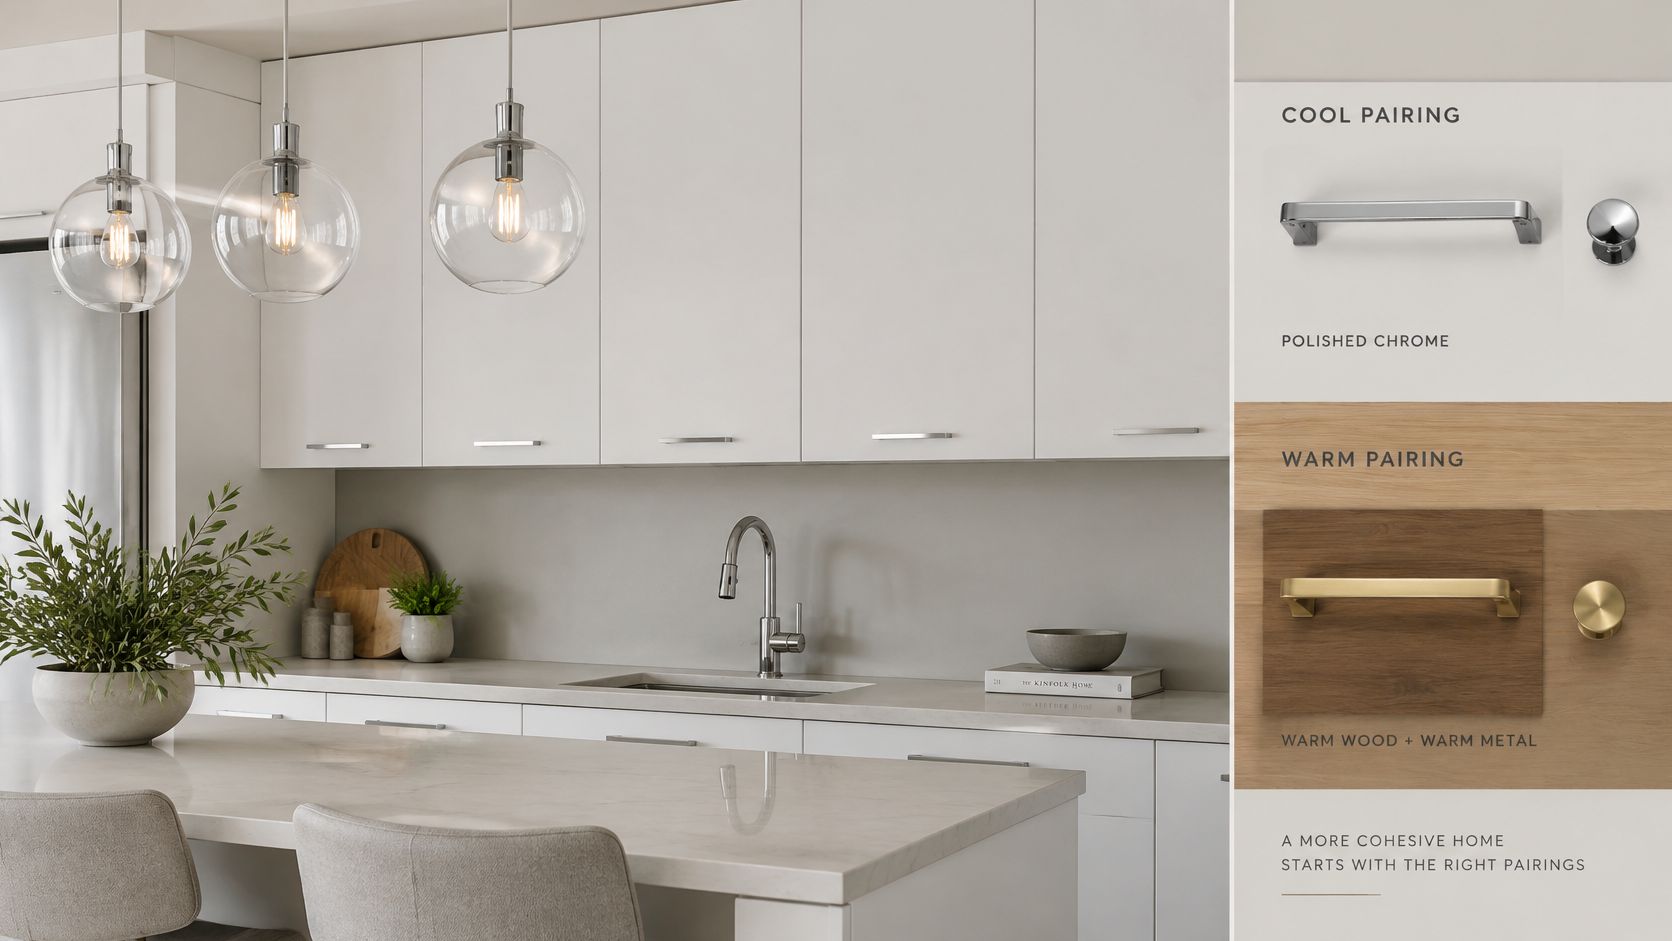
Three Cabinet Styles, Three Answers
Transitional shaker doors in clean white carry chrome pulls well when the faucet and light fixtures match. The shaker frame keeps the room from feeling cold, and the bright metal sharpens the lines. This is chrome's safest traditional-adjacent use.
Contemporary slab doors look strongest with a single bright or matte metal. There's no frame detail to soften a clash, so consistency matters more. Pick chrome or matte black and repeat it without adding a third voice.
Traditional raised panels with crown details look more coherent with warmer metals unless the room is deliberately modern. Chrome against raised panels and warm paint often reads as a later swap rather than a plan. The same discipline applies to paint, where learning to prevent uneven sheen on painted walls keeps a cool-toned room from showing patchy reflections under bright hardware and lighting.
Chrome can also help smaller or darker rooms feel brighter and more architectural, and current coverage in a cabinet hardware market report describes polished nickel as a warmer, softer alternative to chrome. Don't treat the two as interchangeable. Side by side on the same door, polished nickel reads warmer and chrome reads crisper and cooler.
For a broader framework on pairing metals without chaos, this guide to mixed metal cabinet hardware lays out how to set a dominant finish. The short version follows.
The Mixed-Metal Rule That Works
Choose one dominant metal, repeat it across pulls, faucet and lighting, and use chrome as the accent when an existing appliance or plumbing piece already carries it. Repetition is what makes a mix look planned. A single chrome faucet among black pulls and brass pendants looks like a leftover.
Say you have a small, north-facing kitchen with white shaker cabinets. Fit chrome pulls, a matching chrome faucet, and a single black pendant as the accent. Two metals, one clearly in charge, and the reflectivity lifts a dim room. Add brushed brass sconces and the scheme falls apart, because three or more metals in one room usually look unplanned.
This short walkthrough shows how those pairings read at full room scale before you order samples.
Before ordering, confirm three things: the faucet finish, the metal on your appliance hardware, and your lighting color temperature. Warm bulbs can push chrome slightly gray, so check a sample pull under your actual lights at night, not only at noon.
Sourcing and Installing Chrome Hardware Locally
Most expensive hardware mistakes happen before anyone picks up a drill. Confirm the existing drill pattern first by measuring the center-to-center distance between holes, then match pull length to that spacing. A beautiful pull in the wrong spacing means filled holes or a reorder.
| Spacing | Metric | Typical Use |
|---|---|---|
| 3 in | 76 mm | Small drawers and doors |
| 3-3/4 in | 96 mm | Standard drawers and doors |
| 5 in | 128 mm | Wide drawers and tall doors |
| 6-5/16 in | 160 mm | Wide drawers and large doors |
Sourcing Checks That Prevent a Reorder
Ask the supplier to confirm the finish lot for your full set, since one kitchen shouldn't mix lots. Small tone shifts between lots show up fast on a reflective finish, especially across a long run of drawers. Order the whole set at once, plus a spare or two.
Confirm lead times and return terms before ordering, and check whether replacements from the same finish line will be available years later. If you're budgeting the full job, this breakdown of cabinet hardware installation cost helps you separate product cost from fitting labor. A discontinued line turns one damaged pull into a full-room replacement.
The Installation Sequence
Fit hardware after painting and finishing, so you aren't masking around pulls or splashing finish onto chrome. In bathrooms with shower-adjacent cabinets, run ventilation first so you're not sealing damp air against fresh work. Then work in this order.
- Mark placement with a template on each door and drawer front, so every pull sits at the same height across the run.
- Drill pilot holes at the marked centers, which keeps the bit from wandering on a finished face.
- Attach hardware with screws of the length the manufacturer specifies, so they grip without passing through the door face.
- Check alignment across all doors in one run, since a single high pull is obvious on a reflective finish.
- Wipe the finish after installation to clear fingerprints and drilling dust before they set.
Keep your sourcing checklist to five items: spacing, finish lot, lead time, returns and replacement availability. If a supplier can't answer those, the low unit price isn't a saving.
Keeping Chrome Bright Room by Room
| Room | Main Risk | Safe Routine | Avoid |
|---|---|---|---|
| Kitchen sink base | Hard-water spotting and splashes | Wipe weekly with mild soap and water, then dry | Abrasive pads and harsh cleaners |
| Range and cooktop area | Grease film and heat | Wipe after cooking with mild soap | Mixing cleaning products |
| Bathroom vanity | Humidity and mineral spots | Dry after showers, wipe monthly | Acidic or abrasive cleaners |
| Laundry or utility room | Dust and chemical fumes | Dust monthly and ventilate while cleaning | Bleach blends and mixed products |
| Low-traffic pantry or hallway | Fingerprints only | Dust and wipe quarterly | Steel wool |
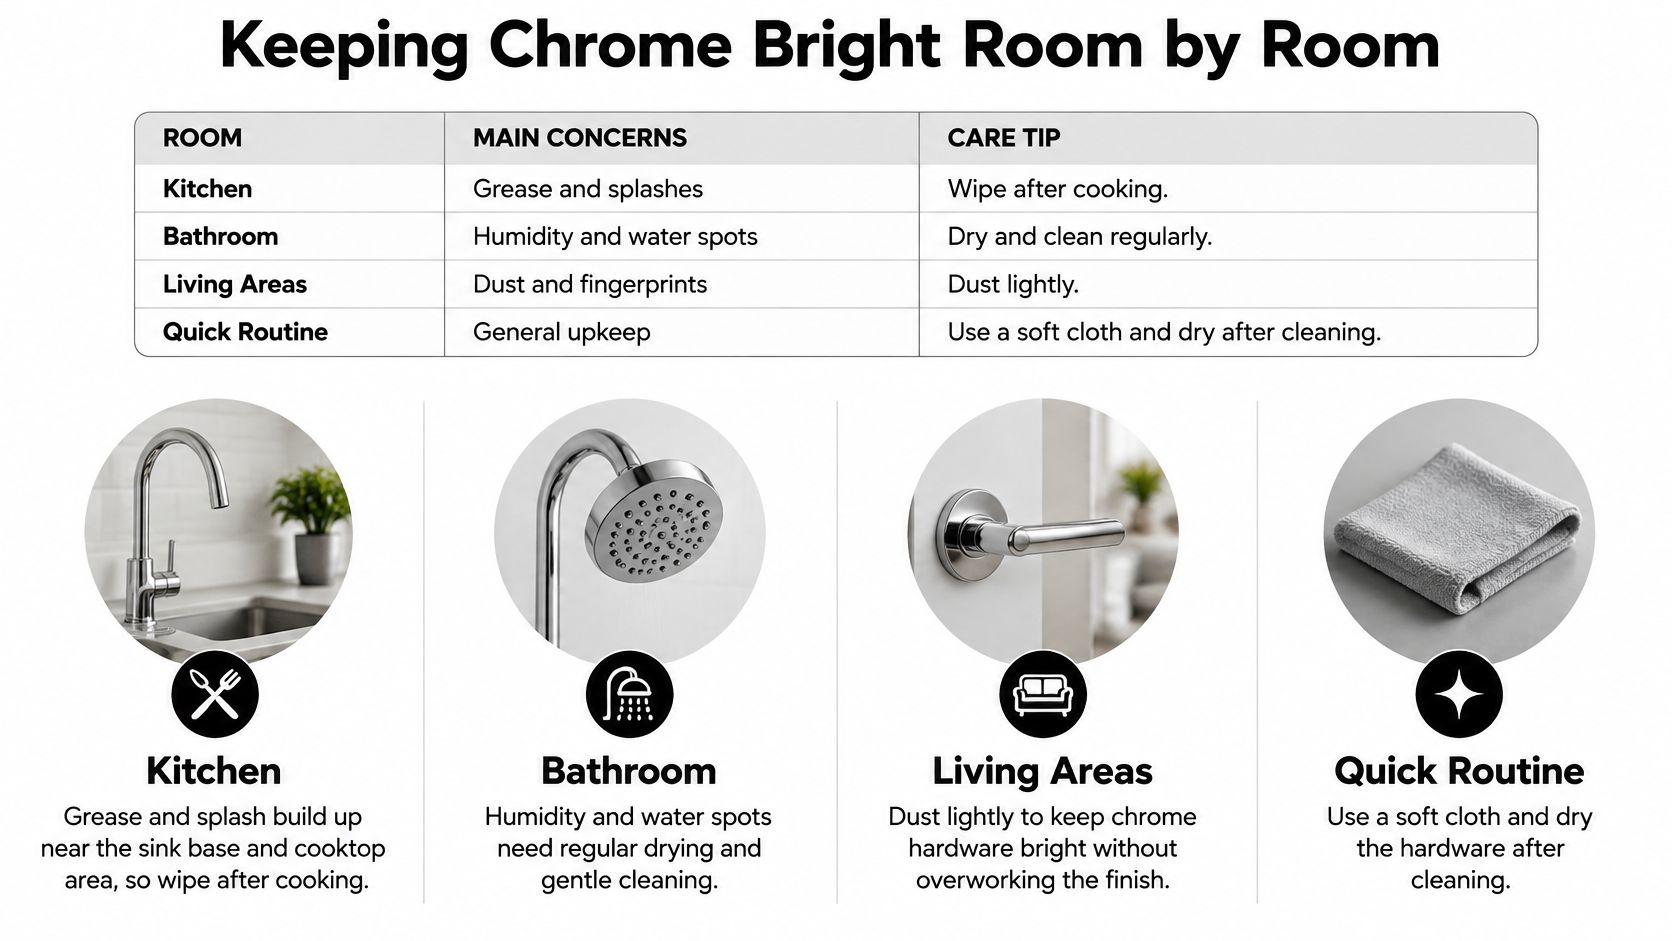
The logic is exposure, not shine. Kitchens lay down grease and splash, so the sink base and cooktop area need wiping after cooking. Bathrooms add humidity and mineral spotting, so vanities need drying after showers. Utility and low-traffic rooms mostly need dust control, which is why chrome survives there with almost no effort.
This room-by-room chart sums up the routine in a format you can keep with your cleaning supplies.
A Five Step Safe Cleaning Routine
- Dust with a dry microfiber cloth first, so grit doesn't drag across the surface when you wash.
- Wipe with mild soap and warm water on a soft cloth, following the product label.
- Rinse with clean water to remove the soap film, which otherwise dries into a dull haze.
- Dry the surface and check for spotting, since standing water leaves mineral marks.
- Test any new product on a hidden spot first, such as the underside of a pull, before using it everywhere.
That mild approach matches guidance from the U.S. Environmental Protection Agency on improving your indoor environment, which advises using mild soap and water where possible, minimizing indoor use of household chemicals, never mixing products, following label directions, and ventilating during cleaning. Stronger isn't better here. You're protecting a very thin surface layer and your indoor air at the same time.
Hard Water, Scratches and Honest Limits
For hard-water spotting in South Jersey, wipe promptly and dry rather than reaching for harsh acids or abrasive pads. Those products can score the thin chromium layer and turn a cosmetic spot into a permanent break. Frequent gentle drying beats occasional aggressive scrubbing.
Once a scratch cuts through the chromium, polishing won't restore the finish. Replace the piece rather than buffing it.
That's why keeping a matching spare from the same finish lot matters. A spare pull costs little at order time and saves a mismatched replacement later. If your household won't wipe weekly, be honest about it now: choose brushed or satin finishes for high-touch rooms and reserve chrome for low-traffic or accent use. That rule holds for busy families and rental properties alike.
Lock Your Finish Plan Before Ordering
Cabinet hardware can be matched to your home's style, from rustic pulls to modern matte black handles, so lock the plan in order. We walk clients through picking complementary elements, from the tile backsplash to the hardware, and then handle installation after the design stage, including cabinetry installation and final hardware placement.
This screenshot shows where to review your options before you commit.

- Lock the dominant metal first using your room's light and palette.
- Check faucet, lighting and appliance hardware for the same metal or one deliberate accent.
- Request the spec items, substrate, chromium thickness, salt-spray result and warranty exclusions.
- Confirm drill spacing and buy the full set from one finish lot.
- Confirm lead times, returns and future replacement availability from the same finish line.
If you want a fuller selection framework, work through how to choose cabinet hardware with your notes in hand. Then take one action: write down your chosen metal, faucet finish and drill spacing, and book a review before ordering.
If you're weighing chrome against warmer or satin finishes for a South Jersey kitchen or bath, The Cabinet Coach can review samples against your cabinets, faucet and lighting in your own home. Bring your chosen metal, faucet finish and drill spacing, and we'll confirm the plating specs, finish lot and fit before you order a single pull.