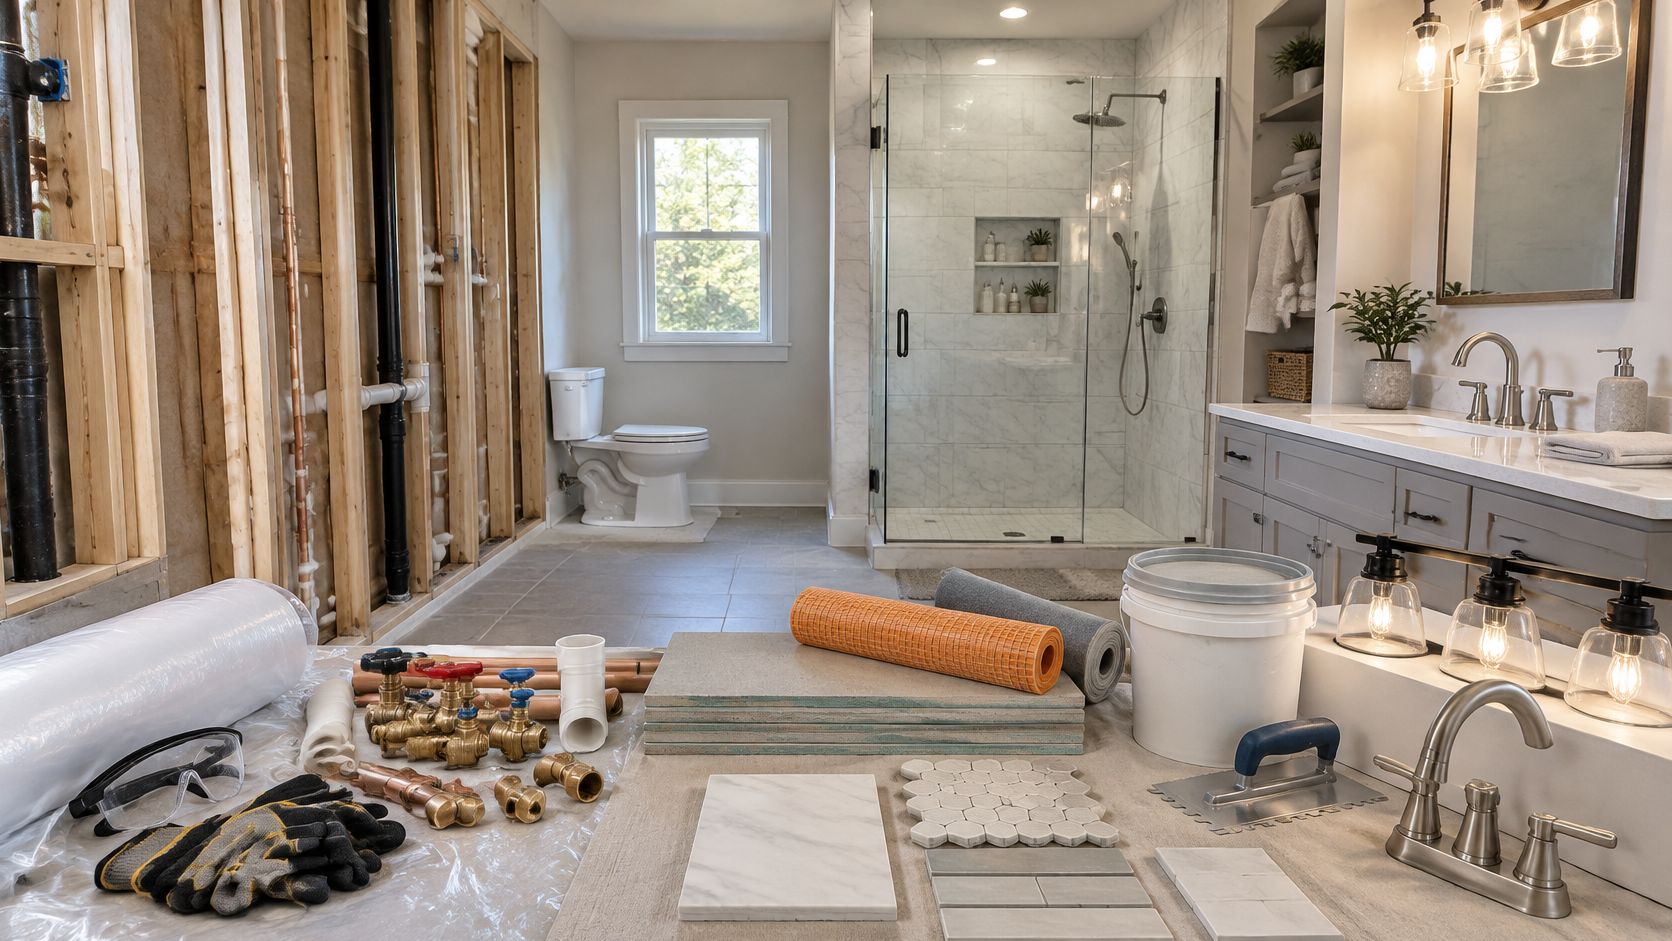
You've picked a vanity, saved tile photos, and started comparing faucets. Then the installer asks which shower valve you ordered, whether the sink needs a separate drain assembly, and when the waterproofing will arrive. Suddenly, the attractive purchases aren't the ones holding up the job.
Bathroom remodel supplies need a purchase sequence, not just a shopping list. Buy around the installation dependencies, confirm quantities from actual measurements, and keep the concealed components on the same order sheet as the visible finishes. A forgotten fitting can cost another trade visit; an incompatible valve can mean opening a finished wall.
Table of Contents
- Supplies Needed in Each Remodel Phase
- Fixture Specs That Save Water and Fit the Room
- Order Long-Lead Items Before Demolition
- Demolition and Protection Supplies to Stage Early
- Rough-In Materials, Blocking and Backer Board
- Finish Materials and Quantity Math for Tile and Paint
- Confirm the Supply List and Budget Before You Order
Supplies Needed in Each Remodel Phase
A small hall bathroom moves through demolition, rough-in, fixture installation, and finishes. Backer board and waterproofing sit between the concealed work and tile installation, so give them their own purchasing checkpoint rather than burying them under finishes.
The distinction between selection date, order date, and installation date matters. You might select lighting early to establish wiring locations but install it near completion. Likewise, the crew needs the shower valve during rough-in, even though its decorative trim stays boxed until later.
Core supplies and quantity guide by remodel phase
| Phase | Core supplies | Quantity guide | Order by |
|---|---|---|---|
| Demolition | Dumpster, drop cloths, dust barrier, shop vac, demo bar, PPE | Size debris removal to the demolition scope and hauling weight limits; stock bags and buckets for material carried out by hand | Before demo starts |
| Rough-in | PEX or copper supply, PVC drain, shutoff valves, electrical cable, GFCI protection, rigid exhaust duct | Measure pipe and duct routes; count supply connections and fittings from the plumbing plan; have the electrician specify cable and protection | Before rough-in begins |
| Backer and waterproofing | Cement board or approved tile backer, waterproof membrane, thinset, fasteners | Measure substrate areas; include seams, overlaps, corners, penetrations, and layout waste using the selected system's instructions | Before substrate installation |
| Fixtures | Toilet, vanity, faucet, shower valve, trim, showerhead | Count fixtures from the approved layout; order valve and trim as a compatible assembly | Before demolition for special-order components, with delivery confirmed |
| Finishes | Tile, grout, sealant, paint, towel bars, lighting | Calculate tile by surface and layout; grout by joint dimensions; paint by label coverage; hardware by marked mounting location | Tile and vanity top decisions first; hardware and lighting installation last |
Turn the list into a measured takeoff
Walk the room with a tape measure and mark every surface receiving new material. Separate shower walls, shower floor, bathroom floor, and painted walls because they don't necessarily use the same products.
Count fittings as well as pipe. An uninterrupted pipe run and a route around framing can require very different connection packages, even when their endpoints are close together.
Keep small components attached to their parent purchase:
- Faucet assembly: Record whether supply hoses, drain, and mounting hardware are included.
- Toilet assembly: List the connector, shutoff, mounting hardware, and approved sealing components.
- Waterproofing assembly: Include corners, collars, seam treatment, and drain connections.
- Ventilation assembly: Include the duct, fittings, exterior termination, and connection materials.
Total quantities from your room, not from a generic bathroom package. A missing shutoff or incorrect duct fitting can force the crew to stop while someone locates the right part.
Fixture Specs That Save Water and Fit the Room
| Fixture | WaterSense benchmark | Typical yearly savings | Check before buying |
|---|---|---|---|
| Lavatory faucet | 1.5 gpm or less; replacing inefficient faucets or aerators can save an average family about 700 gallons annually, according to EPA's bathroom faucet guidance | Faucet and aerator estimate applies to an average family, not every installation | Supply connections, deck holes, drain type, and reach over the sink |
| Showerhead | No more than 2.0 gpm; replacing old showerheads can save an average family more than 2,700 gallons annually and about $70 in combined water and energy costs, according to EPA's product specifications guidance | Savings reflect replacement of older, inefficient equipment | Connection type, household pressure, and intended spray experience |
| Tank-type toilet | Confirm the current WaterSense certification on the exact model | Evaluate against the existing toilet and household use rather than assuming a universal saving | Rough-in distance, bowl clearance, supply location, and door swing |
Certification and physical compatibility answer different questions. The label helps you compare efficiency and performance, but it doesn't tell you whether a faucet clears your backsplash or a toilet fits beside the vanity.
Verify the complete assembly
Start by recording existing fixture model numbers and any marked flow rates. Then gather dimension sheets for the replacements before approving cabinet drawings or countertop fabrication.
For a faucet, compare the spout outlet with the actual sink bowl, not just the vanity width. A short spout can leave hands pressed against the back of the basin; an unsuitable outlet position can encourage splashing. Check whether the drain requires an overflow opening and whether the faucet's mounting arrangement matches the countertop.
The shower needs its own compatibility check. Decorative trim isn't universally interchangeable with concealed valves, even when the finish and brand look right. Use the exact manufacturer compatibility information, including any required adapters or extensions.
Our guide to choosing a kitchen or bathroom fixture can help organize the appearance and usability decisions alongside those technical checks.
Check pressure before blaming the fixture
Have the plumber assess supply pressure and restrictions if the existing shower already performs poorly. A new showerhead won't repair a restricted pipe, partly closed valve, or supply problem.
Buying rule: Compare certified fixtures that fit the room and the plumbing, not flow rates in isolation.
After installation, test drainage, leaks, temperature control, and operation with other household fixtures running. Don't approve completion based only on how the fittings look.
Order Long-Lead Items Before Demolition
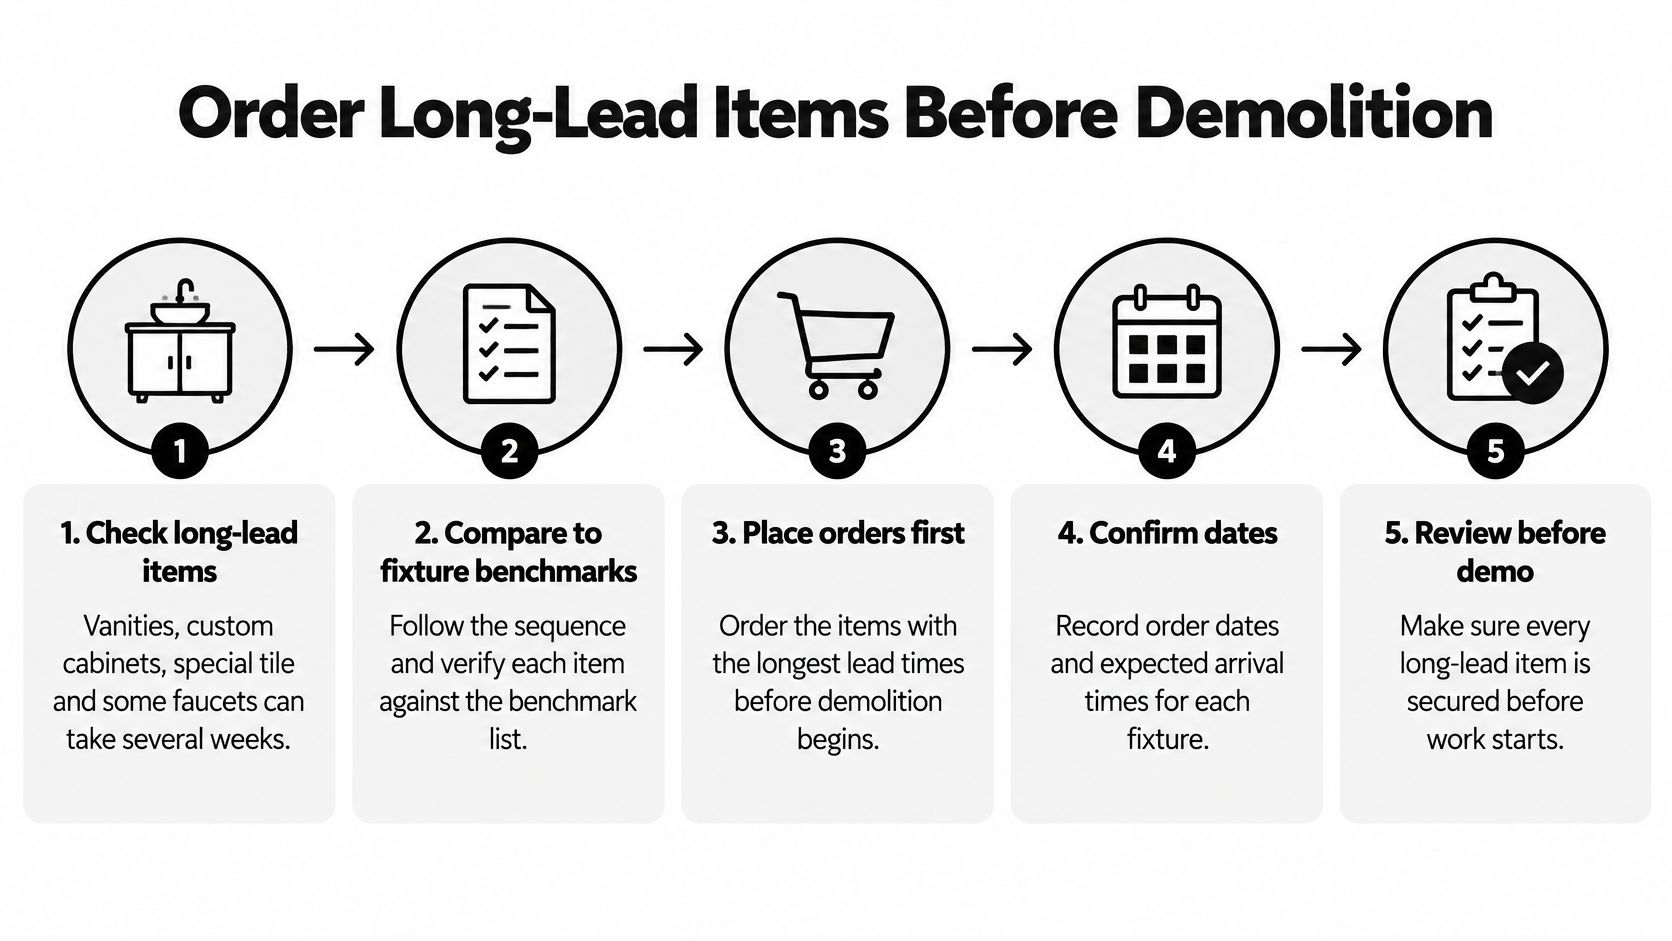
Don't schedule demolition from an estimated shipping date alone. Get written availability, identify which components ship separately, and leave time to inspect deliveries before the room becomes unusable.
Use this sequence to keep purchasing decisions tied to the work.
Place orders around dependencies
Approve the measured layout. Confirm toilet rough-in, vanity dimensions, drawer movement, and clearances. Measure from the intended finished surfaces, including tile buildup, rather than assuming exposed framing represents the final room.
Coordinate the vanity, sink, countertop, and faucet. Release fabrication only after the fabricator has the approved fixture information. A faucet selected after drilling may require a return, an adapter plate, or a replacement top.
Secure the shower's concealed components. Confirm the valve, trim, outlet fittings, and waterproofing connections as a coordinated package. A trim kit without its required rough-in body isn't a complete delivery.
Resolve the shower floor assembly. Choose the drain arrangement, pan or mortar-bed approach, and compatible tile before ordering surrounding finishes. Curbless work can affect framing and floor elevations, not just the threshold.
Specify ventilation after checking the route. Have the installer confirm the fan's suitability for the room and the actual duct path. Buying by grille appearance alone ignores the work needed above the ceiling.
Record delivery commitments and inspect arrivals. Check model numbers, finish codes, damage, missing cartons, and return deadlines. Keep damaged packaging until the supplier resolves the claim.
Check approvals before committing money
Accessibility changes may involve demolition, plumbing, electrical work, structural alterations, and permits, rather than accessories alone, as described in HomeAdvisor's accessible bathroom cost guide. For a South Jersey project, confirm requirements with the local building office before purchasing components that depend on an approved layout.
Use our bathroom renovation timeline to map those purchasing milestones against trade visits. Lead time belongs to the actual order, not a blanket allowance for every vanity or tile collection.
This video offers another planning reference before you release demolition.
The cheapest compatible item may be a good purchase. The cheapest incompatible item adds return freight, replacement labor, or idle time without moving the bathroom closer to completion.
Demolition and Protection Supplies to Stage Early
Stage protection before removing fixtures. Carrying broken tile through an unprotected hallway creates a second repair job, and setting up dust containment after demolition has started won't retrieve dust already spread through the house.
Separate removal tools from household protection
- Debris handling: Arrange an approved disposal container, contractor bags, and manageable buckets for carrying heavy debris. Don't fill bags so heavily that they tear or can't be moved safely.
- Removal tools: Set out a pry bar, hammer, utility knife, reciprocating saw, and spare blades. EZARC Tools' guide to demolition blades for wood and metal is useful when matching blades to framing and embedded fasteners.
- Dust containment: Use sealed doorway barriers, plastic sheeting, and suitable floor protection along the entire removal route. Choose tape that won't pull the finish from adjacent surfaces.
- Cleanup equipment: Use dust extraction appropriate to the material and a properly filtered vacuum. Don't assume an ordinary shop vac safely captures hazardous construction dust.
- Personal protection: Provide eye protection, cut-resistant gloves, hearing protection, and respiratory protection selected for the task. Keep a work light available for cavities behind fixtures.
Resolve hazards before disturbing materials
Suspected lead paint or asbestos requires assessment before demolition. Don't cut, sand, or break questionable flooring, mastic, coatings, or pipe insulation to see what happens. Arrange appropriate testing and qualified handling; ordinary dust barriers and disposable masks aren't a substitute.
Confirm that the water can be shut off reliably, and have electrical circuits identified and made safe before opening walls. If a shutoff doesn't work, arrange its replacement before disconnecting the fixture.
Keep the staging area outside the demolition zone, with a clear route to the exit. Supplies buried behind debris aren't ready for use.
Rough-In Materials, Blocking and Backer Board
Concealed supplies deserve more scrutiny than decorative hardware. Replacing an exposed handle is straightforward; replacing an inaccessible connection can mean removing paint, board, waterproofing, and tile before the plumber reaches it.
These are the materials to coordinate while the framing remains accessible.
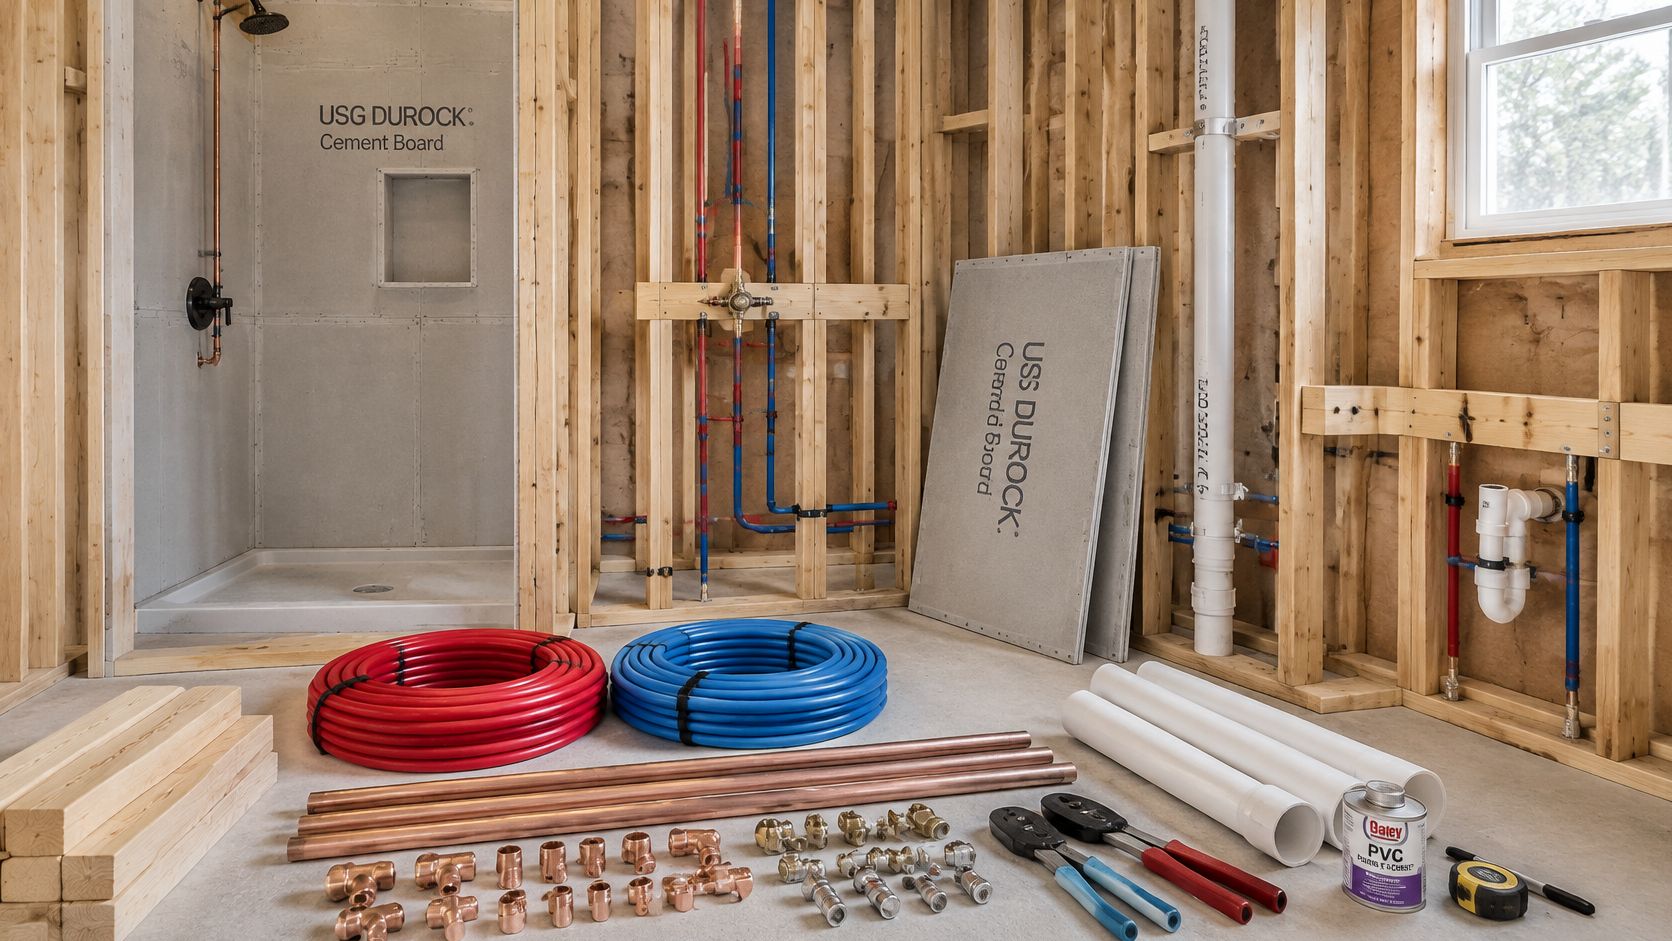
Buy in installation order
- Framing repairs and backing: Replace damaged structural material before covering it. Add blocking for the vanity, support hardware, shower glass attachments, and other loads identified in the design.
- Supply and drainage materials: Have the plumber specify pipe sizes, fittings, transitions, supports, and shutoffs for the approved layout. Match PEX fittings to the tubing and connection system rather than buying parts because they look interchangeable.
- Electrical and ventilation materials: Let the electrician specify circuit protection, wiring, boxes, and equipment for the applicable requirements. Use duct components approved for the fan and installation, with an exterior termination rather than discharge into an attic.
- Substrate and waterproofing: Select an approved backer and complete waterproofing assembly, including compatible fasteners, seam materials, corners, and drain details.
Cement board isn't the waterproof layer. Follow the chosen assembly's instructions for where waterproofing goes, how seams are treated, and how penetrations are sealed. Don't improvise a combination of leftover products without confirming compatibility.
Make future support possible now
Among surveyed U.S. homeowners undertaking or planning a bathroom project, 68% were considering special needs, according to the 2025 U.S. Houzz Bathroom Trends Study. Planning support locations while walls are open preserves options without requiring an institutional-looking room.
Mark grab-bar positions around the user's reach, transfers, shower controls, and intended hardware. Backing must suit the mounting arrangement and anticipated loads; a decorative towel bar doesn't become a support bar because it feels sturdy.
Vanity depth and door or drawer movement also affect usability. Work through those relationships during bathroom vanity planning, before plumbing lands behind a drawer box or storage projects into needed floor space.
Ask the trades to inspect and test concealed work before covering it. Photograph each wall square-on, with a measuring tape visible, and record pipe, wire, and blocking locations. Those photographs help future installers avoid drilling blindly through finished tile.
Finish Materials and Quantity Math for Tile and Paint
Measure each finish separately, then calculate purchases from the actual product's coverage and packaging. Floor area alone won't tell you how much wall tile, edging, grout, or waterproofing the bathroom needs.
Calculate from surfaces and layout
- Tile area: Multiply each surface's length by its width, then total surfaces receiving the same tile. Account for openings, niches, returns, cuts, and the installer's layout allowance before rounding up to full cartons.
- Trim length: Measure exposed edges and transitions separately. Include niche edges and outside corners that won't be finished with tile returns.
- Grout quantity: Use the selected grout manufacturer's calculator with the actual tile dimensions, thickness, and joint width. Small mosaics require a different quantity from large tiles covering the same area.
- Mortar quantity: Use the bag's coverage guidance for the specified trowel and substrate. Surface irregularities and required tile coverage affect consumption.
- Paint quantity: Divide paintable area by the selected paint's stated coverage, then account for the specified coats. Calculate primer separately when the substrate or coating system requires it.
Don't subtract every tiny opening from the tile takeoff. The installer may still need full pieces to make surrounding cuts, and a mathematically exact surface total can understate the purchase quantity.
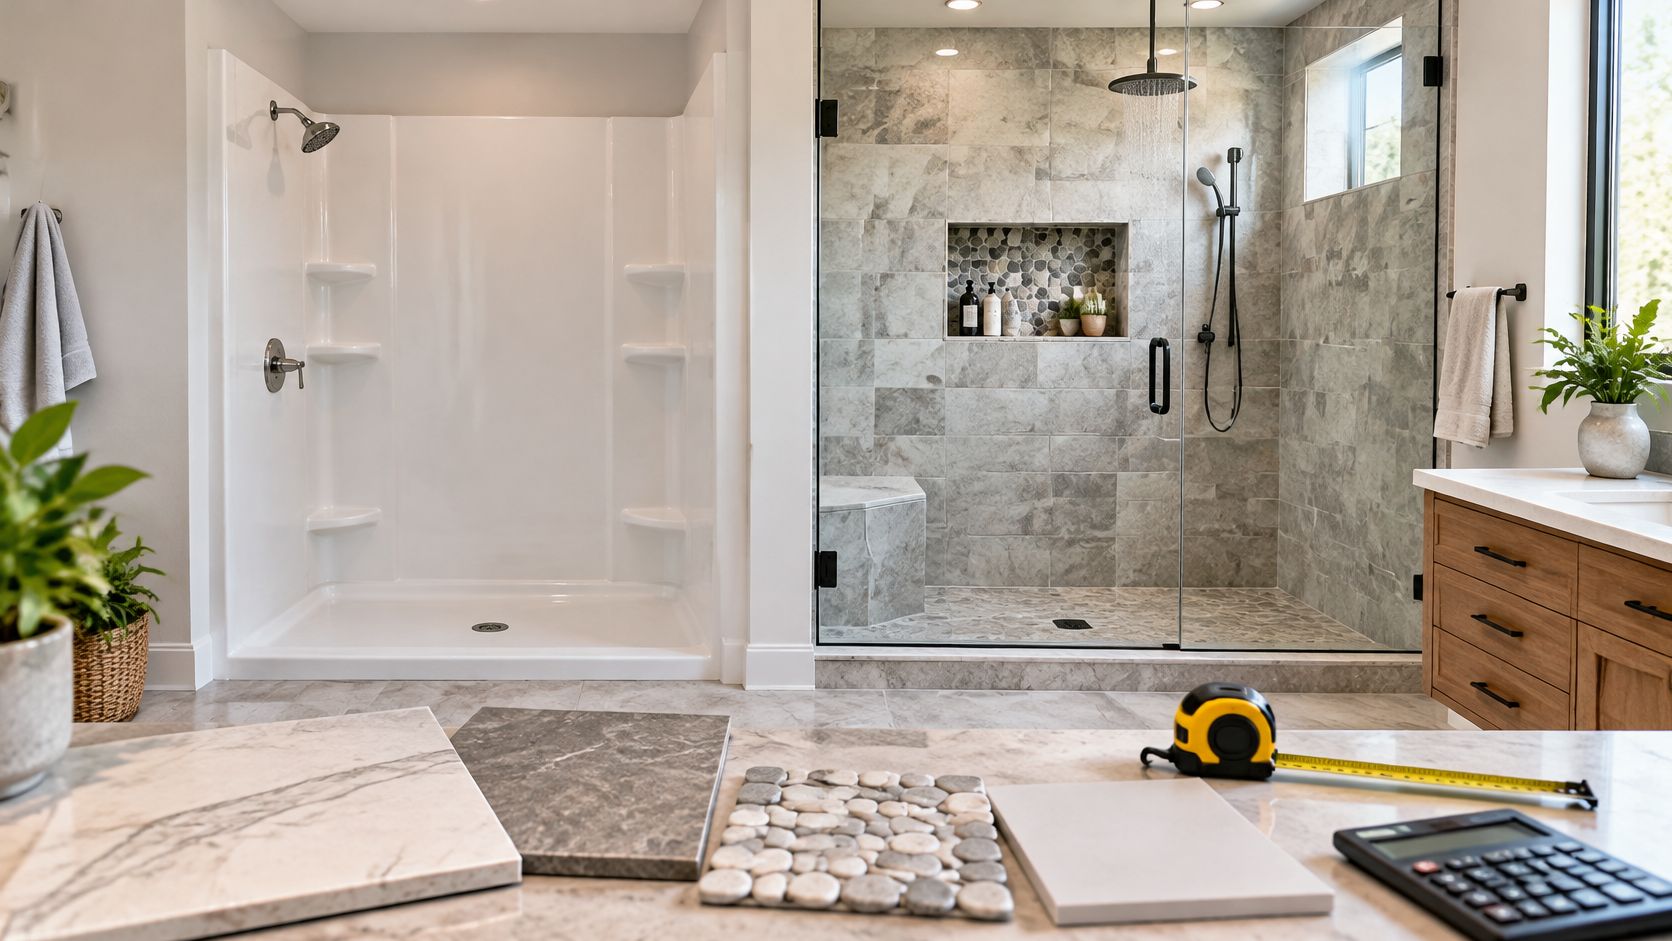
Review the layout and material choices together before ordering.
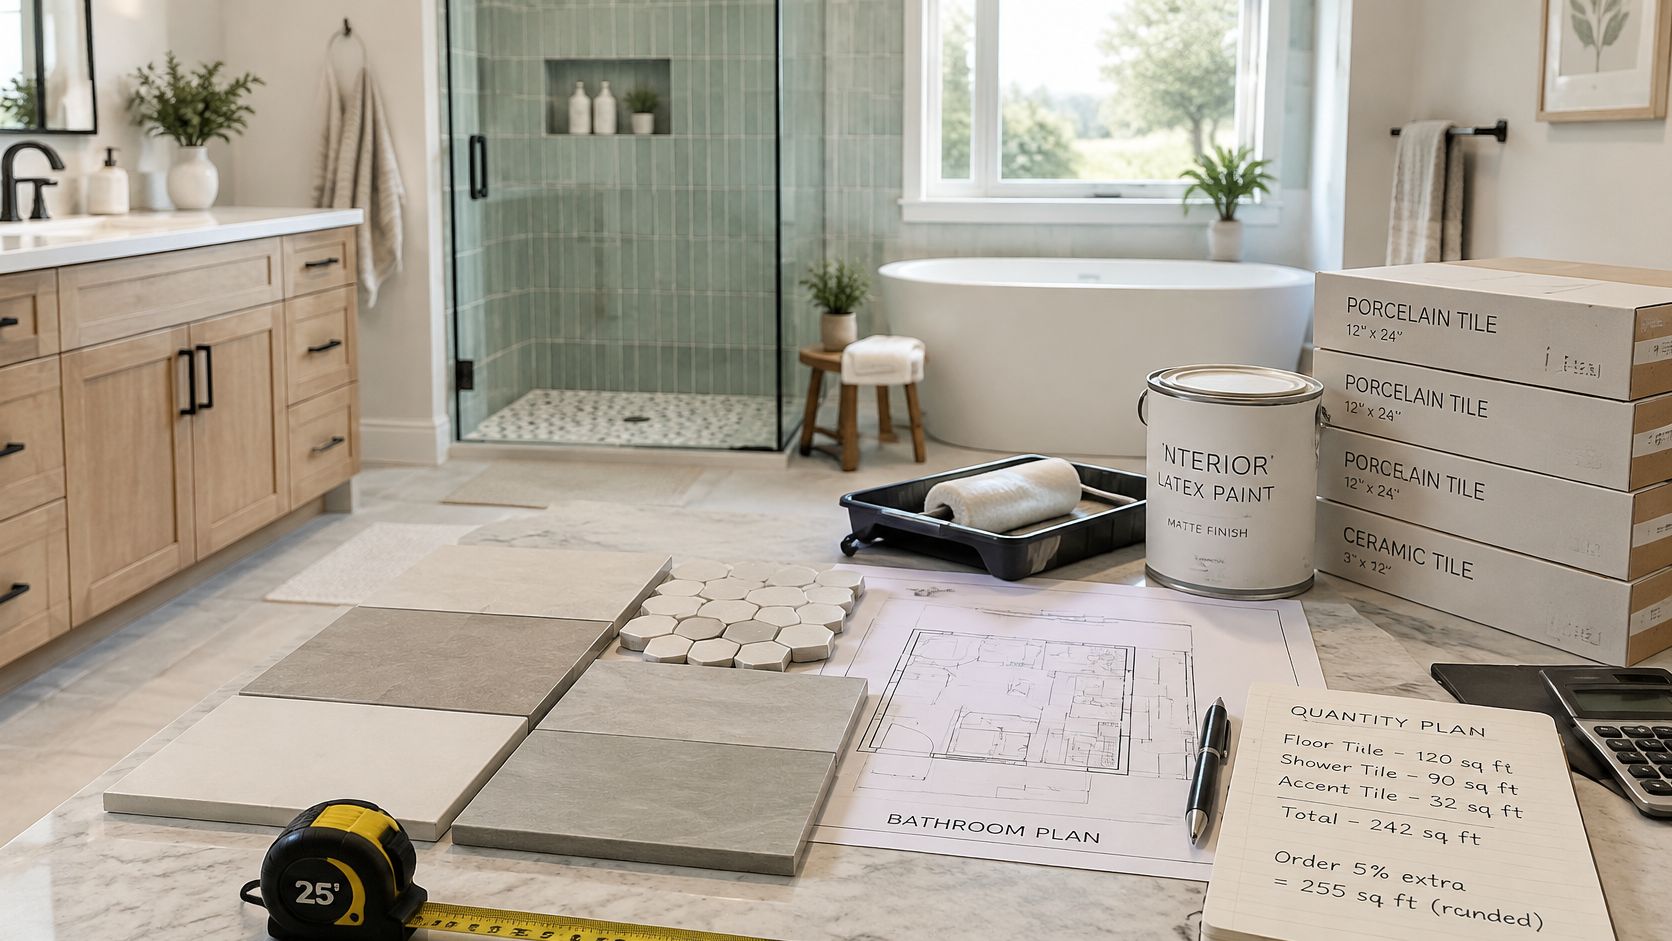
Let installation requirements narrow the choices
In 2024, 87% of U.S. homeowners renovating a primary bathroom selected tile for shower flooring, according to Houzz's study as reported by FloorDaily. For your shower, choose a tile suitable for the wet walking surface and compatible with the drain geometry and slope, rather than the matching tile from a wall collection.
Our bathroom tile remodel guide can help frame those selection decisions. During material selection, we walk clients through complementary elements, from the tile backsplash to the hardware.
Keep matching material: Store usable leftover tile with its carton label, and save grout and paint product information for repairs.
Check tile shade and production markings before installation, and have the installer assess variation across cartons. Count hardware by marked position, then compare actual finish samples under the bathroom's lighting. Similar finish names don't guarantee that a faucet, cabinet pull, and light fixture will look alike.
Confirm the Supply List and Budget Before You Order
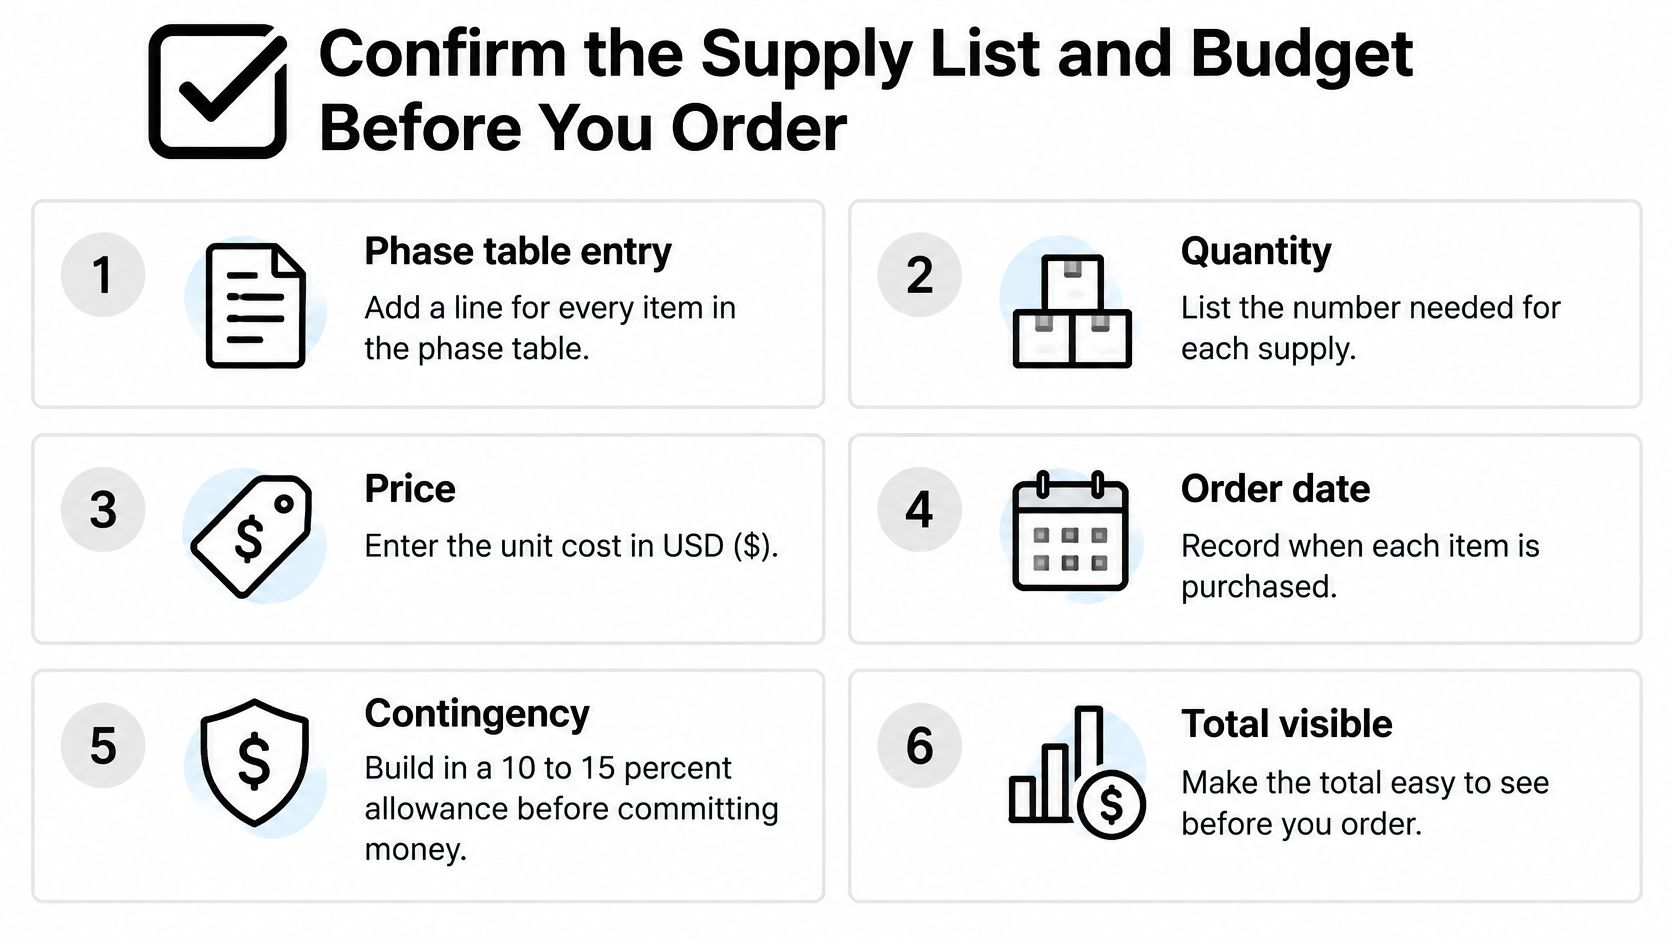
Budget the complete installed assembly, not just the item shown in the product photograph. A vanity price may exclude its top, sink, faucet, delivery, or installation materials; a shower trim price may exclude the valve that makes it work.
Build the purchasing sheet so you can see what remains unpriced before committing funds. Keep a separate reserve for concealed damage and necessary corrections, sized to the project's condition and scope rather than treated as available finish-upgrade money.
Use this checklist when reviewing the order sheet.
Compare purchase cost with operating cost
Bathrooms account for more than 50% of indoor household water use, and WaterSense-labeled products must use at least 20% less water than standard models while delivering equivalent or better performance, according to EPA's WaterSense statistics and facts.
That makes efficiency relevant to the budget, but it doesn't justify assuming every replacement will deliver the same savings. Compare the existing equipment, household usage, local utility charges, and purchase-price difference. Don't pay for an unnecessary premium feature while leaving essential waterproofing components unfunded.
Our bathroom remodel cost breakdown provides another way to organize the scope before choosing where to spend and where to simplify.
Release orders only after the final review
- Complete assemblies: Confirm every required component is included or separately listed, with an exact model number.
- Dimensional approval: Keep fixture sheets and approved drawings together so suppliers and trades use the same information.
- Installation quantities: Have the installer review coverage, waste, packaged quantities, and supporting materials.
- Schedule ownership: Assign someone to track delivery, inspect cartons, and resolve shortages before installation.
- Concealed-work checkpoints: Record required inspections, testing, and backing verification before walls close.
- Budget visibility: Include freight, tax, disposal, and known labor consequences alongside material prices.
This week, put the measured phase list on a purchasing sheet and review it while standing in the bathroom. Mark unresolved decisions instead of guessing, and don't release the affected order until the responsible trade confirms it. That small pause is cheaper than paying someone to undo finished work.
The Cabinet Coach brings full-size cabinetry, countertop, hardware, and tile samples to your home for comparison with an experienced guide. Visit The Cabinet Coach to arrange a complimentary, no-pressure call about your bathroom's goals, foreseeable challenges, and the selections you need to settle before ordering.