
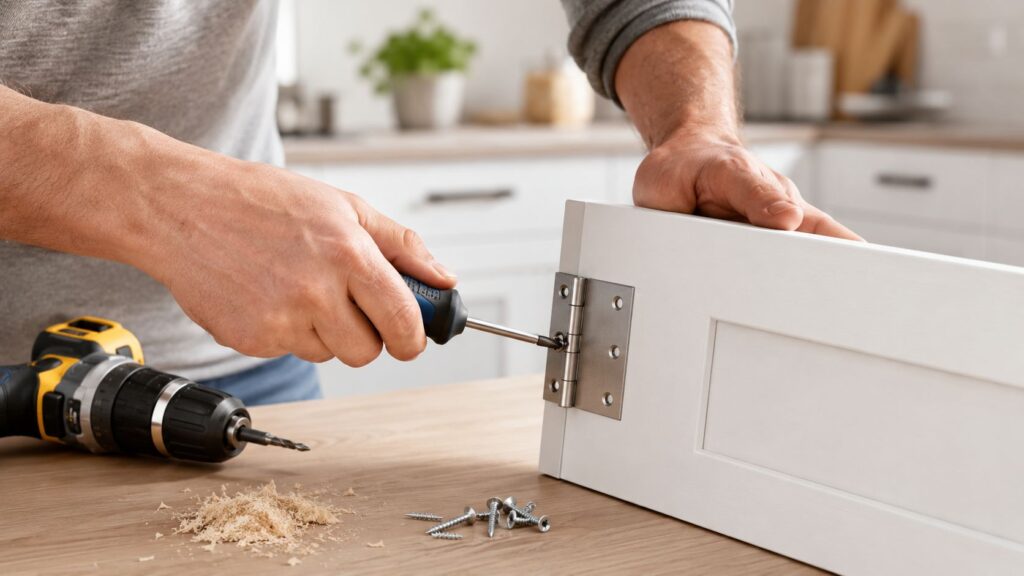
One loose cabinet door can make an otherwise decent kitchen feel worn out. It rubs the frame, hangs a little low, or pops back open when you thought you shut it. Most homeowners live with that annoyance longer than they should because hinge problems look small from the outside, but once you start shopping for replacements, you realize there are a lot of ways to buy the wrong part.
The good news is that cabinet hinge replacement is very doable if you're reasonably handy and willing to measure first. The bad news is that most of the frustration comes from the part people rush through. They pull the old hinge, head to the hardware store, and come back with something that almost fits. “Almost” is where cabinet work gets ugly.
If you're also thinking bigger than one hinge and looking at door style updates, it helps to compare what's current before you commit. For visual inspiration, you can shop top modern cabinet styles and see how hinge choice affects the overall look. If your project may turn into a door upgrade too, this quick guide to kitchen cupboard door types is worth a look before you buy hardware that only fits your current setup.
Table of Contents
- That Annoying Cabinet Door The Start of Your Project
- Identify Your Hinges and Gather Your Tools
- Carefully Remove the Old Cabinet Hinges
- Install and Align Your New Cabinet Hinges
- Troubleshooting Common Cabinet Hinge Problems
- Finishing Touches and When to Call a Professional
That Annoying Cabinet Door The Start of Your Project
Usually it starts with one door. The one under the sink that sees steam and drips. The corner cabinet your kids yank open sideways. The bathroom vanity door that never sat quite right and now has gotten worse. It still works, technically, but every day it reminds you something's off.
That's why cabinet hinge replacement is one of those jobs that punches above its weight. Fix the hinge, and suddenly the cabinet closes cleanly, the gap looks even, and the whole room feels tighter. You don't need a full remodel to notice the difference.
I've seen homeowners get this right on the first try when they slow down and treat it like a fitting job, not just a screw-swapping job. I've also seen perfectly good cabinet doors chewed up because someone forced a near match. Hinges aren't universal, and that's the part that surprises people.
A crooked door usually isn't a “bad cabinet” problem. It's often a measurement problem, a worn hinge, or a stripped mounting point.
The fix starts by identifying what you have, not what looks close on the shelf. Once you know the hinge type, the overlay, and whether the existing holes can be reused, the job becomes straightforward. If you skip that homework, you're guessing. And in cabinet work, guessing shows.
Identify Your Hinges and Gather Your Tools
Preparation is most of the job. There are no universal industry-wide standards for cabinet hinge screw placement, size, or finish, so you need to measure your hinge instead of assuming a replacement will match. That matters for overlay, bore diameter, and spacing. Common bore sizes include 42 mm and 45 mm, and for offset doors you may see an overlay that's typically 3/8 inch. If those measurements are off, the door can end up misaligned or leave ugly gaps, as noted in this cabinet hinge measuring walkthrough.
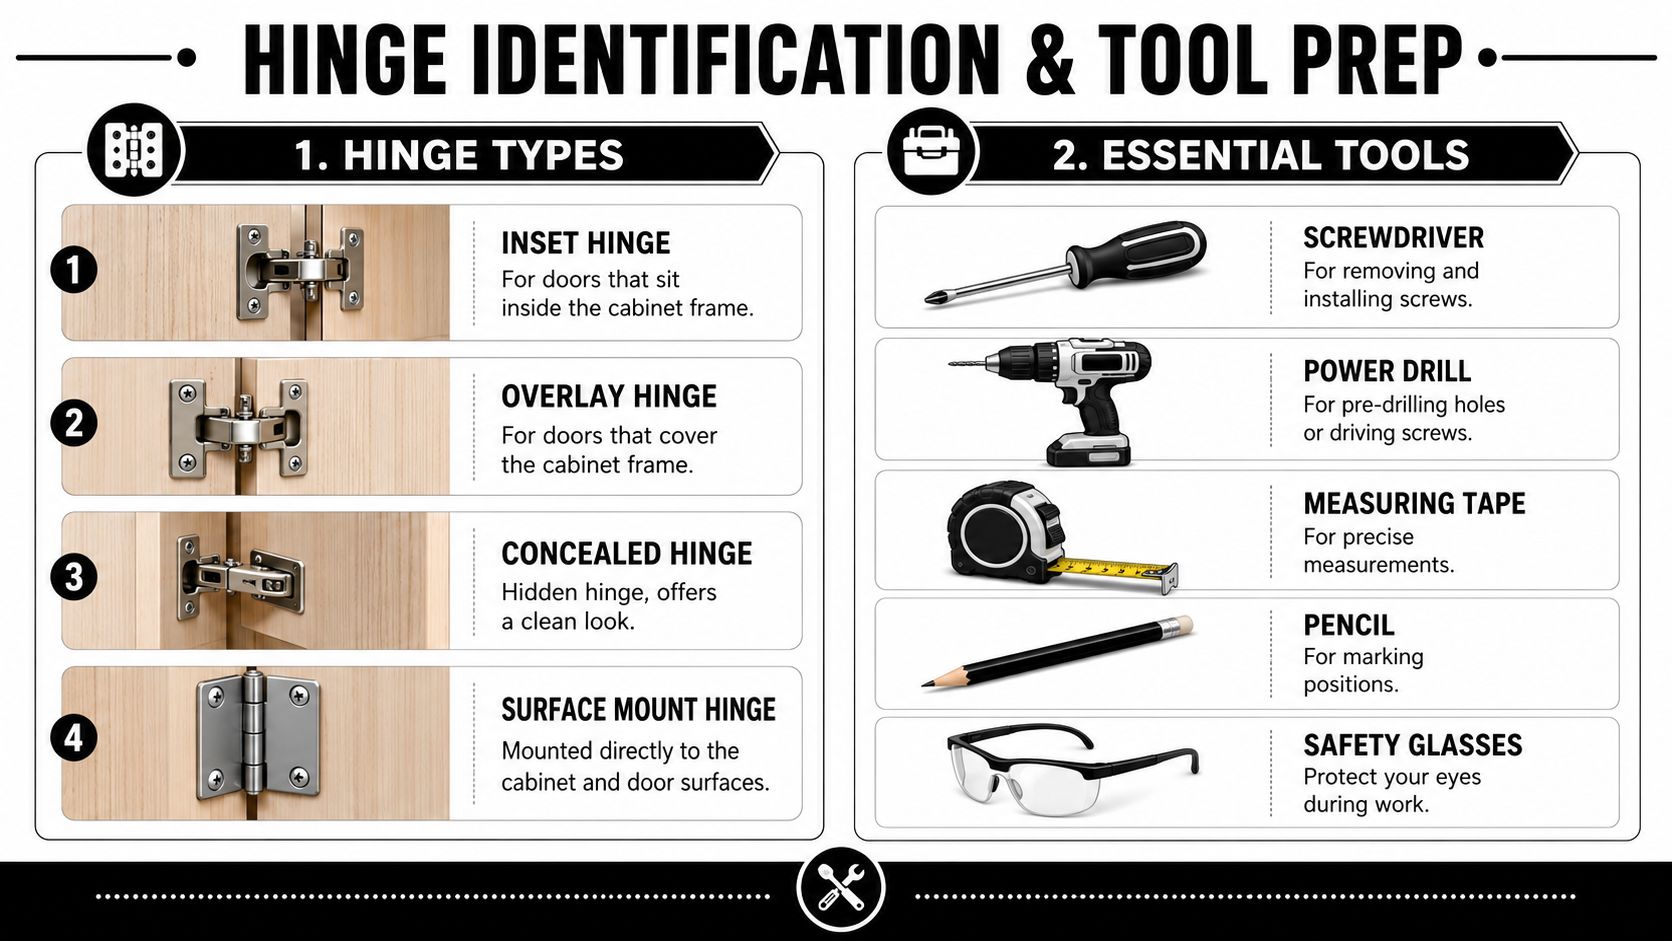
Start by naming the hinge you have
Look at the hinge with the door open.
If you can see the whole hinge from the outside when the door is closed, you're likely dealing with a surface mount or a more traditional exposed hinge. If the hardware disappears when the door is shut and there's a round cup bored into the back of the door, that's a concealed European-style hinge. If the door sits inside the frame instead of covering it, you're dealing with an inset setup, which changes what replacement will work.
A quick way to avoid buying the wrong hardware is to remove one hinge and bring it to the bench, not just a photo on your phone. Photos help, but they don't always show overlay, crank, cup depth, or screw spacing clearly enough.
Measure before you shop
Three measurements matter more than anything else:
- Overlay: How much the door covers the cabinet opening or frame.
- Bore diameter: The size of the round cup hole on concealed hinges.
- Hole spacing: The distance between existing screw holes or mounting points.
For many homeowners, overlay is where the confusion starts. Measure from the cabinet frame to the outer edge of the closed door. Write it down. Don't trust memory.
Practical rule: If you remove a hinge before you record the overlay and hole pattern, you've made the job harder than it needs to be.
If you have concealed hinges, also measure the cup hole and check where that hole sits in relation to the door edge. That relationship affects reveal and alignment later. If your project also includes knobs or pulls, this guide on how to install cabinet hardware helps keep the whole door setup consistent.
Common Cabinet Hinge Types at a Glance
| Hinge Type | Appearance | Common Use | Key Measurement |
|---|---|---|---|
| Inset Hinge | Door sits inside frame opening | Traditional framed cabinets | Inset fit and frame clearance |
| Overlay Hinge | Door covers part of frame | Most common face-frame cabinets | Overlay amount |
| Concealed Hinge | Hidden when door is closed, cup in door back | Modern kitchens and baths | Cup diameter and hole position |
| Surface Mount Hinge | Visible on cabinet exterior | Utility cabinets, older cabinetry | Screw hole spacing |
Tools that make the job go smoothly
You don't need a truck full of gear, but a few basic tools save a lot of aggravation.
- Screwdriver set: A hand screwdriver gives better feel than a drill when you're backing out old screws.
- Drill or driver: Useful for pilot holes and light fastening.
- Tape measure or combination square: Better than eyeballing.
- Pencil: Mark your parts and hinge locations.
- Safety glasses: Especially if you're cleaning holes or drilling.
- Wood filler or dowels: Handy if old holes are worn out.
- Utility knife: Good for scoring around painted-over hinges.
- Small container: Keep screws from wandering off across the countertop.
A folded towel on the counter is another simple trick. It protects the door finish while you inspect the old hinge and compare the new one side by side.
Carefully Remove the Old Cabinet Hinges
Removal sounds simple, but cabinet doors get chipped and screw heads mangled at this stage. Slow is faster here.
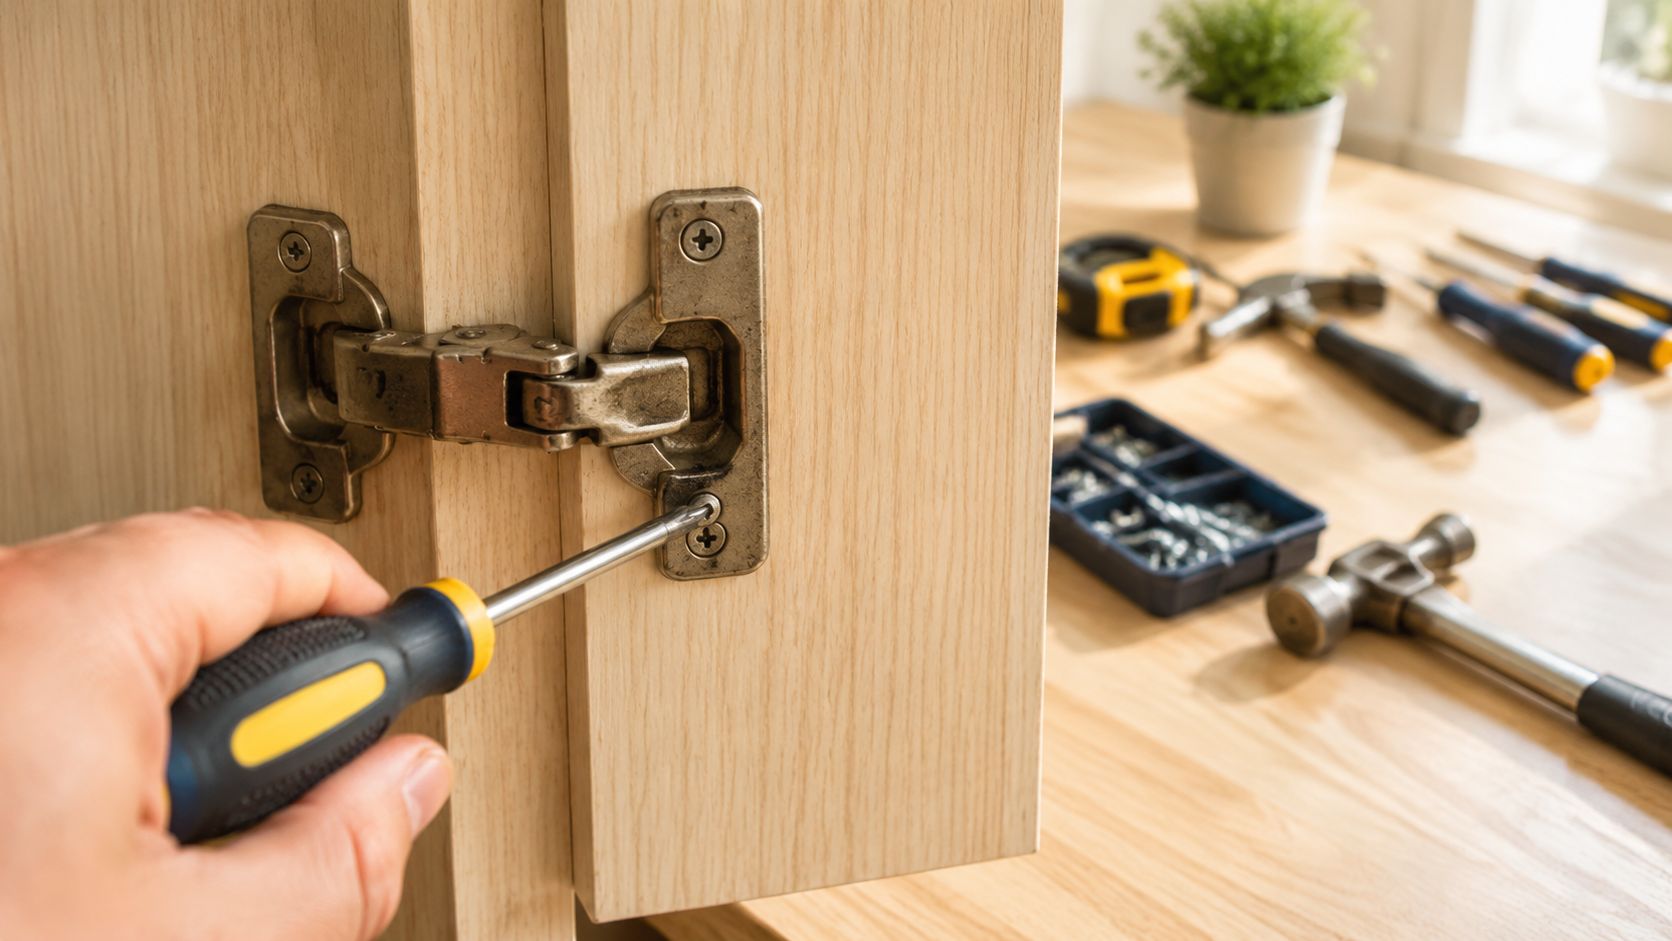
Support the door before the first screw comes out
If you're working alone, put a small box, stack of books, or a rolled towel under the open door so its weight isn't hanging on the last screw. For heavier doors, painter's tape across the top edge can help keep the door from shifting while you loosen hardware.
I prefer removing the screws from the cabinet side first while the door is supported. Then I move to the hinge-to-door screws. That keeps the door from twisting unexpectedly.
Use this order:
- Open the door fully.
- Support the bottom edge.
- Loosen, don't fully remove, the top mounting screw.
- Loosen the lower mounting screw.
- Remove screws while holding the door steady.
- Set the door on a protected surface.
If the hinge area is dirty, wipe it down before you inspect the wood. Grease and dust can hide cracks, swelling, or stripped holes.
How to deal with stubborn screws
Older hinges often fight back. Paint, grime, and corrosion can lock a screw in place.
Try these fixes before you strip the head:
- Score painted edges: Run a utility knife around the hinge plate first.
- Seat the screwdriver firmly: Push inward hard before turning.
- Use hand tools first: A drill can cam out and ruin the screw head quickly.
- Add grip: A rubber band between screwdriver and screw head sometimes helps on slightly worn screws.
If the screw starts to slip, stop. One extra second of forcing it can turn a removable screw into an extraction problem.
Once the hinge is off, compare it directly to the new one on the bench. Not in the air. Not by memory. Put them face to face and check length, offsets, cup size, and hole locations. That minute of comparison can save a lot of patching later.
Install and Align Your New Cabinet Hinges
For a clean cabinet hinge replacement, it either comes together nicely or turns into a re-drill job. The hinge may look right in your hand and still sit wrong on the door. Fit first, then fasten.
Start with this visual workflow before you pick up the screws.
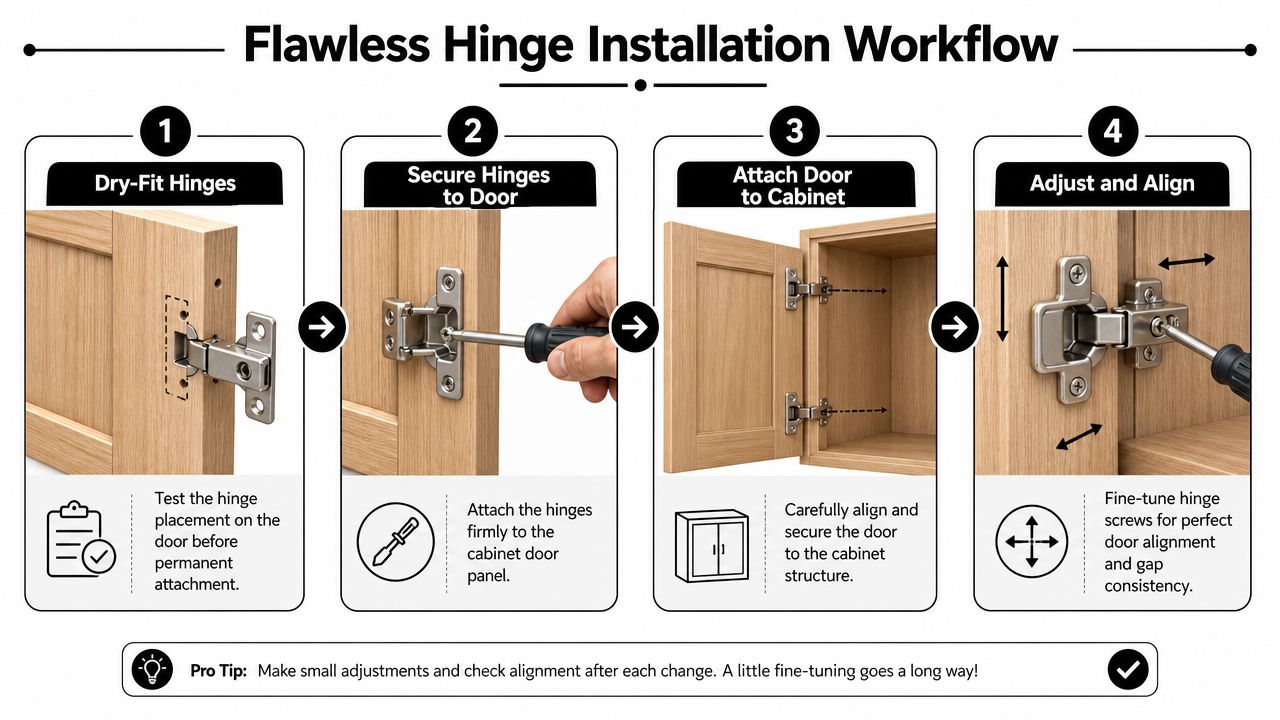
Dry-fit first and save yourself rework
A proper dry-fit means placing the new hinge into position without screws so you can confirm the cup sits correctly, the plate lands flush, and the hole pattern makes sense before anything is committed. That simple check matters because bad pre-measurement is a major reason DIY installs fail. One trade source estimates a 30% failure rate in DIY attempts due to improper pre-measurement, especially when overlay isn't verified first, according to this hinge measuring guide from Eagle Woodworking.
If your hinge is a concealed European style, the industry-standard cup diameter is 35 mm, and the critical detail is the boring distance, which is the distance from the edge of that 35 mm cup hole to the edge of the door. That distance determines the reveal or gap. If the new hinge doesn't line up with the existing mortise, the door won't sit flush and you'll need to fill and re-drill, as explained in this European hinge setup video.
Here's the practical version. If the hinge rocks, leaves a visible gap under the plate, or forces the cup sideways into the hole, stop. It's not the right fit.
A layout reference helps too. If you're trying to keep door lines and pull placement clean across the whole run, this cabinet hardware placement guide is a solid companion.
Later in the process, this video is useful for seeing the motion and adjustment sequence in real time.
Attach the hinge to the door
Once the dry-fit checks out, fasten the hinge to the door first. That usually gives you better control than trying to mount loose hinges inside the cabinet and chase the door afterward.
Use these guidelines:
- Reuse solid holes: If the screw bites firmly and the hinge sits where it should, there's no reason to reinvent it.
- Pre-drill when needed: Especially in hardwood doors or when shifting to fresh wood nearby.
- Don't overdrive screws: You want snug, not buried.
- Fill failed holes properly: If the old screw spins, fill the hole and let it set before trying again.
For small stripped pilot holes, a common field fix is wood glue and tight wood slivers or toothpicks. Trim flush after it cures, then re-drive the screw carefully. For badly blown-out holes or doors with chipped cup areas, it's better to patch more deliberately and re-drill cleanly.
Good hinge work feels boring when it's going right. The hinge drops in, the screws seat cleanly, and nothing needs to be forced.
Mount the door and tune the reveal
With hinges attached to the door, hold the door in place and start mounting to the cabinet. I like to catch the top screw first, then the lower one, then snug both enough to hold while adjustments happen. Final tightening comes last.
Most modern concealed hinges give you some combination of these adjustments:
- Side-to-side: Moves the door left or right to even the gap between neighboring doors.
- In-and-out: Brings the door closer to the frame or pushes it outward so it sits flush.
- Up-and-down: Raises or lowers the entire door, usually through the plate screws or slot.
Make tiny adjustments. A quarter turn can change the reveal more than you expect.
Stand back after each change. Don't judge alignment with your nose six inches from the hinge. Look at the full cabinet face, then open and close the door several times. Watch for rubbing, spring-back, and whether the gap stays consistent through the movement.
If you replaced only one hinge on a door with multiple hinges and things still feel twisted, replace the remaining hinges too. Mixed old and new hardware on one door often leads to a fight you don't need.
Troubleshooting Common Cabinet Hinge Problems
A door can be mounted correctly and still act up. That usually means the fix is smaller than it looks, but only if you diagnose the symptom before you start turning every screw in sight.
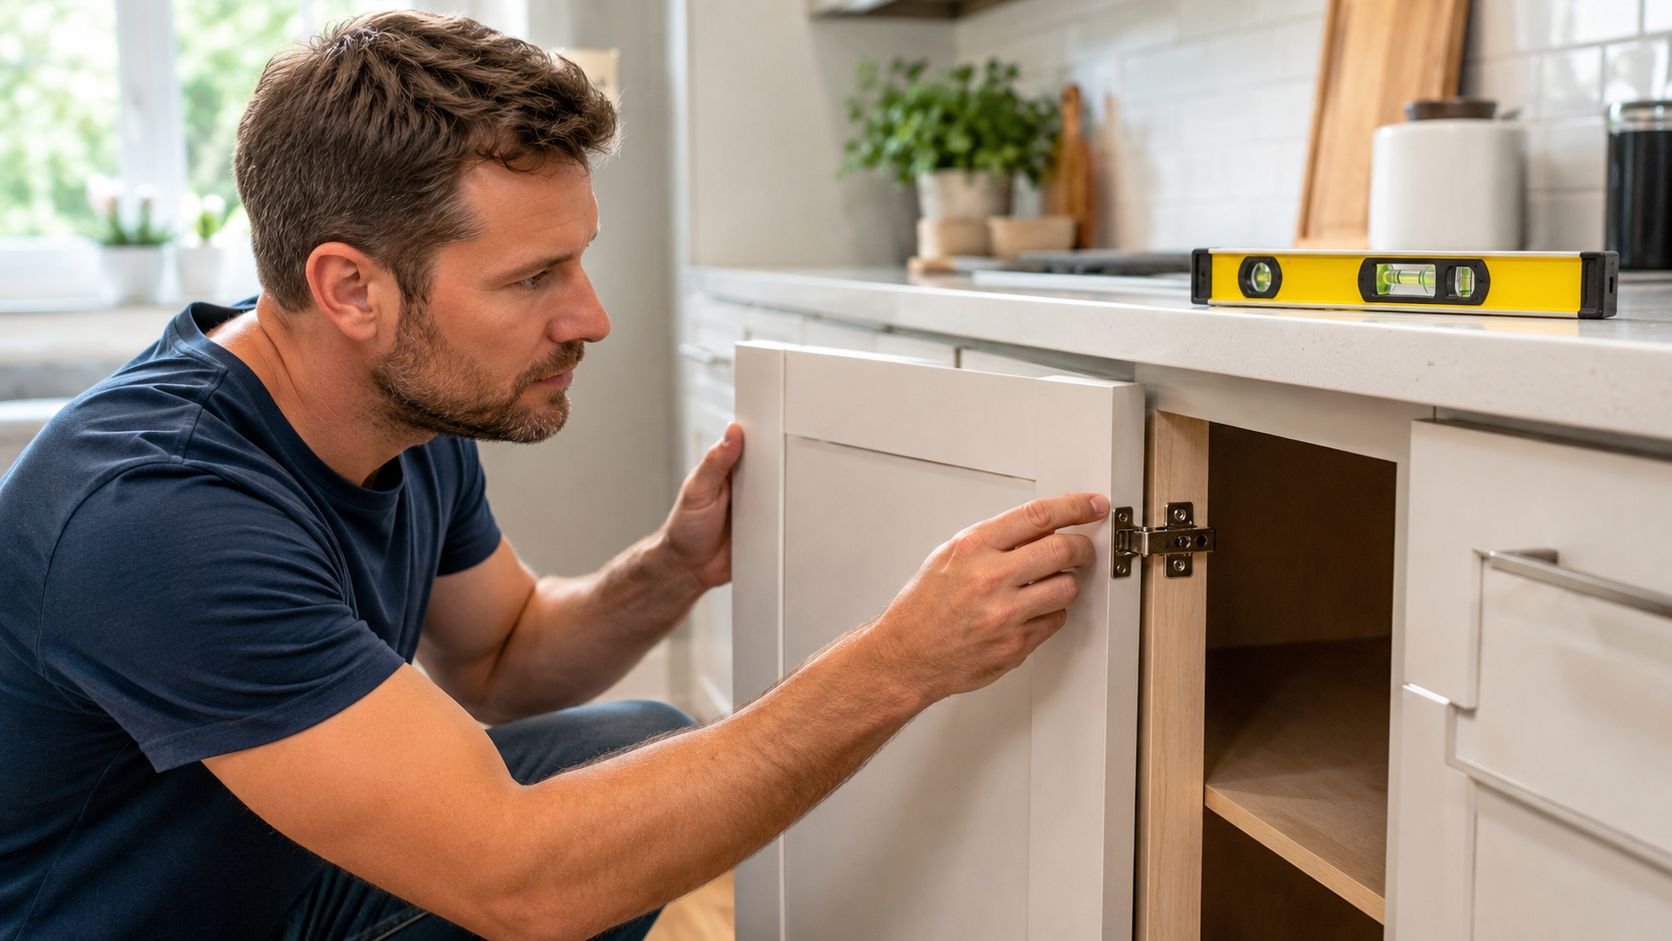
If the door still looks wrong
Watch the door open and close a few times, then look at it with the cabinet face in view. The pattern usually gives the problem away.
- Handle side droops: The door needs a little height correction, or the top hinge is loose and letting the weight pull down.
- Gap between double doors wanders from top to bottom: Shift side-to-side adjustment in small steps and check whether one door is slightly racked.
- Door hits the face frame or won't sit flat: Adjust depth first. If it still fights you, the hinge style or overlay may not match the cabinet.
- Door covers too much opening or leaves a strip exposed: You're likely dealing with the wrong overlay, not a simple adjustment issue.
That last one frustrates a lot of homeowners because it looks like an alignment problem, but it often starts with hinge selection. If the replacement hinge geometry is off, you can spend twenty minutes adjusting and never get a clean reveal.
At that point, stop forcing it. If you're dealing with old doors, worn finishes, and hardware that never quite matched in the first place, it may help to compare cabinet refacing vs replacement before you put more time into piecemeal repairs.
When the Screw Holes Have Failed
Sometimes the hinge is fine. The wood has merely stopped holding.
If a screw turns and never bites, or tightens for a second and then goes loose again, the mounting hole is stripped. On a solid wood frame, a simple filler repair often works. On swollen particleboard or a cracked stile, the repair gets less forgiving fast.
For a minor stripped hole, use this sequence:
- Back the screw out.
- Add a small amount of wood glue into the hole.
- Press in tight toothpicks or wood slivers.
- Snap them off flush with the surface.
- Let the glue cure fully.
- Drive the screw back in by hand so you can feel it bite.
That trick works for light wear. It does not solve split wood, broken hinge cup areas, or cabinet sides that have turned soft from moisture.
I tell homeowners to pay attention to how many repairs are stacking up. One stripped hole is normal house stuff. Several failed holes, shifting reveals, and swollen door edges usually mean the cabinet has broader wear issues, and calling a local Cherry Hill pro is often faster and cheaper than chasing one repair after another.
If you're also planning to freshen the look, hardware repair and finish work often go together. This overview of Painters North Shore cabinet painting gives a useful outside reference for what a finish-focused cabinet update can involve.
Finishing Touches and When to Call a Professional
Once the door works right, spend a few extra minutes making it look like it belongs there. Match the hinge finish to your knobs or pulls as closely as you can. Satin nickel next to bright chrome usually looks accidental. Matte black can look sharp, but only if the rest of the hardware story supports it.
The small details that make it look finished
Wipe away pencil marks. Clean fingerprints off the door face. Touch up any exposed old screw marks if you had to move hardware. Open and close every affected door a few times over a day or two, because small settling issues often show up after the first round of use.
A lot of homeowners pair hinge replacement with paint because fresh hardware on tired paint can make the old finish stand out more. If you want to see how painters approach cabinet surface updates, this overview of Painters North Shore cabinet painting gives a useful reference point for what a finish-focused upgrade can involve.
When DIY stops being the smart move
There's a reason this category keeps getting more attention. The global cabinet hinge market is projected to grow at a 6.7% CAGR from 2024 to 2030, driven by kitchen remodeling demand, according to cabinetry industry statistics compiled here. Hardware replacement has become a meaningful part of how homeowners update kitchens without ignoring the details.
But some jobs cross the line from practical DIY into time-draining repair work. Calling a pro is usually the smarter move when:
- You're changing hinge styles entirely: Especially from exposed hinges to concealed ones.
- The old cup holes don't match: That means filling and re-drilling has to be accurate.
- The doors are heavy or expensive: One slip can cost more than the install.
- You're doing a whole kitchen: Repeating small alignment errors across many doors gets old fast.
- The project involves multiple trades: Paint, new doors, refacing, and hardware all need coordination.
If the work is expanding beyond one simple fix, it also helps to think through scheduling and trade coordination early. This guide on how to manage contractors is useful if your hinge issue is really the first sign of a larger kitchen project.
If you're in South Jersey and your cabinet hinge replacement has turned into misaligned overlays, damaged mounting holes, or a full kitchen update, The Cabinet Coach is a smart next call. Their mobile showroom and guided remodeling process make it easier to solve the hardware problem and the bigger design questions at the same time, without guessing your way through it.