
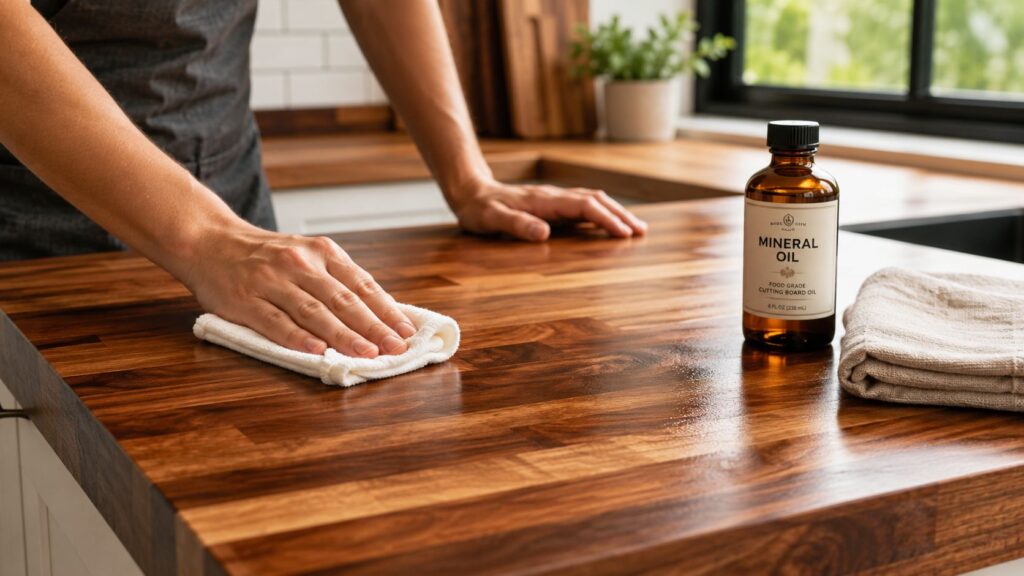
You've probably just had butcher block installed, or you're close to choosing it, and now the practical question shows up fast. What do I do to keep this looking good?
That's the right question. Butcher block is one of the most forgiving countertop materials in some ways and one of the easiest to damage in others. It can last 20 to 70 years with proper care, and many well-maintained tops land in the 20 to 30 year range when they're made from durable hardwoods like hard maple or walnut, according to Slabwise's durability guide. The catch is simple: the care routine has to match the finish on the wood.
That's where most homeowners get tripped up. They read one article that says “oil it regularly,” another that says “just wipe it clean,” and both can sound correct. In Cherry Hill kitchens, I see the confusion most often around newer pre-finished tops near sinks, where a well-meaning maintenance habit can create a sticky mess or leave the most vulnerable edge underprotected.
Table of Contents
- Understanding Your Butcher Block Finish First
- Your Daily Cleaning and Sanitizing Routine
- The Monthly Oiling Ritual to Protect Your Wood
- Repairing Scratches Stains and Minor Damage
- Essential Dos and Don'ts for Lasting Beauty
- When to Call a Professional for Your South Jersey Kitchen
Understanding Your Butcher Block Finish First
The first step in butcher block countertop care isn't cleaning. It's figuring out whether you have an oil-finished surface or a polyurethane-sealed one.
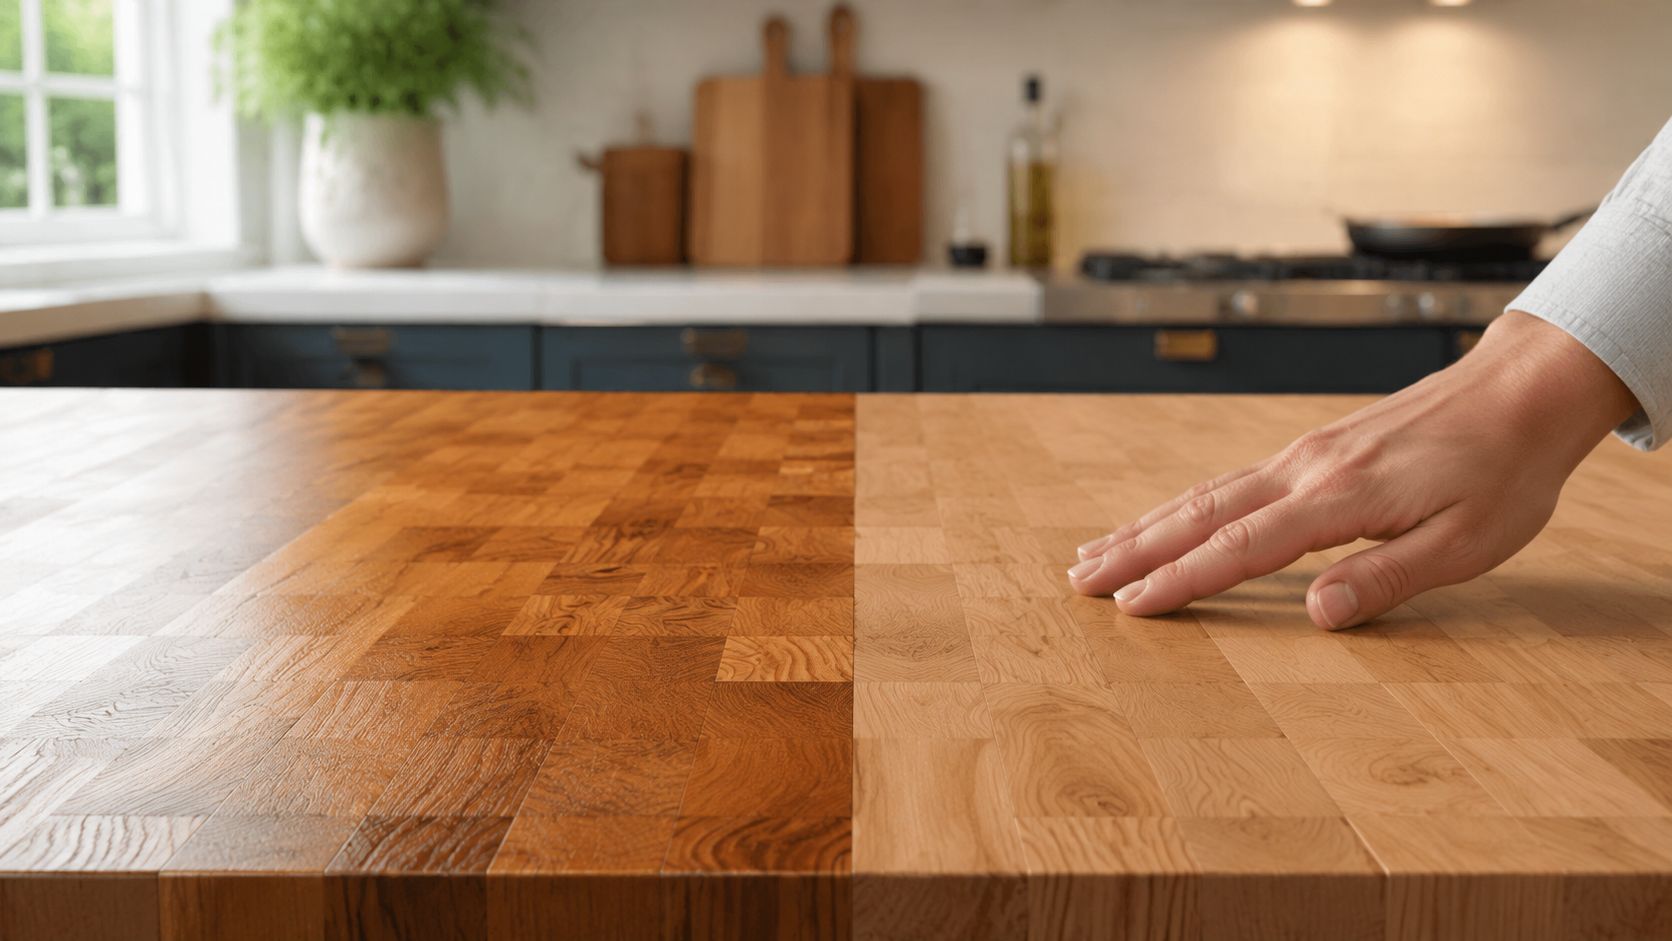
That distinction matters because the maintenance routines are not interchangeable. According to Slabwise's guide to maintaining butcher block countertops, oil is only necessary for unfinished or oil-finished surfaces, and applying it to a polyurethane top can create a sticky, non-drying residue that attracts dirt. That's the mistake I'd rather help you avoid before you buy a single bottle of conditioner.
Why finish type changes everything
An oil-finished top is meant to absorb conditioning. The wood stays protected because you keep feeding the surface.
A polyurethane-sealed top works more like other sealed counters. You clean it, keep water from sitting on it, and leave the finish alone unless the coating gets damaged.
That's why broad advice online can be misleading. Even useful resources about wood work surfaces, including discussions of New Zealand hospitality butchers blocks, make the most sense when you first sort out how your own top is finished. A commercial-style block, a traditional oil-finished island, and a factory-sealed kitchen countertop can all be “butcher block,” but they don't all want the same care.
Practical rule: If you treat a sealed top like an oil-finished top, you can create buildup. If you treat an oil-finished top like a sealed top, the wood can dry out.
If you're still deciding among materials, it also helps to compare wood against other options before locking in a maintenance level you're comfortable with. A broader look at types of countertops can help put butcher block in context.
A simple way to tell what you have
Start with the paperwork from installation if you have it. Product specifications usually say whether the surface is unfinished, oil-finished, or sealed.
If you don't have that information, use a small water test in an inconspicuous spot. Put a few drops of water on the surface and watch what happens. If the water sits on top clearly, you may be looking at a sealed finish. If the wood darkens and the water starts soaking in, that points toward an unfinished or oil-finished surface that accepts conditioner.
Use that test as a clue, not a license to experiment aggressively. The safest move is still to confirm the finish before applying any oil, wax, or repair product.
Your Daily Cleaning and Sanitizing Routine
The daily routine is where butcher block either stays beautiful or starts heading toward trouble. The biggest threat isn't usually a knife mark. It's water left sitting too long.
According to The DIY Playbook's butcher block cleaning guide, the primary failure point for butcher block is standing water, and the required protocol is immediate drying after every cleaning step. That one habit matters more than fancy products.
The routine that protects the surface
For normal daily cleaning, keep it simple:
- Wipe crumbs and residue off first.
- Clean with warm water and mild dish soap on a cloth or sponge.
- Go back over the area with a clean, damp cloth if needed.
- Dry the countertop immediately with a clean towel.
That last step is the one people skip when they're in a rush. Don't leave the surface damp to “air dry,” especially near seams, faucet bases, or sink edges.
Here's what works well in real kitchens:
- Use a soft cloth or non-scratch sponge: You want to lift residue without grinding moisture into the grain.
- Keep a dry towel nearby: If the towel lives across the room, people stop using it.
- Clean spills as they happen: Wine, tomato sauce, coffee, and oily splatters are easier to remove before they settle in.
For homeowners who prefer plant-based basics, Fillaree's guide for eco-conscious living is a useful read when choosing a gentle soap option for routine wipe-downs. The main point isn't branding. It's choosing a mild cleaner that won't fight the finish.
If you're comparing maintenance styles across kitchen materials, this is one place where wood behaves very differently from solid-surface products. A material like Corian countertops tolerates a different cleaning mindset than wood does.
What to use after raw meat contact
Food safety matters, and you don't need harsh chemicals to handle routine sanitizing.
The same cleaning guidance from The DIY Playbook recommends this sequence after raw meat contact:
- First wash: Use hot soapy water.
- Then sanitize: Spray a 50/50 white vinegar and water solution.
- Then dry: Towel the surface dry immediately.
You can also use a dilute 3% hydrogen peroxide solution with 1 tablespoon per cup of water when appropriate, but the important part is still the same. Clean first, sanitize second, dry right away.
Don't use full-strength bleach or ammonia-based cleaners on butcher block. They can degrade the finish and leave the wood more vulnerable over time.
A good daily routine shouldn't feel like a project. It should feel automatic. Wipe, clean, dry. That rhythm protects the top better than occasional deep-cleaning efforts ever will.
The Monthly Oiling Ritual to Protect Your Wood
This section applies to oil-finished butcher block, not polyurethane-sealed tops.
When the finish is right for it, oiling keeps the wood from looking chalky, drying out, or taking on water too easily. It also keeps the color richer and the grain more even.
When oil-finished wood needs attention
A well-maintained butcher block can last a very long time, but the schedule matters. According to Slabwise's butcher block durability reference, homeowners should oil the surface every 2 to 4 weeks during the first year, then move to a monthly schedule, and eventually to quarterly applications once the wood is fully conditioned. Dry climates and forced-air heat can speed up moisture loss, which means the wood may need more attention.
A second care reference, from a butcher block maintenance video, recommends applying food-grade mineral oil or butcher block oil once a month for the first three months after installation, then 2 to 4 times per year over the long term, with more frequent applications in hotter or drier conditions. Those schedules sound different, but the practical takeaway is consistent: new wood needs closer attention, and thirsty wood tells you when the routine needs tightening.
Signs it's time to oil:
- Water stops beading: If it darkens the wood instead, protection is wearing thin.
- The surface looks gray or dry: That's a visible warning sign noted in the same maintenance video.
- The texture feels rougher than usual: Especially around the sink and prep zones.
For homeowners designing around warm wood tones, a kitchen like this modern kitchen with maple cabinets shows why the finish matters so much. Properly conditioned wood reads rich and intentional. Dry wood looks tired fast.
How to oil it the right way
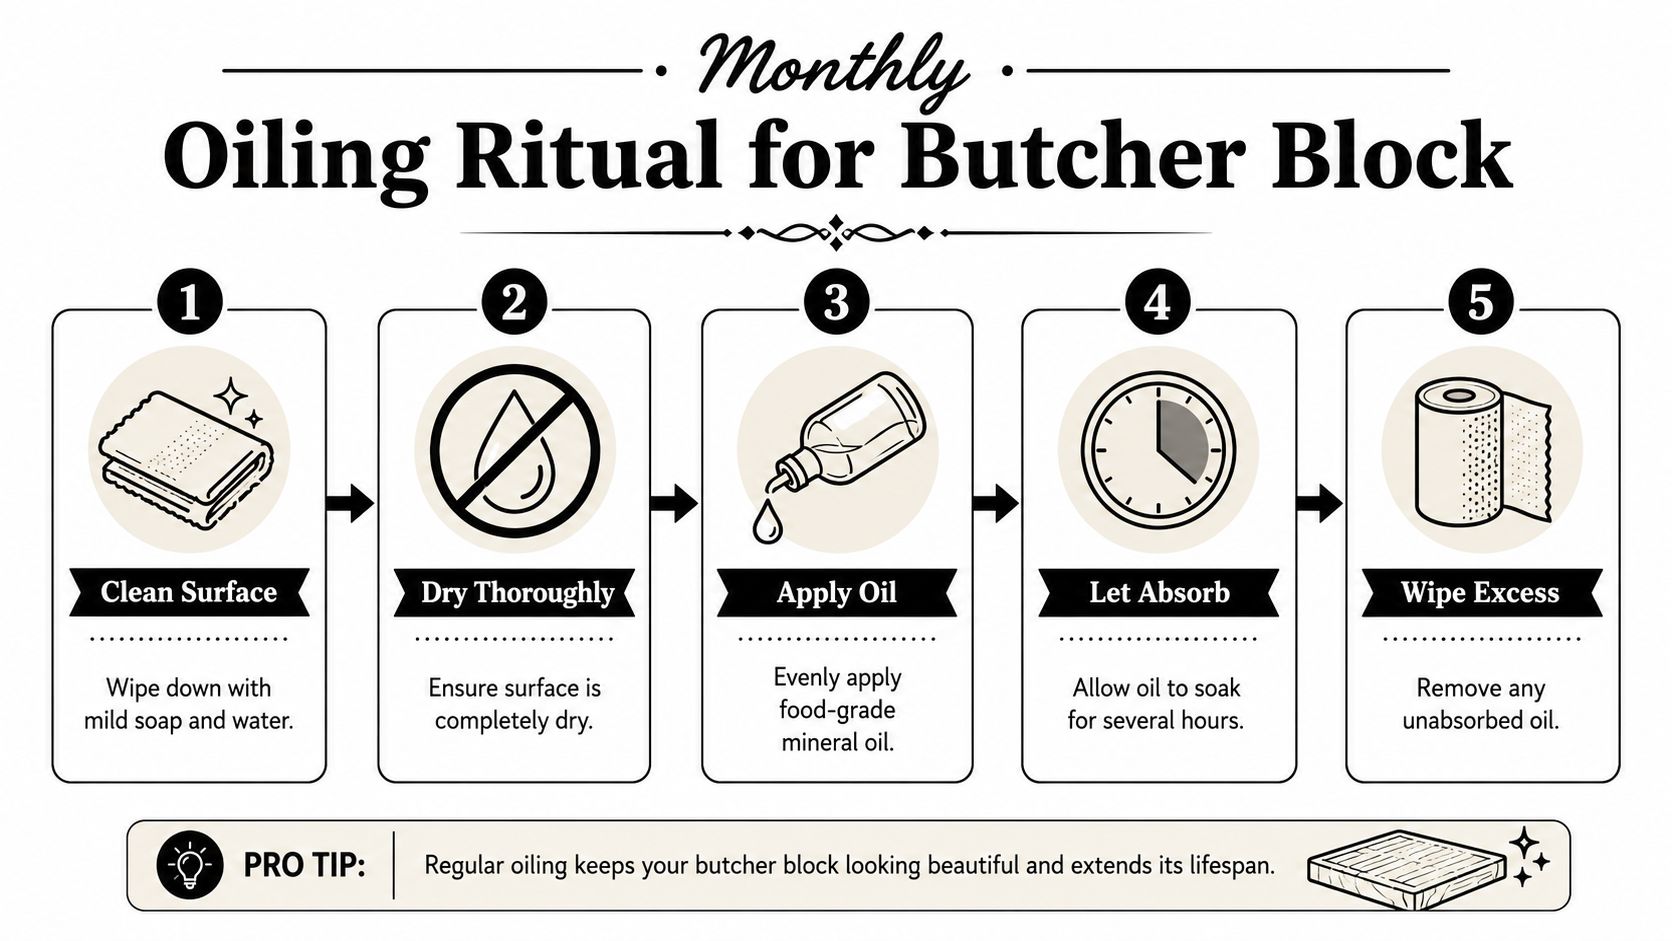
Use food-grade mineral oil or a butcher block oil made for countertops. Don't substitute random pantry oils.
Follow this order:
- Clean the countertop thoroughly.
- Let it dry completely.
- Apply oil evenly with a soft cloth.
- Let the oil soak in for several hours.
- Wipe away any excess so the surface doesn't stay tacky.
This video offers a useful visual for the basic process:
If the wood drinks up oil quickly in one area and not another, that's normal. The goal isn't a wet-looking top. The goal is even conditioning.
The sink area needs extra attention
This is the detail most homeowners never hear until there's already a problem.
According to Hardwood Reflections' FAQ on butcher block countertops, the end grain around sink cutouts absorbs several times more oil than face grain, and the inside edge of the sink opening should get extra oil at every session. That area is the primary moisture vulnerability because water tends to sit, splash, and wick into exposed fibers there.
If an oil-finished butcher block fails early, the sink cutout is often where the trouble starts.
When you oil, don't just wipe the broad flat field and call it done. Work the inside sink edge carefully. Look underneath any slight lip or exposed cut edge. Those small details are what keep a beautiful top from turning dark and swollen around the basin.
Repairing Scratches Stains and Minor Damage
Most day-to-day wear on an oil-finished butcher block is repairable. That's one of wood's best traits. A stain, scuff, or shallow scratch doesn't always mean the whole top is in trouble.
The right repair depends on the type of mark. Start with the least aggressive fix first, then move to sanding only when needed.
Start with the least aggressive fix
For organic food stains, the gentlest place to start is a simple surface treatment. The maintenance guidance in the verified data recommends lemon juice with salt for lifting stains like wine or tomato sauce, used carefully and followed by re-oiling if needed.
Try that approach when the mark is near the surface and the wood isn't physically damaged.
Use a light hand:
- For fresh food stains: Apply lemon juice and salt, rub gently, then wipe clean.
- For light surface scratches: Clean the area first and inspect it in good light before deciding to sand.
- For dark water spotting: Assume moisture got into the wood fibers and be prepared for a localized refinishing step.
The mistake I see most often is overcorrecting. People grab coarse sandpaper too early, and then the repair zone becomes more obvious than the stain.
A careful spot repair should blend into the surrounding top. If the repair calls attention to itself, it went too far.
How to sand without making the repair obvious
For tougher marks, the standard sanding method comes from Food52's butcher block care guide. Use 180 to 220 grit sandpaper with the grain to remove the stain or scratch, then follow with 320 grit to polish the wood before re-conditioning.
That progression matters. The first pass removes the problem. The second pass softens the sanding pattern so the patch doesn't look raw.
A practical sequence looks like this:
| Damage type | First move | Next step |
|---|---|---|
| Light scratch | Clean and inspect | Sand lightly with the grain if needed |
| Food stain | Try lemon juice and salt | Reassess before sanding |
| Water spot | Let area dry fully | Sand with the grain, then re-condition |
A few details make the repair cleaner:
- Always sand with the grain: Cross-grain sanding leaves visible scratch patterns.
- Feather the edges: Don't isolate one tiny hard circle unless the damage is extremely confined.
- Clean dust completely: Oiling over sanding dust muddies the finish.
After sanding, re-condition the area with your countertop oil. Food52 also notes that a board cream made with mineral oil and beeswax should be applied every third or fourth oiling to create a more water-resistant topcoat.
That product is especially helpful when the surface feels protected but not quite as water-shedding as you want. It's not a substitute for regular care. It's a finishing layer that helps hold that care a little longer.
Essential Dos and Don'ts for Lasting Beauty
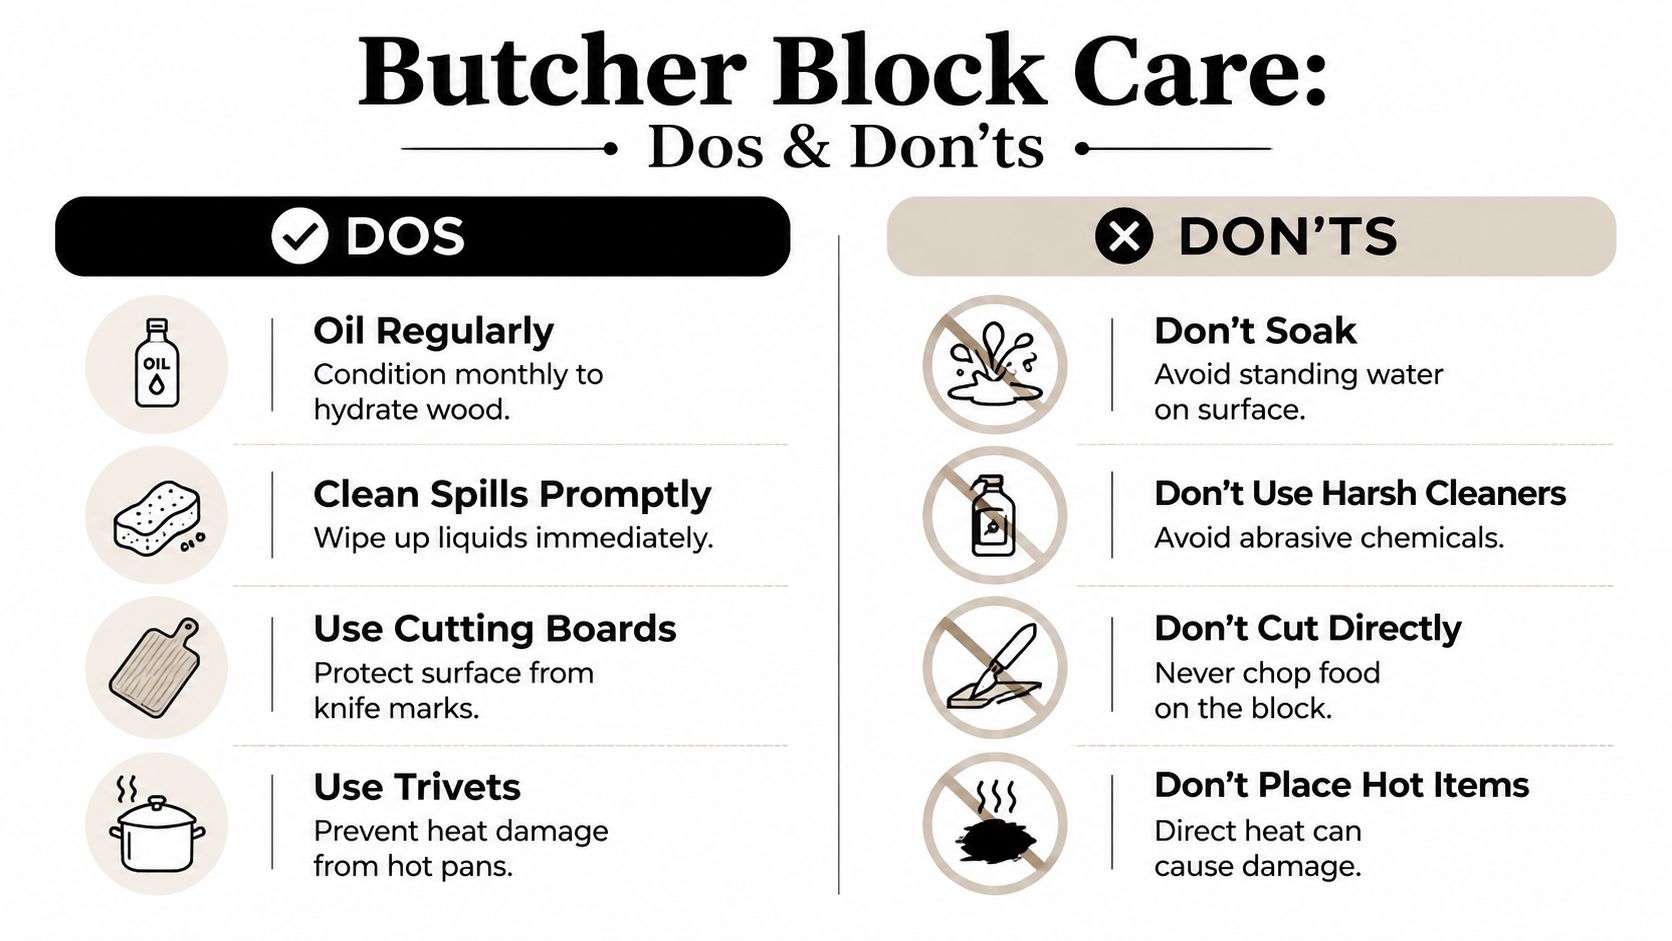
A good butcher block routine gets easier when everyone in the house follows the same rules. This is the short version worth keeping in mind during normal kitchen use.
| Do | Don't |
|---|---|
| Wipe spills promptly so liquids don't linger on the wood | Don't leave wet sponges or towels sitting on the counter |
| Use a cutting board for prep work | Don't cut directly on the countertop unless it's truly intended as a chopping surface |
| Set down trivets or pads under hot cookware | Don't place hot pans directly on the wood |
| Match the care routine to the finish | Don't assume every butcher block needs oil |
A small kitchen setup change can also help prevent wear. If knives, utensils, and prep tools are stored more intentionally, the countertop sees less scraping and clutter. For example, Blade Master's buyer's guide is useful if you're considering wall-mounted knife storage to free up counter space and reduce the urge to use the countertop as an all-purpose landing zone.
The edge profile matters too. Certain profiles collect drips more than others, especially near cleanup zones. If you're planning a remodel, reviewing different countertop edge options can help you think through both style and day-to-day maintenance.
When to Call a Professional for Your South Jersey Kitchen
Some butcher block problems are manageable at home. Others need a professional touch because the repair has to be flat, even, and visually consistent across a large area.

Problems that usually need expert help
Call a pro when you're dealing with issues like these:
- Deep gouges: Spot sanding may leave a dip.
- Widespread staining: Especially when discoloration extends across multiple boards.
- Persistent warping near the sink: That often signals a moisture problem below the surface.
- Burn damage: Dark scorch marks can require deeper resurfacing than most homeowners expect.
According to the earlier Slabwise durability reference, well-maintained butcher block countertops can last 20 to 70 years, and professional annual sanding and refinishing can restore the surface to its protective state when wear becomes significant. That's an important point for older tops. Rough condition doesn't always mean replacement is the only answer.
Why major refinishing is different from spot repair
A full refinishing job is less about sanding wood and more about keeping the plane of the countertop consistent. On an island or long run, uneven pressure can create low spots, rounded edges, or visible transition areas.
That's where professional equipment and experience matter, especially in active family kitchens around Cherry Hill, Voorhees, and surrounding South Jersey towns. If you're already weighing whether to restore or start over, it helps to understand the scope of how to replace kitchen countertops before making the call.
A butcher block top rewards good habits. It also rewards knowing when to stop before a DIY repair becomes a bigger project.
If you're planning a kitchen update and want help choosing a countertop that fits your lifestyle, The Cabinet Coach brings expert guidance directly to South Jersey homeowners. From finish selection to full kitchen design, the team helps you make practical choices that look good now and still make sense years from now.