
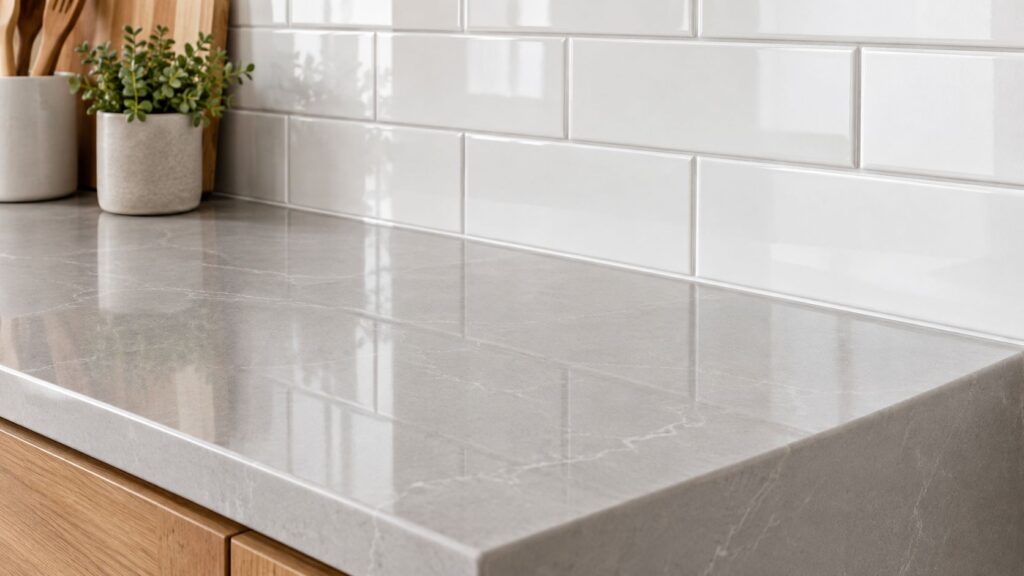
You're standing in a half-finished South Jersey kitchen, holding a quartz sample against a backsplash tile that looked perfect in the showroom. In your home, the quartz reads cooler, the tile looks busier, and the grout line seems to draw attention to the exact place where the two surfaces meet. You've bought two attractive products, but they aren't behaving like one room.
That mismatch is common because homeowners often purchase countertops and backsplash as separate decisions. The better approach treats them as a connected system. The counter handles daily work, while the backsplash protects the wall and completes the visual line beneath the cabinets. Their color, pattern, sheen, thickness, and installation details affect how spacious the kitchen feels, how easily it cleans, and how gracefully it holds up.

A coordinated plan also helps with practical choices around outlets, lighting, sink fixtures, and cabinet hardware. If you're adding a filtered-water or boiling-water fixture, for example, you may want to install a 3 way sink mixer while the counter and backsplash layout is still being finalized, rather than drilling or repositioning components after installation.
You'll find useful combinations in The Cabinet Coach's countertop and cabinet pairing guide, but the most important lesson is simple: choose surfaces with both appearance and movement in mind. The following guide starts with the jobs each material performs, compares realistic options, then moves into color pairing, long-term tradeoffs, and the countertop-to-backsplash joint that trend articles often overlook.
Table of Contents
- Introduction to Coordinated Countertops and Backsplash Design
- How Countertops and Backsplash Work Together as a System
- Comparing Countertop and Backsplash Materials That Last
- How to Pair Colors Finishes and Textures With Confidence
- Budget Durability and Maintenance Tradeoffs You Should Weigh
- Installation and Care Essentials That Prevent Cracks and Stains
- Inspiring Pairings and Your Next Steps to a Finished Kitchen
Introduction to Coordinated Countertops and Backsplash Design
A kitchen can look unfinished even when every product is high quality. A strongly veined counter may compete with a patterned tile. A bright white backsplash can make a warm stone appear yellow. A polished surface beside a heavily textured one can create visual noise, while a narrow strip of tile may leave the wall feeling disconnected from the work surface.
These choices matter because countertops and backsplash are among the most consistently specified renovation surfaces. A 2026 kitchen-industry compilation reports that 91% of renovators upgrade countertops and 85% upgrade backsplash. The same dataset says 75% of professionals expect slab or solid-surface backsplashes to gain further adoption, which reflects a clear interest in continuous, coordinated finishes. (Kitchen industry statistics for 2026)
The practical question isn't whether one trend is prettier than another. It's whether the selected pair suits the room's light, cabinet color, cooking habits, cleaning routine, and future repair needs.
Start with the room, not a showroom photograph
A sample board can look balanced under bright retail lighting and feel completely different beside your cabinets at home. Natural light, warm bulbs, flooring, wall paint, and nearby appliances all influence undertones. A cool white tile may look crisp beside pale gray cabinetry but harsh beside honey-toned wood.
The best planning sequence brings the cabinet door, countertop sample, backsplash sample, flooring, hardware, and paint chip together. Hold them vertically and horizontally, because the backsplash is seen on a wall while the counter catches light across a flat plane. Look at the group during morning, afternoon, and evening conditions before approving fabrication.
Designer's rule: A backsplash shouldn't merely fill the wall. It should explain why the countertop belongs in the room.
The Cabinet Coach's mobile showroom approach can make this process easier for homeowners who want to evaluate cabinetry, counters, tile, and hardware in their actual space. Seeing samples together at home helps reveal scale and undertone problems before materials are ordered, which is especially useful when a renovation includes a sink, lighting changes, or custom cabinet dimensions.
How Countertops and Backsplash Work Together as a System
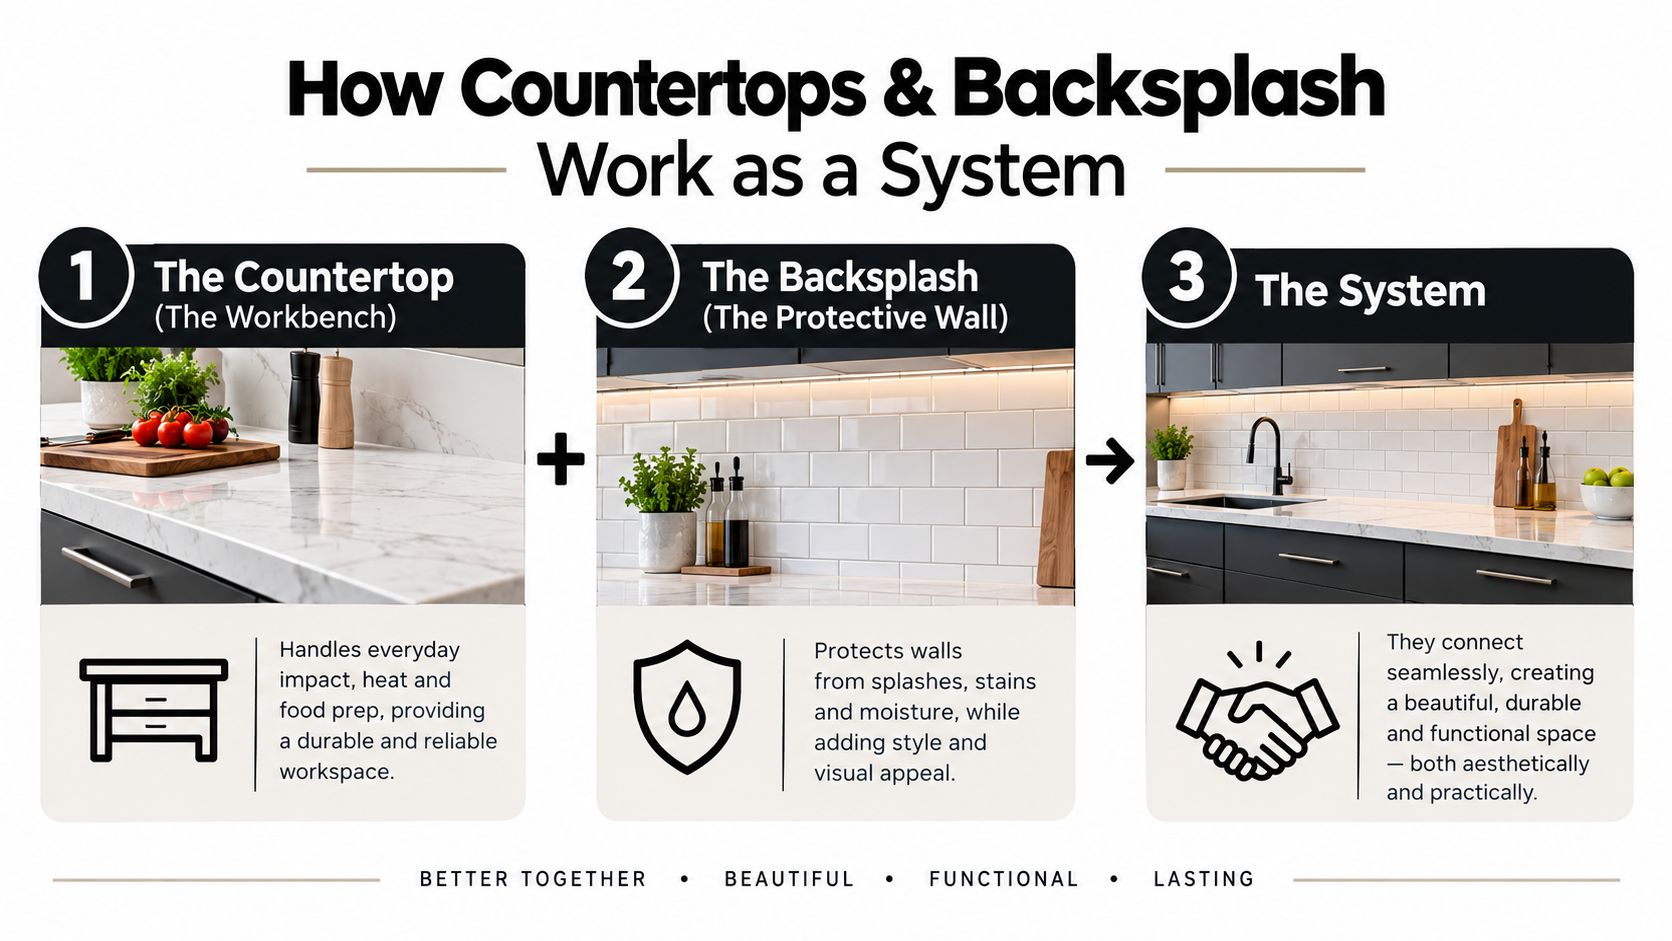
Think of the countertop as a workbench and the backsplash as the protective wall behind it. The workbench takes contact from knives, dishes, appliances, and food preparation. The wall catches splashes, shields the surface behind the sink or range, and creates the transition between the lower cabinets and the upper portion of the room.
Neither part should be selected in isolation.
The countertop sets the visual anchor
The counter usually covers more horizontal area and often has the stronger pattern. Its edge profile, thickness, polish, and veining establish the visual weight of the lower half of the kitchen. A busy granite or quartzite may need a quiet backsplash, while a plain countertop can support movement in handmade tile or a decorative mosaic.
The counter also affects how the backsplash is installed. A slightly uneven wall, a thick edge, or a raised appliance may change where tile starts and how a slab must be scribed. Measurements should account for cabinet leveling, wall conditions, outlet locations, and the final thickness of the surface rather than relying on a generic drawing.
The backsplash controls transition and rhythm
Tile introduces grout lines, repeating shapes, and texture. Those lines can make a kitchen feel lively and crafted, but they also create more cleaning points. A slab backsplash removes most of that rhythm and produces a calmer vertical field, especially when the same stone continues from the counter.
Height changes the impression, too. A short backsplash can preserve more wall area and work well where upper cabinets sit close to the counter. A full-height installation draws the eye upward and can make a range wall feel intentional, but it requires careful planning around outlets, hood equipment, cabinet fillers, and exposed edges.
Finish matters as much as color. Polished stone reflects light and can brighten a dim corner. Honed stone and matte tile soften reflections. Glossy tile may add sparkle, while textured tile creates shadows that can make a small wall appear more active.
The joint is part of the system
The counter and backsplash meet at a restrained transition, not necessarily a rigid connection. If the installer forces the two planes together or fills the junction with hard grout, movement can transfer into cracks or debonding. A successful design makes the joint visually quiet while allowing the materials and structure to move independently.
The system works when the eye sees continuity and the installer preserves flexibility. That balance is more important than making the seam disappear at any cost.
Comparing Countertop and Backsplash Materials That Last
Material selection becomes easier when you separate appearance from performance. Engineered quartz offers consistent color and pattern, which helps when you want a predictable counter-to-backsplash relationship. It's commonly chosen for low-fuss kitchens, although installers still need to follow the manufacturer's care and heat guidance.
Quartzite gives you natural-stone variation with a distinctive mineral pattern. It can create a dramatic matched slab installation, but every slab differs, so samples and full slabs should be reviewed together. Granite provides varied patterns and a long history in residential kitchens, while marble offers classic veining but asks for more care around staining, etching, and sealing.
For backsplashes, ceramic and porcelain tile provide broad design flexibility. Tile can be cut around outlets and corners, and a damaged piece can often be replaced without removing an entire wall surface. Solid surface can create an integrated appearance with fewer seams and may be fabricated into coordinated components. Laminate also played a major role in making manufactured, easy-clean surfaces widely accessible. A 1979 benchmark recorded laminate brands such as Formica and Wilsonart controlling about 90% of the countertop market. (Kitchen backsplash market history)
A practical comparison
| Material | Best For | Maintenance Level | Style Strength |
|---|---|---|---|
| Engineered quartz | Consistent, coordinated kitchens | Low to moderate, follow manufacturer guidance | Clean, uniform, contemporary |
| Quartzite | Natural movement and statement surfaces | Moderate, verify sealing and care requirements | Distinctive veining and geological variation |
| Granite | Varied natural patterns and traditional or transitional rooms | Moderate, depending on finish and sealing | Strong character and broad color range |
| Marble | Classic, expressive interiors | Higher, because staining and etching require attention | Timeless veining and refined variation |
| Ceramic or porcelain tile | Flexible layouts, partial repairs, and varied budgets | Moderate, grout needs regular cleaning | Broad shapes, colors, textures, and patterns |
| Solid surface | Integrated, low-seam designs | Low to moderate, depending on product | Smooth, tailored, visually continuous |
Match the material to the household
A busy family kitchen may benefit from a restrained quartz counter with tile that can be repaired in sections. A careful cook who values natural variation may prefer quartzite or granite and accept a more involved care routine. A rental or resale project may need a broadly appealing pairing with accessible replacement options rather than a highly personalized slab.
For a deeper side-by-side review, use The Cabinet Coach's countertop material comparison while narrowing your shortlist. Aim to compare two or three realistic candidates, not every surface in the showroom.
How to Pair Colors Finishes and Textures With Confidence
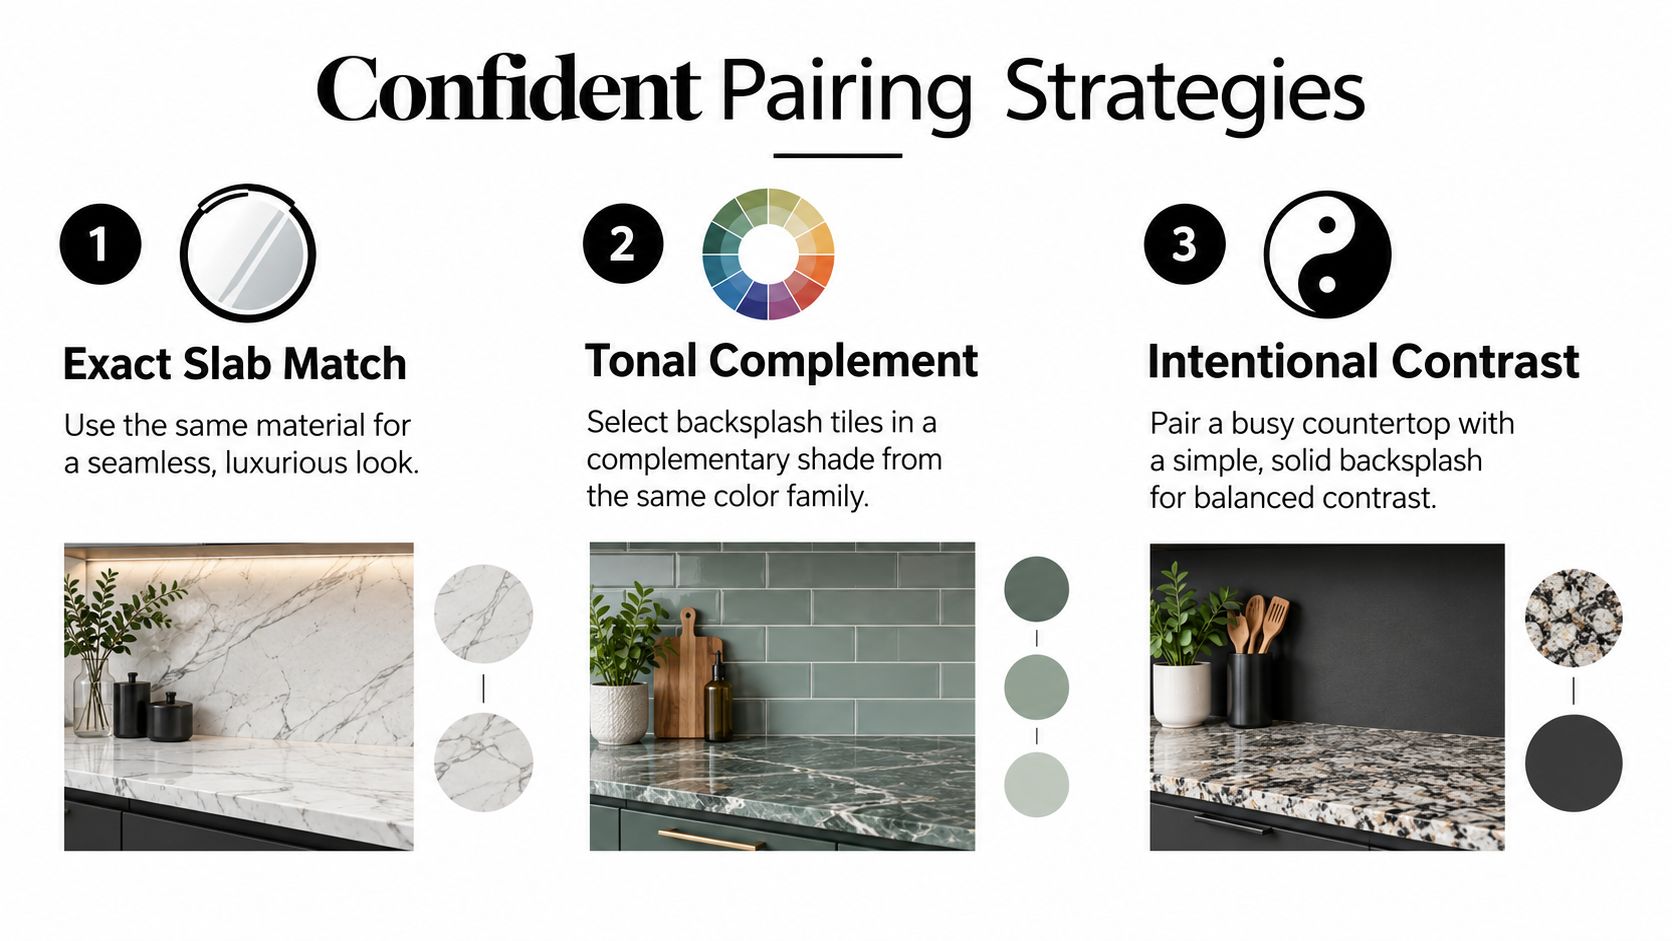
Matching everything exactly is only one way to coordinate a kitchen. A more reliable method uses one of three relationships: exact slab match, tonal complement, or intentional contrast. Each creates a different balance between calmness, texture, and visual emphasis.
Exact slab match
A matching countertop and slab backsplash extend the same color movement across two planes. This approach works particularly well when the stone has beautiful veining and you want the wall behind the range or sink to feel like one continuous composition.
It also suits modern cabinetry with simple doors because the stone becomes the primary feature. The drawback is that a large pattern has nowhere to pause. Before choosing this route, inspect the actual slab and decide where seams, outlets, and cutouts will land.
Tonal complement
A tonal pairing stays within the same color family without using identical material. For example, a warm white quartz counter might sit beside a creamy ceramic tile, while a taupe-veined granite could connect with a quieter tile that repeats its warm neutral background.
This strategy gives the eye a relationship without creating a mirrored surface. It's especially useful when you want tile's repair flexibility but still need the kitchen to feel intentional. Keep undertones aligned. Warm counters generally need warm whites, creams, or taupes. Cool gray cabinetry can expose the yellow in a backsplash that looked neutral under showroom lighting.
Intentional contrast
Contrast works when one surface carries the pattern and the other provides relief. A strongly veined quartzite counter can pair with a simple matte tile. A plain solid-surface counter can support a softly textured handmade ceramic backsplash.
Contrast doesn't mean random opposition. Repeat one quiet element, such as the counter's background color in the tile, the cabinet hardware finish in a tile accent, or the floor tone in the grout. For ideas suited to light cabinetry, review backsplash options for white cabinets.
Test the complete palette
Place samples beside the cabinet door, floor, wall paint, hardware, faucet finish, and appliance color. Check them under daylight and the actual kitchen's artificial lighting. View the samples from across the room, then close up, because a texture that feels subtle at a distance may become dominant near the sink.
Ask four questions:
- Do the undertones agree? Look for yellow, pink, blue, green, or violet shifts.
- Where is the visual focus? Let either the counter or backsplash lead.
- Do the finishes support the light? Pair reflection with reflection only when the room needs it.
- Will the pattern age well? Choose drama deliberately, not because a display wall made it look exciting.
Budget Durability and Maintenance Tradeoffs You Should Weigh
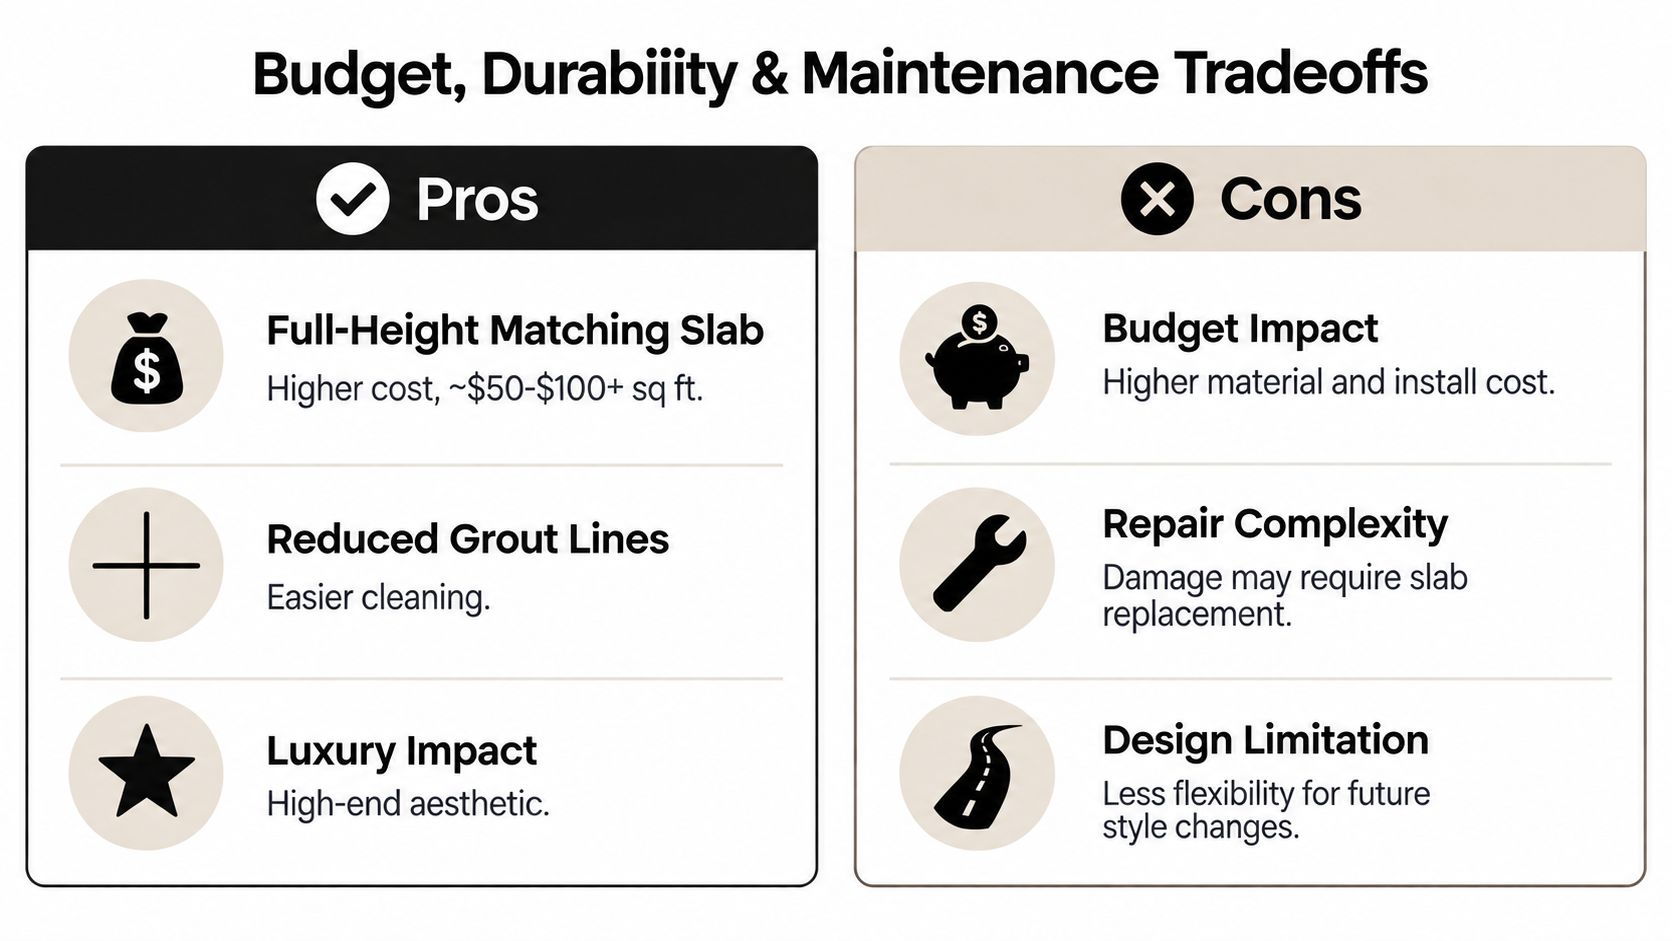
A full-height matching slab can create a polished, high-end wall with very few grout lines. That makes routine wiping simpler and gives a strong sense of continuity, particularly behind a range or on a large sink wall. It can also require more material handling, specialized fabrication, and careful wall scribing than a standard tile installation.
Tile usually offers more flexibility. Installers can work around outlets and corners with smaller pieces, and future repairs may involve replacing only the damaged tile rather than sourcing a large matching slab. Tile can also make sense when you want a distinctive texture without committing the entire wall to a costly natural or engineered surface.
Where the money goes
The price isn't determined by the stone alone. Account for templating, cutting, edge work, seams, delivery, wall preparation, outlets, plumbing coordination, and installation access. A slab backsplash may look visually simple, but large pieces demand accurate measurements and safe handling.
Tile shifts the cost profile toward layout and labor. Intricate patterns, handmade variation, narrow cuts, and many outlets can consume installation time even when the individual tiles are affordable. Simple field tile with a restrained layout can preserve design cohesion while keeping future replacement manageable.
If the renovation will be financed, review the terms carefully and compare renovation financing programs before selecting materials. Financing should support a realistic scope, not encourage upgrades that leave no allowance for installation changes or structural surprises.
Think beyond the first installation
Natural stone may need sealing and product-specific cleaning. Quartz generally needs routine cleaning and manufacturer-approved care, while grout remains the maintenance point in most tile installations. Chips, cracks, and discontinued colors can affect every material differently, so keep product information and spare tile after the work is complete.
For Cherry Hill-area homeowners, resale value may favor a coordinated but adaptable palette. In a rental property, easy partial repair and readily available tile can matter more than a dramatic continuous slab. For a long-term home, the right splurge may be the surface you touch and see every day, while a less expensive backsplash can provide texture and serviceability.
Review countertop pricing by material before you finalize the design. A good budget protects the installation details, not just the visible products.
Installation and Care Essentials That Prevent Cracks and Stains
The narrow line where the countertop meets the backsplash deserves more attention than it usually gets. Stone, engineered surfaces, cabinets, walls, and adhesives respond differently to temperature and structural movement. Granite typically has a thermal expansion coefficient of about 5 to 8 μm/m/°C, marble about 5 to 7 μm/m/°C, quartzite around 11 μm/m/°C, and engineered quartz composite about 20 to 25 μm/m/°C. (Thermal expansion in stone)
That difference means a rigidly bonded seam can accumulate stress as conditions change. The installer should leave a continuous movement gap at the deck-to-backsplash junction instead of packing the joint with hard grout.
What the installer should do
For interior tile work, movement joints are generally not narrower than 1/8 inch, according to industry guidance. More demanding conditions may require wider joints, and the joint should remain open during grouting before receiving backer rod and flexible sealant rather than cement grout. (Movement joint guidance)
At a typical countertop-to-backsplash transition, a small flexible joint, often around 1/8 to 1/4 inch, creates room for movement and minor settling. Silicone caulk belongs at this seam because it can flex where grout cannot. Inside corners should receive the same treatment instead of being filled with a brittle grout line.
Ask these questions before installation:
- How will you handle the movement joint? Look for a clear answer involving flexible sealant.
- What happens if the wall is out of plumb? The backsplash may need scribing, tapered cuts, or layout adjustments.
- Where will seams land? Review seams near corners, outlets, sinks, and the range hood.
- What care does this material require? Get written cleaning and sealing instructions.
Daily care protects the finish
Wipe spills promptly, especially on porous natural stone. Use the cleaner approved for the surface, avoid abrasive pads unless the manufacturer permits them, and don't assume a product safe for glass tile is safe for marble or grout. Tile grout benefits from regular cleaning and inspection, while natural stone sealing should follow the fabricator's recommendation rather than an arbitrary calendar.
For engineered quartz care, follow the product guidance in The Cabinet Coach's quartz countertop maintenance guide. A clean surface is useful, but a flexible, correctly detailed joint is what helps prevent a clean-looking installation from developing perimeter cracks.
Inspiring Pairings and Your Next Steps to a Finished Kitchen
A bright, lightly patterned quartz counter can work beautifully with a soft handmade-look ceramic backsplash when the tile repeats the counter's background rather than its every vein. The result feels layered without becoming chaotic, and individual tiles remain more manageable to replace than a full wall slab.
Warm wood cabinetry often welcomes quartzite or granite with creamy, taupe, or softly colored movement. In that setting, a quiet backsplash can let the natural stone lead. If the counter already has strong variation, select a tile with a restrained shape and grout color that supports the cabinet tone.
A full-height matching slab makes sense when you want a calm, architectural wall and have accepted the higher fabrication and future-repair demands. Mixed tile is often smarter when the kitchen has many outlets, an irregular wall, a tight budget, or a realistic chance that one section may need repair later. For additional design ideas, review these backsplash tips from Aureli Construction.
Before ordering, complete this short plan:
- Bring cabinet, counter, backsplash, floor, paint, and hardware samples together.
- View them at home under daylight and evening lighting.
- Decide which surface leads and which one supports it.
- Confirm the backsplash height, outlets, seams, edge details, and movement joints.
- Reserve budget for fabrication, installation, and appropriate care products.
- Keep spare tile, stone information, and manufacturer instructions after completion.
The Cabinet Coach brings cabinetry, countertops, tile, hardware, and design guidance to homeowners through its South Jersey mobile showroom and complimentary video consultation. Visit The Cabinet Coach to discuss your countertop and backsplash samples together, refine a practical material plan, and move toward a coordinated kitchen with installation details that are designed to last.