
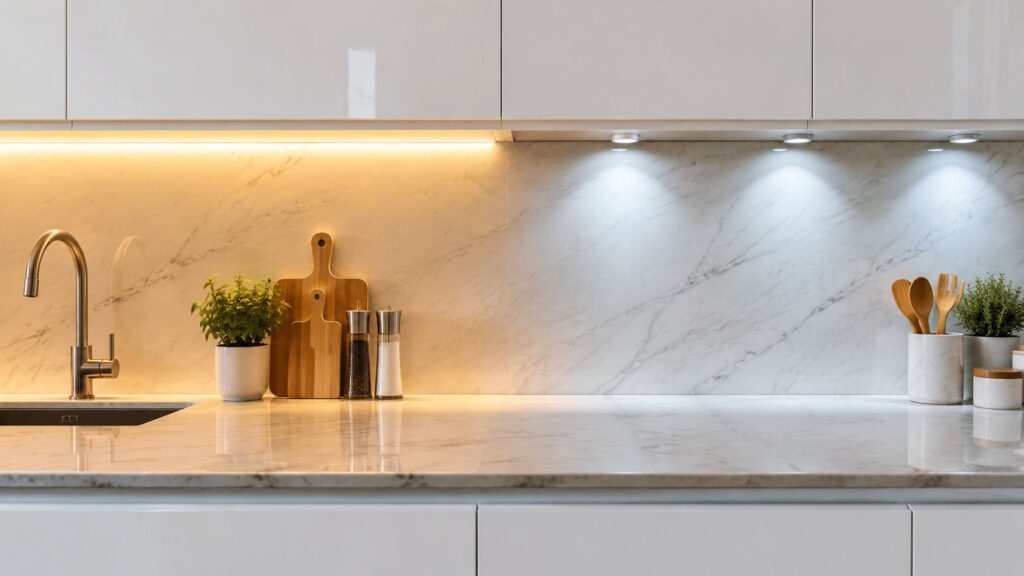
You've chosen beautiful cabinets, a countertop with movement, and a backsplash you're excited to see installed. Then evening arrives, the ceiling fixture comes on, and the work surface beneath the wall cabinets still looks dim. Your hands cast shadows across the cutting board, the backsplash disappears, and the kitchen feels less usable than it did in the showroom.
That's the problem under cabinet lighting options are meant to solve. Properly selected and placed lighting improves visibility for food preparation, adds a softer layer for entertaining, and brings out the texture of stone, tile, wood, and painted cabinetry. The fixture itself may be nearly invisible, but its effect on the room is immediate.
The right choice depends on more than whether a product is labeled LED. You'll need to weigh the light pattern, color quality, controls, power source, installation difficulty, and how permanently you want the system integrated. A weekend retrofit has different priorities from a kitchen being opened to the studs.
Table of Contents
- Transform Your Kitchen with Proper Lighting
- Comparing the Most Common Lighting Types
- Key Lighting Specs You Must Understand
- Power and Installation Choices Explained
- Modern Controls and Smart Lighting Features
- Design and Placement Best Practices
- Integrating Lighting into Your Remodel
Transform Your Kitchen with Proper Lighting
A homeowner can spend weeks comparing cabinet profiles and countertop samples, then add lighting after the finishes are chosen. The result is often a dark band along the counter, particularly beneath deep wall cabinets or beside tall units that block the ceiling fixture.
Under cabinet lighting options place illumination where preparation takes place. A continuous strip can cover a full counter run, while a carefully positioned puck can brighten a prep zone or display area. The improvement is visual as well as practical. Cabinetry, backsplash, and countertop read as one composition instead of disconnected surfaces.
Function comes first
Good task lighting makes knife work, ingredient colors, appliance controls, and counter edges easier to see without depending on one overhead source. It also reduces the sharp contrast between a bright ceiling fixture and a shadowed worktop. For a kitchen used throughout the day, that performance matters more than a decorative fixture that looks impressive but leaves the counter dim.
LED remains the common choice because it fits into compact profiles, produces less heat, and operates efficiently. Independent industry guidance says LED under-cabinet choices can use up to 75% less energy than incandescent lighting and last up to 25 times longer (LumaZ Life's overview of energy-efficient under-cabinet lighting). The same source identifies 125 lumens per linear foot and at least 24 lumens per watt as useful residential benchmarks.
Installation scope should guide the decision. A simple retrofit may favor a surface-mounted bar or puck with accessible wiring. A remodel with cabinets removed can hide transformers, route wiring, and add channels or diffusers for a cleaner result. The easier option is not always the better long-term choice if glare, visible hotspots, or awkward controls remain.
Design rule: If you see the fixture before you notice the light, revisit its placement, shielding, or concealment.
Lighting also shapes atmosphere
A dimmed under-cabinet system can provide a comfortable evening glow without switching on every ceiling fixture. It can bring out a textured backsplash, clarify a quartz edge, and make an open kitchen feel calmer during dinner or conversation.
For practical context on composition, contrast, and mood, Jimmy Clemmons' lighting design guide examines illumination from a photographer's perspective. Homeowners coordinating cabinetry, finishes, and wiring should also review these latest kitchen design ideas before fixing fixture locations.
Comparing the Most Common Lighting Types
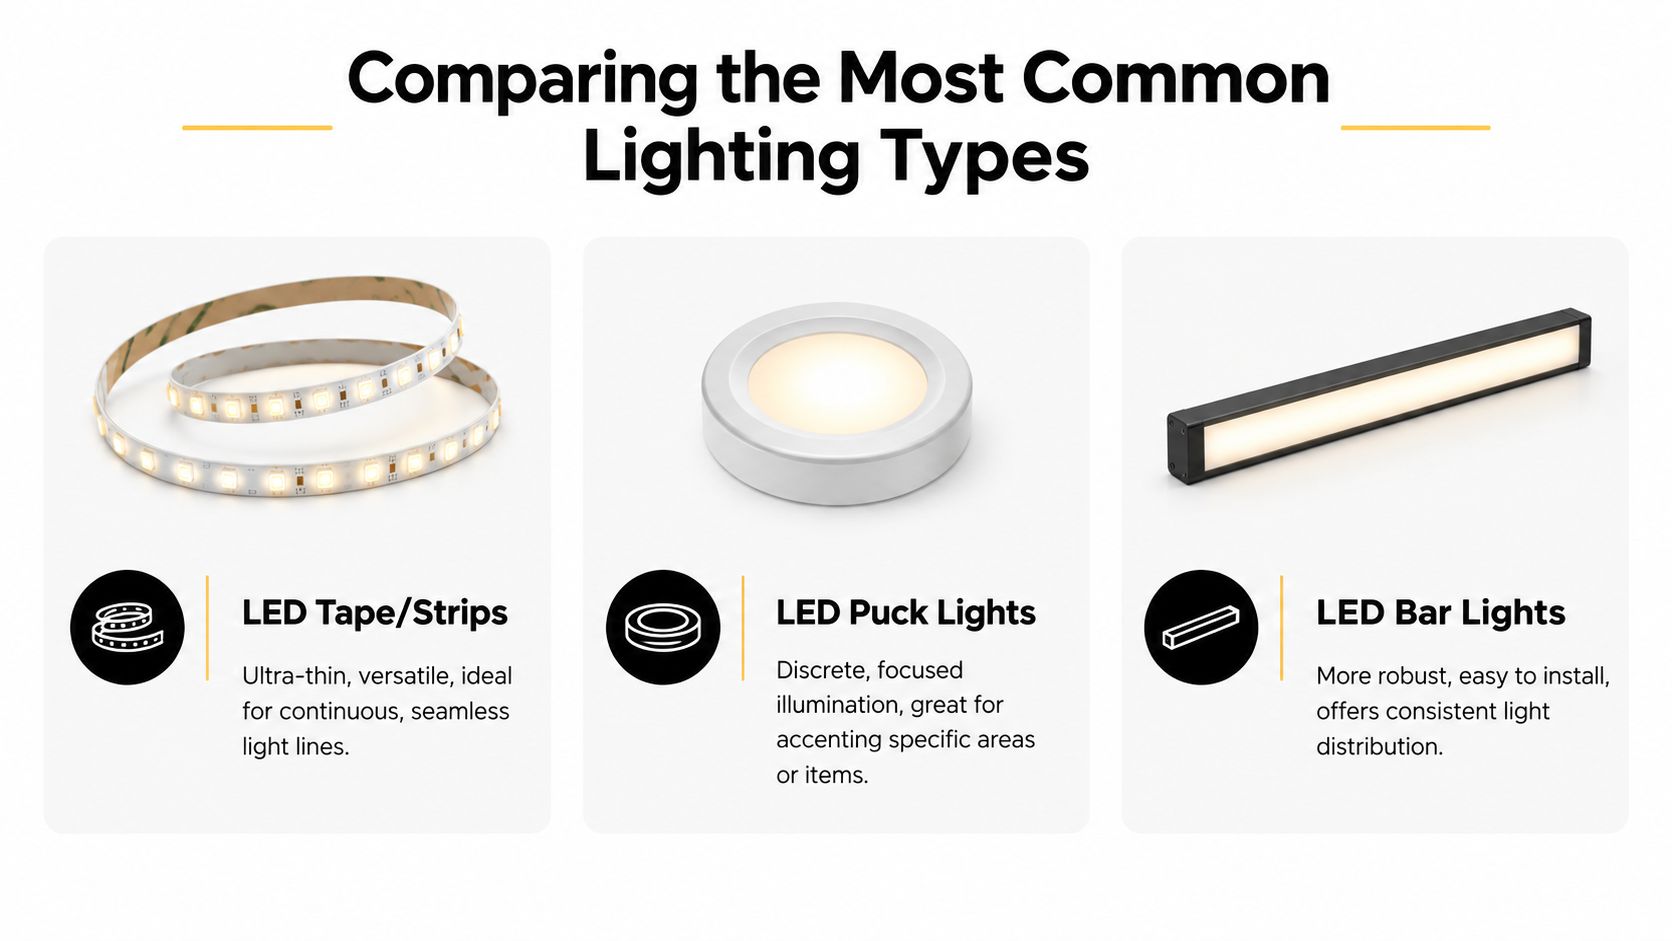
A simple kitchen refresh may need only a fixture that mounts quickly under the cabinets. A full remodel offers more control over wiring, concealment, and light distribution. The main formats are LED tape or strips, puck lights, and linear bars. Tape follows the cabinet run, pucks create focused pools, and bars provide a rigid, generally even source that is straightforward to align.
LED tape and strips
Tape lighting suits long runs, irregular cabinet layouts, and installations where the source needs to stay out of sight. Its flexible profile can follow the underside of a cabinet and turn corners, producing a consistent glow rather than separate bright spots.
The result depends heavily on the installation. Exposed diodes can create visible points, glare on reflective counters, and uneven brightness when strips are cut or connected poorly. An aluminum channel with a diffuser softens the appearance and protects the tape, though it adds measuring, cutting, and mounting work.
Tape is a good choice when a remodel allows wiring to be hidden behind a front rail or inside a channel. For a quick retrofit, a bare strip placed near the front edge often looks unfinished, especially above polished stone. The extra installation effort pays off when the goal is a quiet, integrated look.
LED puck lights
Pucks are compact, round fixtures for targeted illumination. They work well above a sink, prep zone, open shelf, or short section of counter where a full-length strip would provide more coverage than necessary.
Their focused beam can create attractive pools of light, but spacing controls the final appearance. Too few fixtures leave bright areas separated by shadows. Placement that ignores cabinet depth or counter reflectivity can make the surface look patchy instead of intentional.
Battery-powered pucks are easy to add without opening walls or cabinets, which makes them suitable for a limited DIY update. Wired or plug-in versions provide a more permanent setup, but they require better cable planning. Choose pucks when individual points of light suit the room, not merely because they are quick to mount.
Linear bar fixtures
Bars use a rigid housing and distribute light more evenly than separated pucks in many installations. They suit long cabinet runs, work counters, and projects where a visible fixture line is acceptable.
A bar is often easier to measure and align than flexible tape, making it practical for a homeowner who wants a dependable retrofit. The housing can remain visible from standing height, however, and multiple bars need careful cable routing. During a cabinet replacement, concealed wiring may justify tape or an integrated channel instead.
| Lighting Type | Best For | Light Quality | Typical Cost |
|---|---|---|---|
| LED tape or strips | Continuous runs and concealed designs | Continuous, flexible light | Varies by system and installation |
| LED puck lights | Focused task or accent zones | Concentrated pools of light | Varies by fixture and power source |
| LED bar lights | Long counters and straightforward retrofits | Consistent linear distribution | Varies by length and system |
Older xenon, halogen, and fluorescent fixtures may still be present in existing kitchens. They produce more heat and generally require more maintenance than current LED systems. LEDs now suit most new installations because strips, pucks, and bars offer lower-maintenance lighting in formats that can match either a simple retrofit or a fully integrated remodel.
Key Lighting Specs You Must Understand
A fixture's form affects distribution, but its specifications determine how the finished kitchen looks. Wattage measures energy use, not the brightness, color, or accuracy of the light reaching the counter. For a retrofit, these details help you judge whether an easy installation will still deliver the quality you want. For a full remodel, they should be settled before fixtures and controls are selected.
Lumens describe brightness
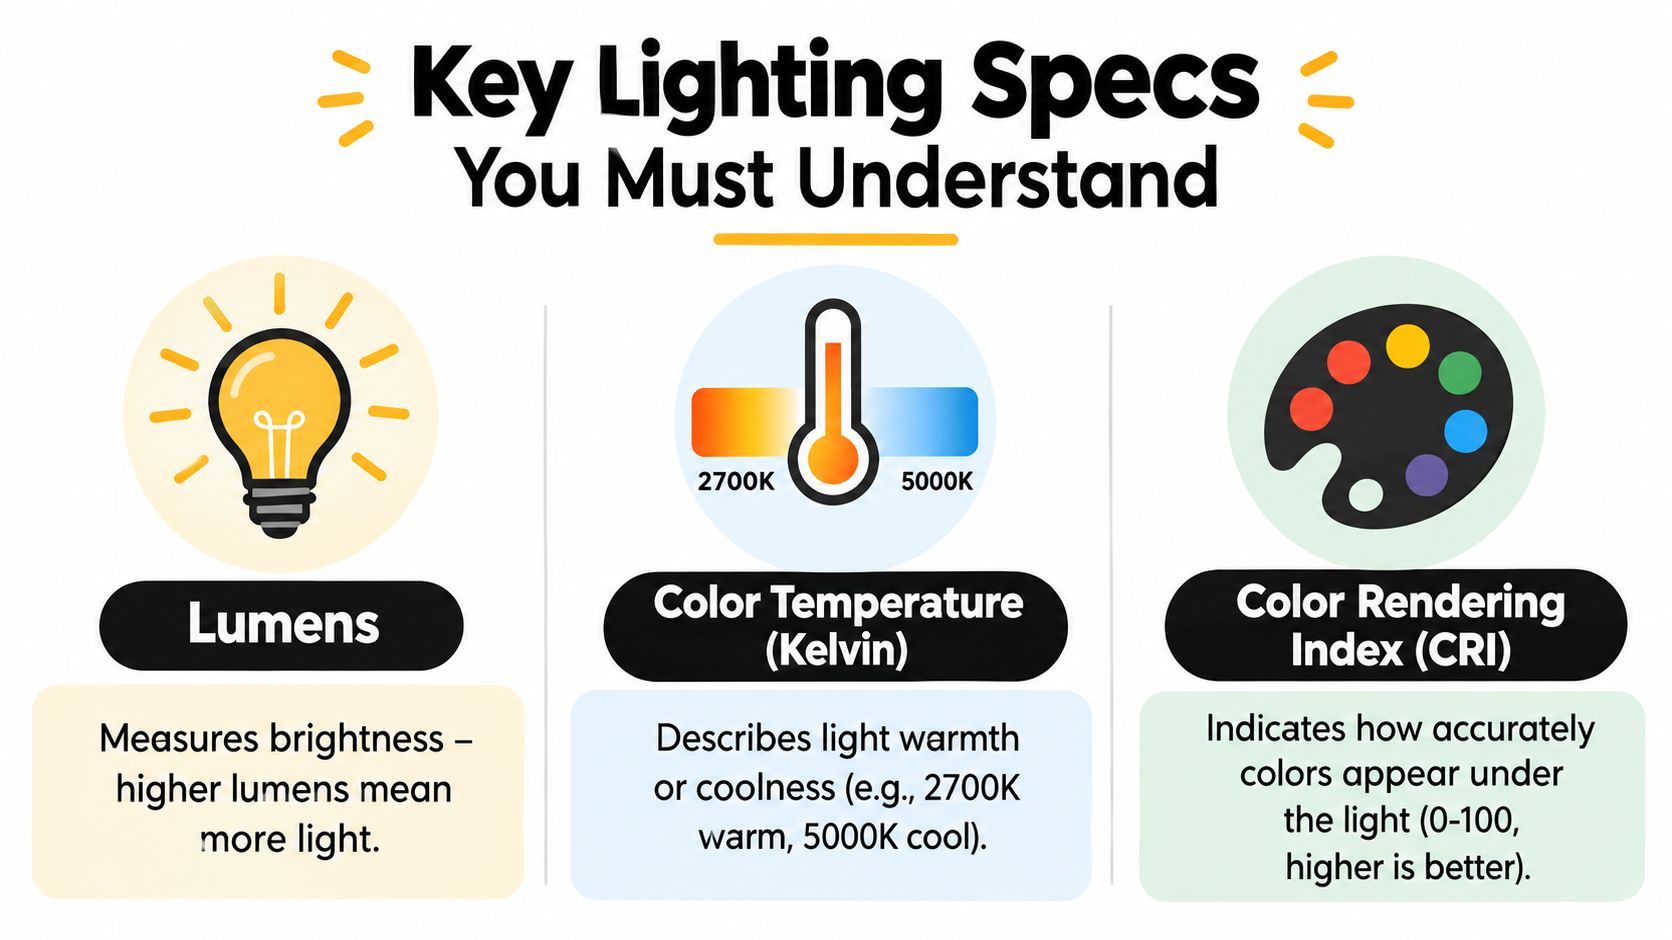
Lumens measure the amount of visible light. A higher wattage does not guarantee a brighter or more useful work surface, particularly when comparing older lamps with efficient LEDs. Residential guidance identifies 125 lumens per linear foot as a starting benchmark.
Use that figure as a reference, not a guarantee. Cabinet depth, backsplash reflectivity, fixture position, and the front rail can change the result. A lower-output strip installed near the cabinet front may light the counter more effectively than a brighter source aimed at the wall or left visible at eye level. Check the actual work surface before deciding that more output is the answer.
Kelvin sets the mood
Color temperature, measured in Kelvin, describes whether light appears warm or cool. Warm light gives a relaxed residential feel. Cooler light can make a work surface appear crisp, but may look stark beside creamy cabinetry, warm wood, or beige backsplash undertones.
Kitchen guidance commonly places under-cabinet lighting between 3000K and 4000K, depending on finishes and preference (Lumen Corner's kitchen strip-lighting guidance). Compare samples under the proposed temperature before ordering. The ceiling fixtures matter too. A warm ceiling light paired with a cool cabinet light can make nearby surfaces appear inconsistent.
CRI protects color accuracy
Color Rendering Index, or CRI, indicates how faithfully a light reveals color. It affects the appearance of food, painted cabinets, countertop veining, and backsplash undertones. Kitchen guidance recommends CRI 90 or higher, while values below CRI 80 can make colors look flat or inaccurate.
CRI deserves attention when finishes are subtle. Use the same care you apply when reviewing kitchen cabinet colors, preferably with physical samples under the selected fixture. A coordinated palette can lose its nuance under a low-quality light source, even when the installation is neat and the brightness seems adequate.
Power and Installation Choices Explained
The installation method often determines whether a lighting system looks integrated or added on later. It also controls how easy the system will be to maintain, upgrade, or remove.
Hardwired systems
Hardwired fixtures connect to planned electrical infrastructure and can operate from a wall switch, dimmer, or integrated control system. When wiring is concealed inside the wall and cabinet structure, the finished result has no dangling cord interrupting the backsplash.
This is usually the right path for a full remodel, especially when walls are open and the electrician can plan junction boxes, drivers, switch locations, and cabinet penetrations before finishes are installed. It's less attractive as a late retrofit because accessing finished walls or tile can increase disruption and coordination.
Hardwiring also works best when you've already decided on the fixture family. Replacing a driver or changing the layout later may require more technical work than swapping a plug-in bar.
Plug-in fixtures
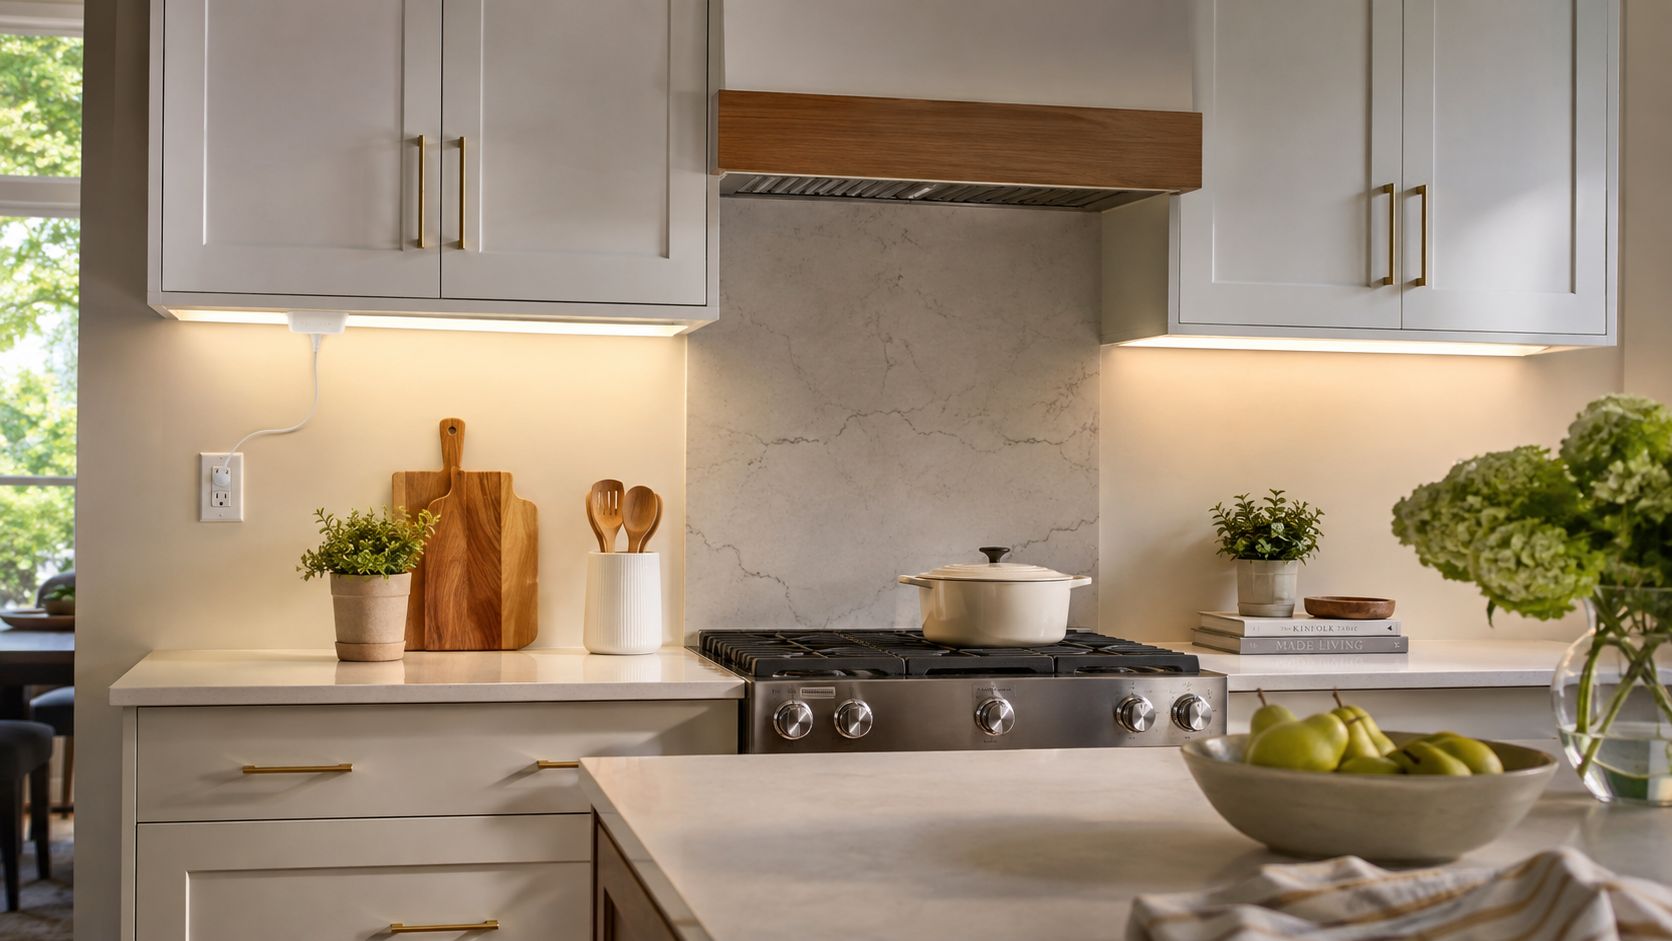
Plug-in bars, strips, and pucks suit existing kitchens where you want better task lighting without opening walls. You can mount the fixture, route the cord neatly along the cabinet, and connect it to an accessible outlet.
The trade-off is visible infrastructure. Even a carefully managed cord can compete with a backsplash, occupy an outlet, or limit where you can place the control. Plug-in systems are a sensible choice for renters, quick upgrades, and homeowners who want to test the light pattern before committing to a permanent installation.
Most buyer guides overlook this wiring decision, even though hardwired, plug-in, battery, and low-voltage systems differ in visibility, output, and maintenance (DIY Rated's under-cabinet lighting guide).
Battery-powered fixtures
Battery pucks offer the lowest installation barrier. They're useful inside a small display cabinet, beneath a shelf, or in a location where running cable would be disproportionate to the benefit.
They also introduce ongoing maintenance. Batteries must remain accessible, and the fixture may not deliver the same sustained output as a wired system. For a heavily used prep counter, that convenience can become frustrating if you're repeatedly reaching under cabinets to replace batteries.
Practical rule: Use battery lighting for isolated accents and temporary improvements. Use wired lighting for the counter where you prepare food every day.
Low-voltage tape with a driver sits between flexible design and professional integration. It can produce an almost invisible line of light, but the driver needs a planned location and the connections need to remain serviceable. For detailed strip selection and setup considerations, consult this pro guide to LED strips.
The installation should match the remodel scope. Under-cabinet lighting installation guidance from The Cabinet Coach can help you think through fixture placement, wiring routes, and coordination before work begins.
A visual example can help you judge how concealment and color temperature affect a finished kitchen:
Modern Controls and Smart Lighting Features
A simple switch remains useful, but modern controls let the same lighting serve several purposes. Bright task lighting helps with cooking, while a dimmed setting can keep the kitchen comfortable when the room shifts into evening entertaining.
Start with dimming
Dimming is the control I consider essential for a permanent kitchen installation. It allows you to reduce glare on polished counters, soften the backsplash after dark, and avoid running the system at full output when you only need a low-level glow.
Choose fixtures, drivers, and dimmers designed to work together. A light labeled dimmable may still flicker or have a narrow usable range when paired with an incompatible control. Ask the installer to confirm compatibility before the drywall closes.
Add hands-free convenience
Motion sensors make sense in zones where you frequently arrive with wet or occupied hands. They can be useful near a pantry, coffee station, or sink, but sensor placement matters. A poorly positioned sensor may trigger the lights whenever someone walks past, while an overly narrow detection area may fail when you approach from the side.
Remote controls and smart plugs can add convenience to plug-in systems. Fully integrated smart lighting can connect with a phone app or voice assistant, but the system should still include a straightforward physical control. Guests shouldn't need an app to find the light switch.
Consider tunable white
Tunable-white systems let you move between warmer and cooler light settings. Current guidance discusses ranges from 2700K to 5000K as a way to adjust the feel and working character of the kitchen (Exponation's under-cabinet lighting discussion).
The feature is valuable when used deliberately. Warmer settings can complement a relaxed evening, while a cooler setting can provide a sharper work feel. It adds cost and control complexity, so it makes the most sense when the homeowner will use the adjustment rather than leaving the system at one setting permanently.
For a broader look at connected kitchen features, smart kitchen technology from The Cabinet Coach provides relevant planning context.
Design and Placement Best Practices
A high-quality fixture can still produce a poor result if it's installed in the wrong position. The goal is to light the counter without putting the source directly in your line of sight or throwing your hands into the work area's shadow.
Put the light where the work is
Mounting closer to the front edge of the cabinet generally sends more light toward the countertop and helps reduce shadows from your body. Mounting farther back emphasizes the backsplash and can create a softer decorative wash, but it may leave the front of the work surface less effective for food preparation.
Before drilling, use painter's tape to mark the proposed fixture line. Stand where you normally work, look toward the counter, and check whether the fixture is visible. This small test can prevent glare that becomes obvious only after installation.
Puck lights need a layout rather than guesswork. Place them to distribute illumination across the working zones, then test the pattern with the countertop sample or backsplash in place if possible. Highly reflective surfaces may reveal bright points more readily than matte finishes.
Make strips look finished
Flexible tape benefits from an aluminum channel and diffuser. The channel gives the strip a straight, protected mounting surface, while the diffuser softens the individual LED points and makes the source look more architectural.
Measure each cabinet run, including turns and breaks between sections. Plan connectors and driver access before cutting. A strip that ends short of the cabinet or has an awkward connector near a visible corner can undermine an otherwise refined kitchen.
Plan for service
Don't bury every component permanently. Drivers, connectors, and control modules should remain reachable without removing finished cabinetry. Keep cords and low-voltage cables secured, away from heat and sharp edges, and out of areas where daily use could pull them loose.
LED's operating economics strengthen the case for planning service around a permanent system. A cited comparison says replacing halogen or fluorescent under-cabinet lighting with LED can reduce electricity use by 80% to 89%, with annual household savings of roughly $40 to $75, depending on use and local rates (EcoThrift Home's energy comparison). The same source gives an example in which four 35-watt halogen pucks use about 204 kWh per year, while four 4-watt LED pucks use about 23 kWh, with annual energy cost falling from roughly $35 to about $4 at the cited electricity rate.
The lesson isn't to buy the cheapest fixture. It's to evaluate the complete system, including light quality, controls, installation, replacement access, and operating cost.
Integrating Lighting into Your Remodel
Under cabinet lighting should be planned with the cabinet drawings, countertop edge, backsplash, and electrical layout. Waiting until the cabinets are installed limits your choices, exposes more wiring, and can force you into a fixture that fits the remaining space rather than the system that produces the best light.
During design, identify every run that needs illumination and decide whether the priority is task lighting, backsplash emphasis, or both. Confirm the cabinet bottom rail, driver location, switch position, dimming method, and access for future service. A full remodel gives the electrician and cabinet installer a chance to coordinate these details before the finished surfaces make changes difficult.
Coordinate the visual layers
The fixture should complement the finish palette without competing with it. High-CRI light helps preserve the appearance of cabinets and counters, while a suitable color temperature keeps the under-cabinet layer compatible with the ceiling and decorative lighting.
If your project includes other integrated fixtures, resources such as Value Tools Co Halo lighting can help you compare adjustable color-temperature approaches for related areas. The same principle applies throughout the room. Select the lighting system as part of the material plan, not after it.

A thoughtful kitchen remodel plan should include lighting decisions before product orders and construction scheduling. For homeowners in Cherry Hill and surrounding South Jersey communities, The Cabinet Coach provides cabinetry and remodeling design guidance, coordinates selections with project requirements, and helps align lighting with the broader kitchen design.
The Cabinet Coach can help you compare LED strips, puck lights, and linear fixtures against your cabinet layout, finishes, and remodel scope. Visit The Cabinet Coach to arrange a complimentary video consultation and plan under-cabinet lighting that looks integrated, performs well, and fits the way you use your kitchen.