
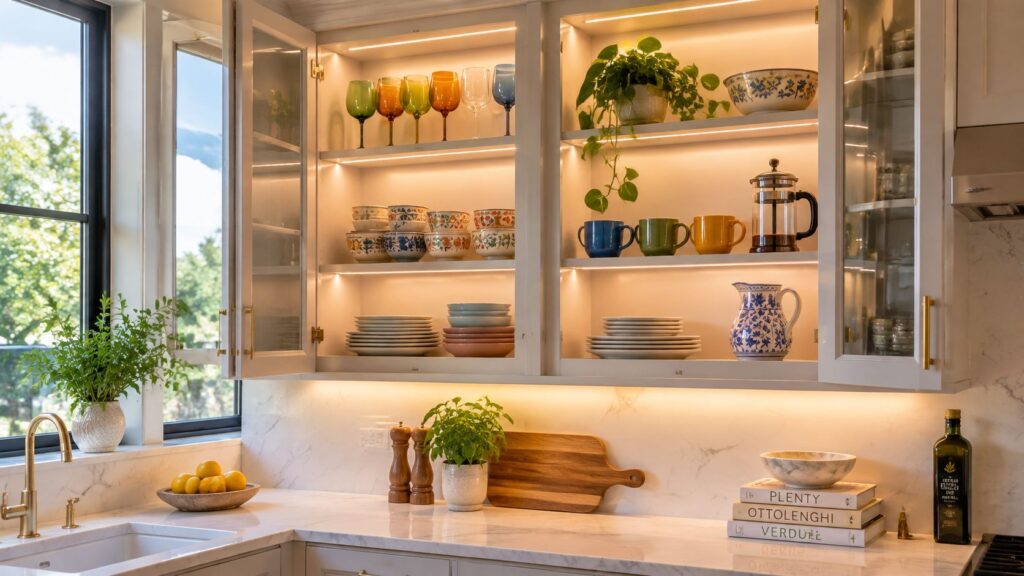
You're standing in your South Jersey kitchen after dinner, looking for a spice, a serving bowl, or the right container for tomorrow's lunch. The overhead lights are on, but the cabinet interior is still dark. You open the door, lean in, move three items aside, and still can't see the back corner. That frustration usually isn't a storage problem. It's a lighting problem.
Interior cabinet lighting makes cabinets easier to use, improves the appearance of glassware and finishes, and gives the kitchen a more comfortable evening setting. The important decision isn't just which light looks attractive in a product photo. It's how the fixture will interact with your cabinet construction, countertop surface, backsplash, doors, wiring, and daily routines.
A well-planned system feels built into the kitchen. A rushed retrofit often produces visible wires, harsh reflections, uneven illumination, and controls that nobody wants to use.
Table of Contents
- Why Interior Cabinet Lighting Transforms Your Kitchen
- Types of Interior Cabinet Lighting and Where Each Works Best
- Technical Specifications That Actually Matter
- Strategic Placement and Layering for Maximum Impact
- Integration Planning Before Your Cabinets Arrive
- Cost Ranges and Installation Decisions
- How The Cabinet Coach Simplifies Your Lighting Decisions
Why Interior Cabinet Lighting Transforms Your Kitchen
A kitchen can have attractive cabinets and still feel poorly designed at night. The problem often appears in small moments. You're reading a recipe beside a shadowed backsplash, checking the label on a container, or trying to distinguish dark cookware from the back panel of a lower cabinet. General ceiling lighting may brighten the room, but it rarely reaches where your hands and eyes actually work.
Interior cabinet lighting addresses that gap. Lights inside pantry cabinets help reveal contents, while fixtures under wall cabinets illuminate the countertop. Lighting inside glass-front cabinets can turn stored dishes, pottery, or glassware into part of the room's visual composition. The same system can serve a practical role at full output and a softer ambient role when dimmed in the evening.

Function comes before decoration
Homeowners often treat cabinet lighting as a finishing touch. I recommend treating it as part of the kitchen's working infrastructure. A prep area needs consistent light without deep shadows. A display cabinet needs controlled brightness that doesn't make glassware look washed out. A pantry needs visibility at several shelf levels, not a bright spot that leaves the lower shelves hidden.
The category has grown well beyond a specialty upgrade. One market report valued the global under-cabinet lighting market at USD 2.01 billion in 2025 and projected it to reach USD 3.15 billion by 2030, with a projected 9.2% CAGR over that period, according to The Business Research Company's under-cabinet lighting market report. Another market estimate placed the category at USD 2.5 billion in 2024, with a projection of USD 4.8 billion by 2033 at a 7.8% CAGR, showing that cabinet-adjacent lighting has become a substantial global segment rather than a niche accessory.
Design rule: If you use a cabinet every day, light it for the way you actually use it. Decorative glow is valuable, but it shouldn't replace useful visibility.
The strongest installations also improve the room's mood. Low-level cabinet light can make a late-night kitchen feel calmer than a fully illuminated ceiling. That benefit matters in open-plan homes, where bright kitchen fixtures can spill into living areas and bedrooms. The result isn't a brighter room. It's a kitchen that behaves better across morning prep, active cooking, entertaining, cleanup, and nighttime use.
Types of Interior Cabinet Lighting and Where Each Works Best
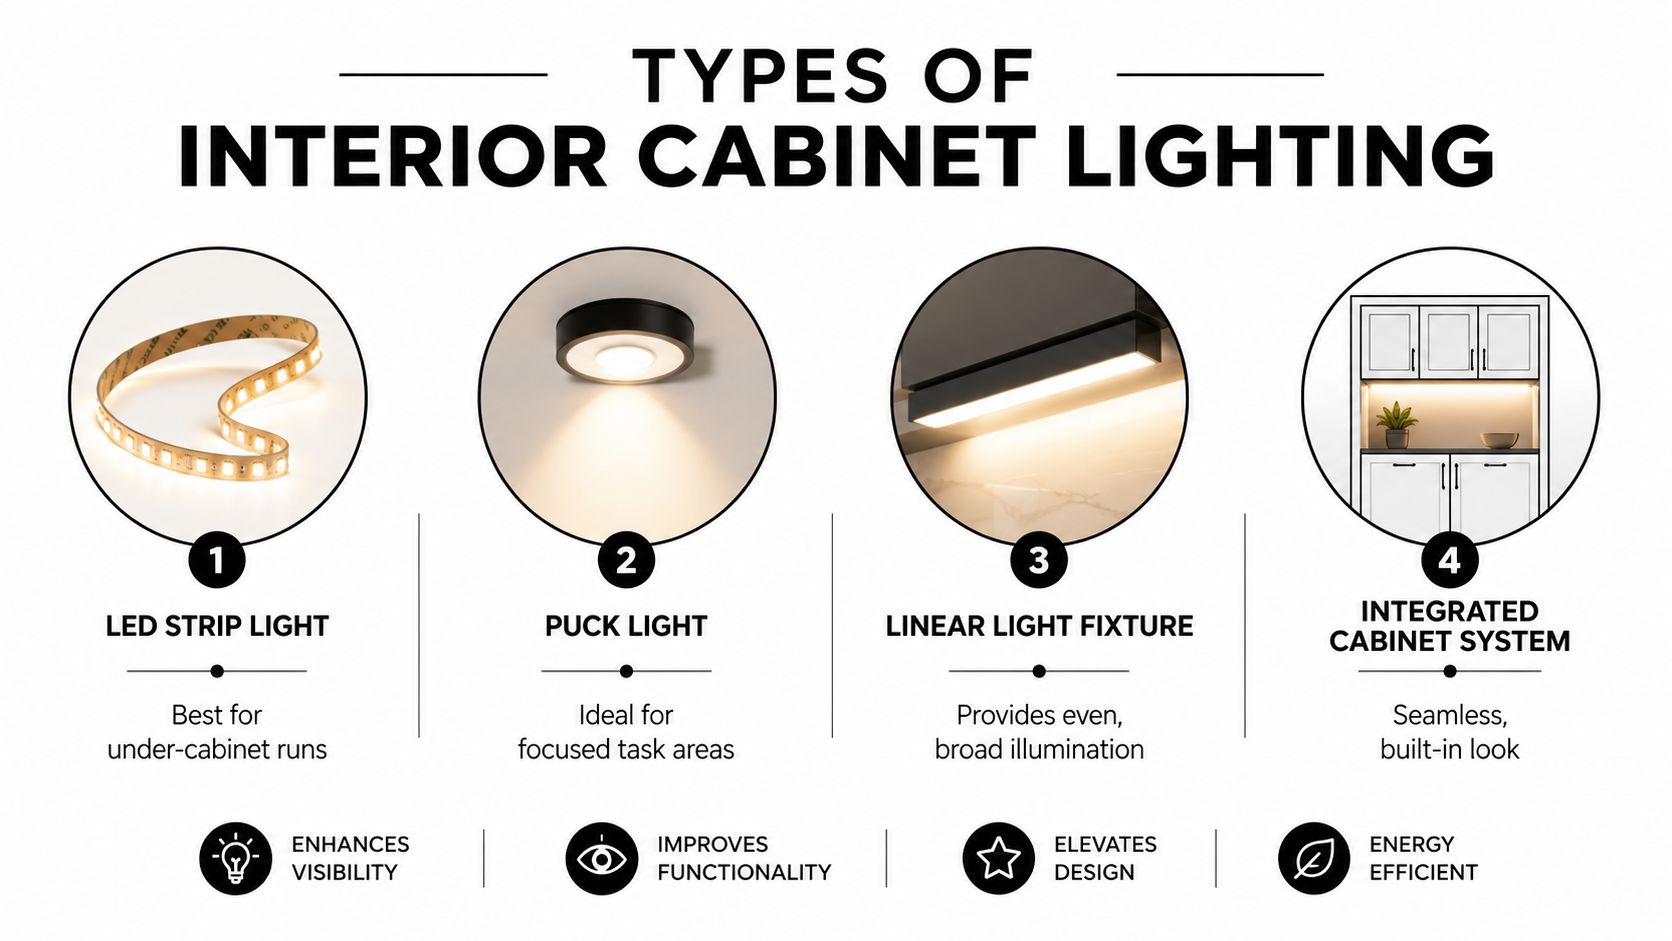
The right fixture depends on the cabinet's shape, contents, door style, and intended purpose. A flexible strip can create a continuous wash, while a puck creates a concentrated pool of light. Linear fixtures sit between those choices, and integrated systems produce the cleanest result when planned before installation.
LED strips
LED strips work especially well beneath a run of wall cabinets or along the vertical sides of a glass-front cabinet. Their continuous line reduces the isolated bright spots that can appear with individual fixtures. Mounted in an aluminum channel with a diffuser, a strip can look discreet and produce a smoother wash across shelves or counters.
The trade-off is installation discipline. Strips must be cut or specified to the right length, protected from grease and dust, and positioned so shelves don't block the light. Adhesive alone isn't a complete design strategy. The channel, wiring path, driver location, and service access all matter.
Puck lights
Puck lights still make sense for focused accent lighting. One can highlight a coffee station, a decorative cabinet, or a specific display shelf. They're also useful where the cabinet layout makes a continuous run difficult.
Their weakness is unevenness. Several pucks can create bright circles and dark gaps, especially inside deep cabinets. Objects on an upper shelf may block light from reaching items below. I'd choose pucks for emphasis, not as the default solution for an entire kitchen.
Linear fixtures
Linear light bars provide broad, even illumination in a protected housing. They suit pantries, blind corners, and cabinets where durability and simple cleaning matter. Many are easier to install than raw strip lighting because the housing, optics, and connections are already assembled.
Fixed lengths can limit the fit. A bar that's too short leaves an unlit section, while one that's too long may force an awkward mounting position. Measure the usable cabinet area, not just the outside width.
Integrated systems
Integrated lighting is built into the cabinet plan through recessed channels, concealed wiring, door sensors, or coordinated controls. It creates the most finished appearance, particularly in new kitchens and high-visibility glass cabinetry. Market trend coverage identifies a shift toward minimalist integrated systems and reports that under-cabinet lighting appears in 68% of new kitchen designs, while LEDs account for over 85% of sales, according to this 2025 under-cabinet lighting trends summary.
The cost is earlier decision-making. If you're replacing cabinets soon, don't treat lighting as a later add-on. For installation details and practical fixture considerations, review this guide to under-cabinet lighting installation.
Here's a visual demonstration of how fixture types can affect the finished effect:
Technical Specifications That Actually Matter
Product descriptions often bury the useful information under phrases such as “daylight,” “high output,” and “energy saving.” Ignore the marketing language until you've checked lumens, CRI, color temperature, diffusion, and dimming compatibility. Those specifications tell you much more about how the light will perform.
Start with brightness
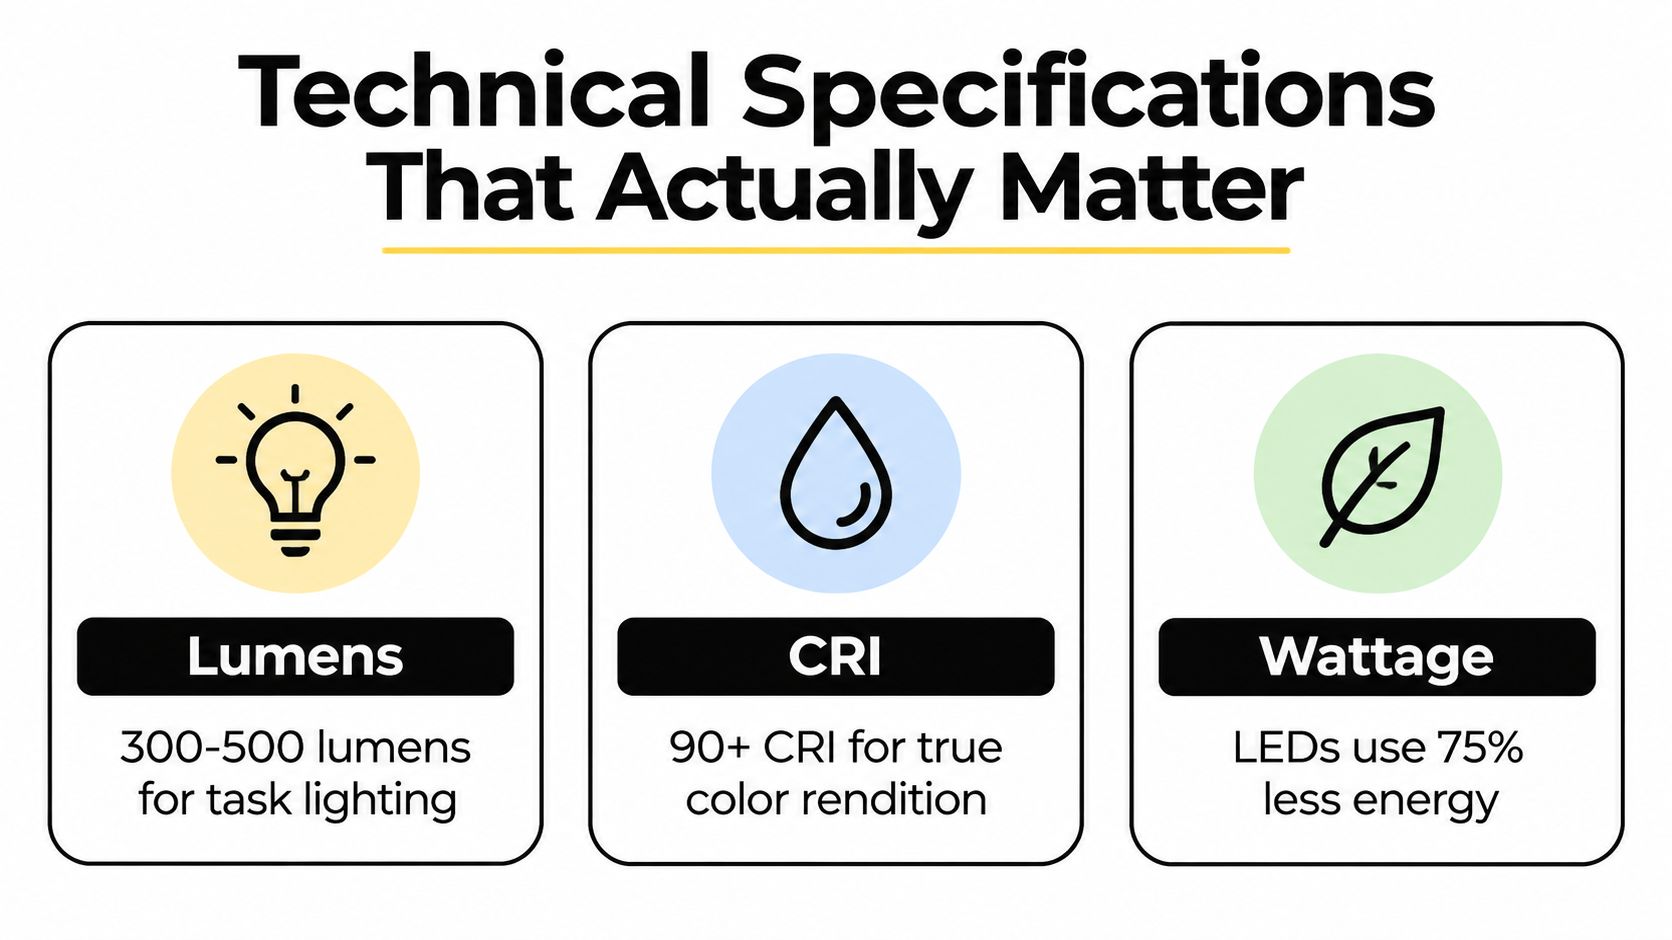
For countertop task lighting, a practical residential target is about 30 to 50 foot-candles, or approximately 325 to 540 lux, according to this technical guidance on cabinet-light brightness. The same guidance identifies linear fixture densities around 300 to 500 lumens per foot as a useful benchmark for task-focused runs.
That range isn't a command to make every cabinet equally bright. A pantry may need stronger illumination because shelves and contents block light. A glass display cabinet may need less output so the contents remain visible without creating a glowing rectangle. Dimming gives you room to serve both purposes.
CRI protects your color decisions
Choose a minimum CRI of 90 for ordinary kitchen use. For accurate wood tones, painted finishes, fabrics, food, and display pieces, 95+ CRI with R9 above 80 is the stronger choice, based on Waveform Lighting's under-cabinet lighting guidance.
This matters during cabinet selection as well as daily use. A low-quality light can make a backsplash appear dull, shift the appearance of a painted door, or make food colors look unnatural. If you're comparing cabinet colors, review how to choose kitchen cabinet colors under lighting that resembles the finished room.
Choose color temperature by activity
Color temperature changes the kitchen's emotional and practical character. About 2700K to 3000K works well for a cozy evening setting. About 4000K to 4500K offers a crisper appearance for precision tasks and work zones, according to the cited glare-control guidance.
Don't assume one temperature must serve every cabinet. A glass display may look inviting at a warmer setting, while a pantry or food-preparation area may benefit from a more neutral output. Tunable white fixtures can give you flexibility, but only if the controls remain simple enough for everyday use.
Electrical work deserves caution. If an existing fixture lacks a ground wire or you're unsure how a driver should connect, consult a qualified professional and use this DIY electrical fix from Bulls Eye Repair as background guidance, not as a substitute for local electrical advice.
Strategic Placement and Layering for Maximum Impact
Placement determines whether cabinet lighting feels professional or improvised. The same LED strip can produce useful, comfortable light or an unpleasant reflection depending on where it sits relative to the cabinet face, countertop edge, backsplash, and your normal standing position.
Put task light where your hands work
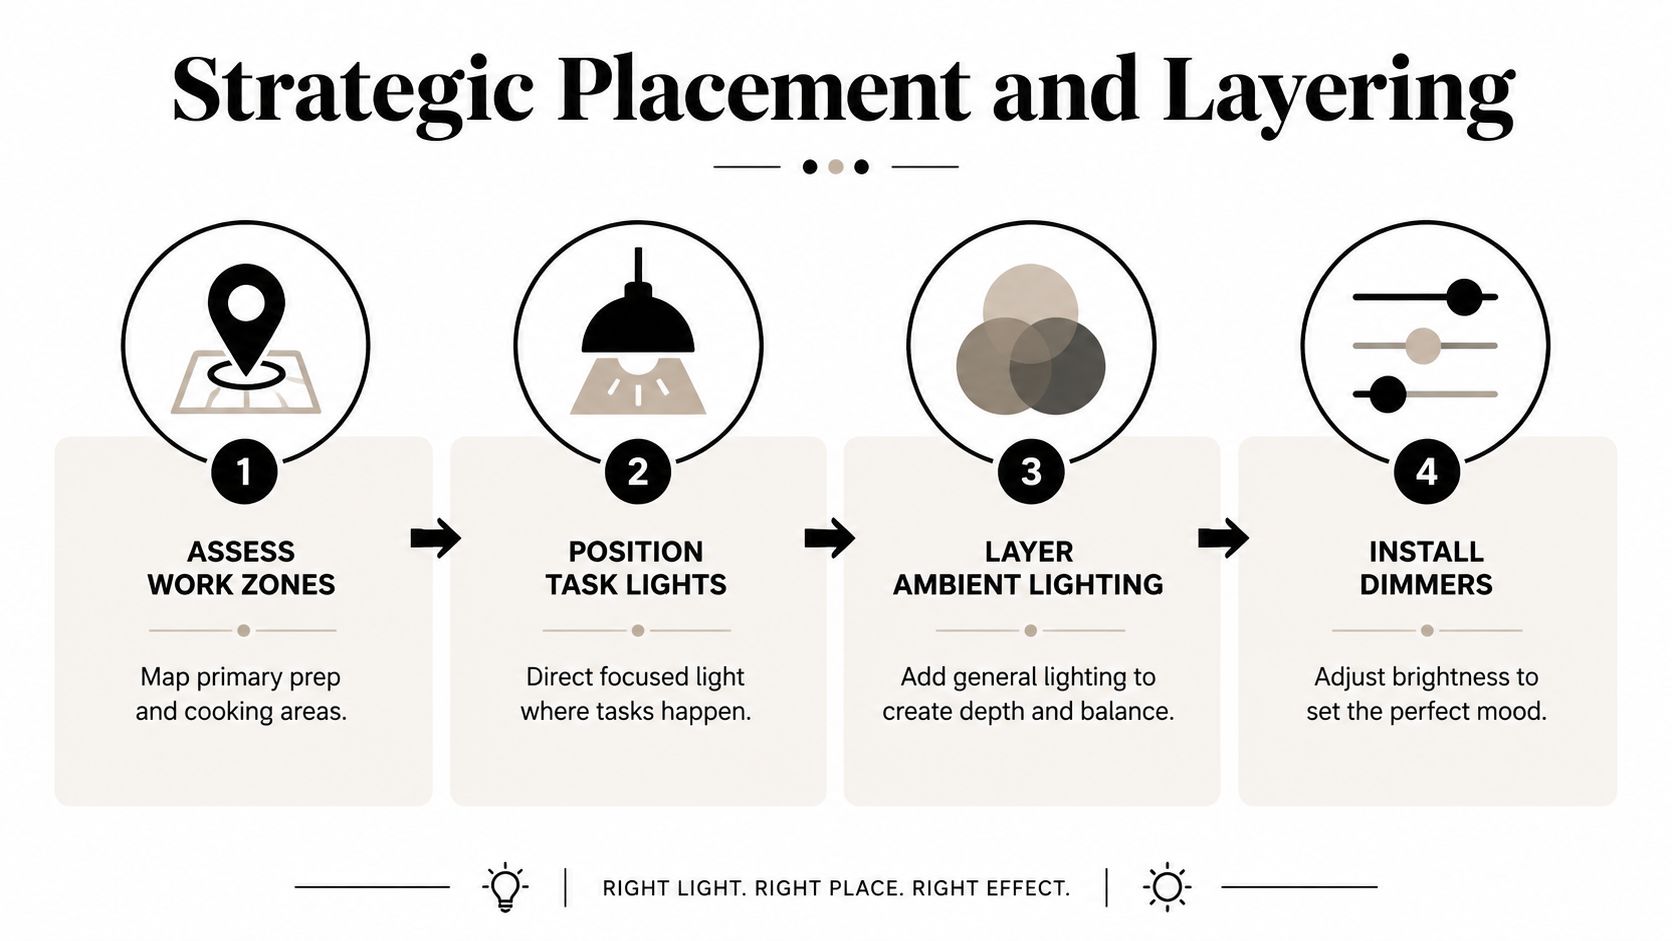
For under-cabinet runs, front-edge placement usually puts light closer to the countertop's active work area and reduces the shadow your body can cast. Back placement may wash the backsplash attractively, but it can leave the front of the counter less useful for chopping, reading, or sorting.
Inside cabinets, horizontal placement at the very top often fails in deep units because the top shelf blocks the lower shelves. A vertical strip tucked into a side stile or behind a face frame can distribute light through the full cabinet height. Linear fixtures mounted beneath shelves can work well when each shelf needs its own controlled illumination.
Treat glare as a design problem
Glossy quartz, polished stone, lacquered doors, glass tile, and reflective hardware can bounce a bare LED image directly into your eyes. A diffuser softens the source, while a concealed channel keeps individual diodes from becoming bright points. The fixture should illuminate the work surface, not announce itself from every angle.
The best position depends on what the light reflects from. Test samples of the countertop and backsplash under the proposed fixture before the final installation. A light that looks gentle against a honed surface may feel harsh against polished stone.
Practical rule: Don't judge cabinet lighting from the light source alone. Judge it from the standing positions where you cook, clean, and walk through the room.
Build separate evening and work settings
One bright setting rarely serves every use. Create zones for prep areas, display cabinets, pantry storage, and circulation paths. Use dimmers so the kitchen can shift from clear task light during cooking to warmer, lower-output illumination after dinner.
Recent guidance on glare control for cabinet lighting emphasizes warmer output around 3000K to 3500K and reduced evening output to limit harsh contrast and visual discomfort. That approach is especially useful in kitchens with reflective tile or polished counters.
More fixtures won't automatically improve the room. Zoning, diffusion, and dimming usually produce a calmer and more flexible result than filling every cabinet with maximum output.
Integration Planning Before Your Cabinets Arrive
The expensive lighting mistakes happen before anyone installs a fixture. They happen when the cabinet order is finalized without deciding where the driver will live, when the backsplash is selected without considering reflections, or when the countertop overhang changes the light's apparent position.
Start with the cabinet elevations. Mark every interior shelf, glass door, face frame, valance, and end panel. Then decide whether the lighting belongs inside the cabinet, beneath the cabinet, along a vertical side, or in a recessed channel. The cabinet construction determines what can be concealed and what will require visible surface mounting.
Coordinate the materials
Countertops and backsplashes are part of the lighting system's visual behavior. A glossy backsplash can reflect a fixture mounted too far back. A dark countertop may absorb light and need more controlled output. A light stone with pronounced veining can look dramatically different under warm and neutral sources.
Ask for material samples under the actual fixture type, not only under a showroom's general illumination. The same cabinet color may appear different beside a warm wood countertop than beside a cool white surface. If you're comparing cabinet construction and storage features, a practical guide for chest buyers offers useful reminders about access, hardware, and interior organization that also affect lighting placement.
Hide the infrastructure while access remains possible
Drivers need ventilation, a suitable power connection, and service access. They can often be concealed above cabinets, inside an adjacent cabinet, or in another planned location, but burying them permanently behind finished surfaces makes future maintenance harder. Wire routes should be decided before drywall, backsplash, and cabinet installation close off the working areas.
Retrofits can be sensible when the cabinets are staying and the homeowner accepts surface-mounted channels or accessible wiring. Planned-in systems create cleaner lines and more options for door sensors, smart controls, and coordinated dimming. The trade-off is that those decisions must happen during design, not after the countertop is installed.
Ask before ordering: Where will the driver go, how will each zone be controlled, and can a failed component be reached without removing finished cabinetry?
Smart integration also needs restraint. App control can be useful, but a reliable wall switch or physical dimmer should still exist. For the broader renovation sequence, use this kitchen remodel planning guide to coordinate cabinet, electrical, countertop, and backsplash decisions before installation begins.
Cost Ranges and Installation Decisions
Lighting budgets vary by fixture quality, cabinet layout, wiring access, controls, and whether the project is a retrofit or a planned installation. I won't give you a false universal price. A short, accessible run with a nearby outlet is a different job from a full kitchen with concealed drivers, multiple zones, sensors, and difficult access.
Use the table as a planning framework rather than a quote.
Interior Cabinet Lighting Cost Comparison
| Lighting Type | Material Cost per linear foot | Professional Installation | DIY Feasibility |
|---|---|---|---|
| LED strip with channel | Low to moderate | Moderate when wiring and drivers are accessible | Reasonable for plug-in systems and simple runs |
| LED light bar | Moderate | Moderate | Good for straightforward surface mounting |
| Puck lights | Low to moderate per fixture | Moderate, especially with multiple connections | Possible for battery or plug-in products |
| Integrated cabinet system | Moderate to high | Higher because wiring and cabinetry must coordinate | Usually unsuitable for a finished kitchen retrofit |
Material cost is only one line item. Add the driver, aluminum channels, diffusers, connectors, switches, dimmers, sensors, and possible electrical work. A system that looks inexpensive on the shelf can become less attractive after you add the parts required to make it clean and serviceable.
Decide what belongs in a DIY project
A handy homeowner can often install a low-voltage, plug-in bar or strip when the power supply is already available and the work doesn't involve opening walls. The project becomes more complex when you need new line-voltage wiring, concealed routes, multiple zones, or a driver placed in a remote location.
Don't improvise around electrical connections. A licensed electrician should handle work that falls under local code requirements, while a cabinet designer or remodeler should coordinate the fixture with the cabinet and finish schedule. For practical inspiration, review these lighting ideas for dark counters, then separate the visual idea from the installation method.
Your broader renovation budget should also account for related trades and finish decisions. This kitchen remodeling cost breakdown can help place lighting alongside cabinetry, countertops, tile, hardware, and installation rather than treating it as an isolated purchase.
Invest in high-CRI LEDs, diffusion, reliable dimming, and accessible drivers. Save money by limiting unnecessary smart features or decorative fixtures that don't improve how you use the kitchen.
How The Cabinet Coach Simplifies Your Lighting Decisions
South Jersey homeowners don't need to solve cabinet lighting from a product page alone. The practical process starts by looking at the room, cabinet layout, countertop sample, backsplash selection, and existing light sources together.
The Cabinet Coach operates as a mobile cabinet showroom serving Cherry Hill and surrounding South Jersey communities. That format lets homeowners review cabinetry, countertops, hardware, and tile in the context of an actual design conversation rather than making every decision from isolated samples.
Bring the lighting into the first conversation
At the initial consultation, ask specific questions:
- Cabinet construction: Which panels, shelves, and face frames can conceal channels or wiring?
- Material interaction: How will the selected countertop and backsplash reflect or absorb the proposed light?
- Control plan: Which areas need independent dimming, sensors, or a dependable physical switch?
- Service access: Where will drivers and connections remain reachable after installation?
- Budget alignment: Which lighting components belong in the preliminary estimate?
The Cabinet Coach's process includes a complimentary video consultation, discovery, site visits, concept development, product selection, and preliminary estimates. Homeowners who want to begin with a guided conversation can request a free in-home kitchen design consultation.
The key advantage of coordinated planning is simple. Cabinet dimensions, electrical routes, countertop edges, backsplash surfaces, and lighting positions get resolved as one design problem. That reduces the chance of adding visible wiring, replacing a fixture that reflects badly, or discovering after installation that the driver has nowhere practical to go.
If your renovation is in Cherry Hill, Haddonfield, Voorhees, Mount Laurel, Moorestown, Medford, or a nearby South Jersey community, bring your lighting questions to the design meeting before cabinets are ordered. That's when the choices are easiest to adjust and the finished result is easiest to control.
The Cabinet Coach helps South Jersey homeowners coordinate cabinetry, countertops, backsplash materials, and interior cabinet lighting from the beginning of the renovation. Visit The Cabinet Coach to arrange a consultation and discuss a lighting plan that fits your kitchen's layout, finishes, and daily use.